
SciTech Tuesday: Build Your Own Compass
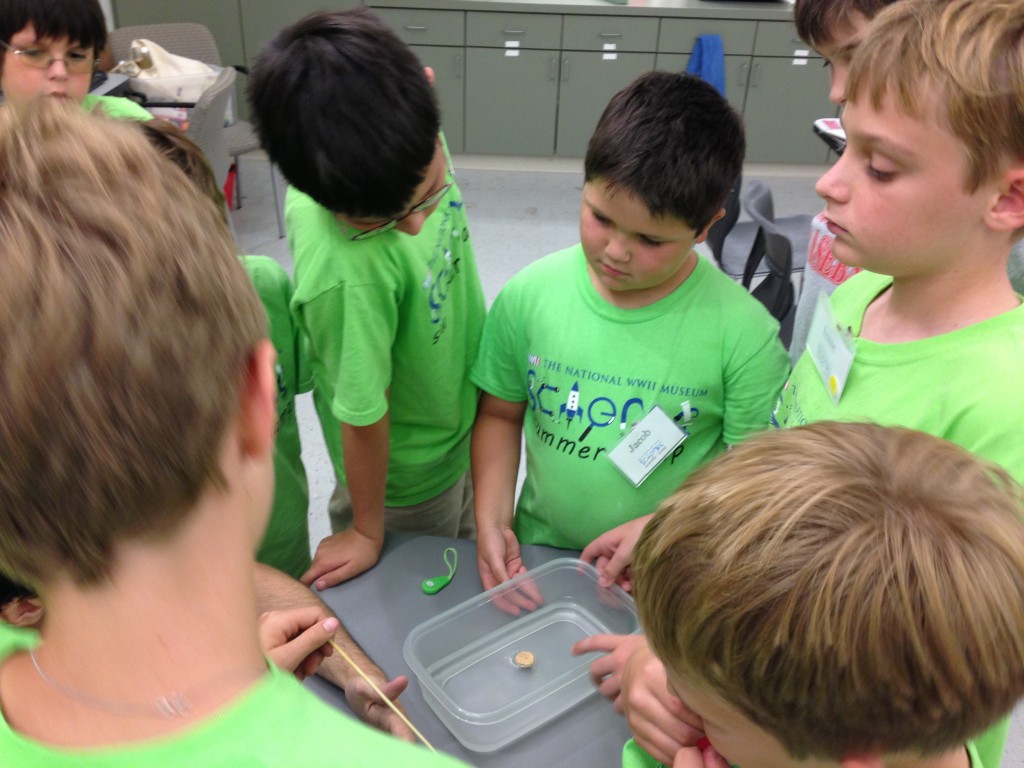
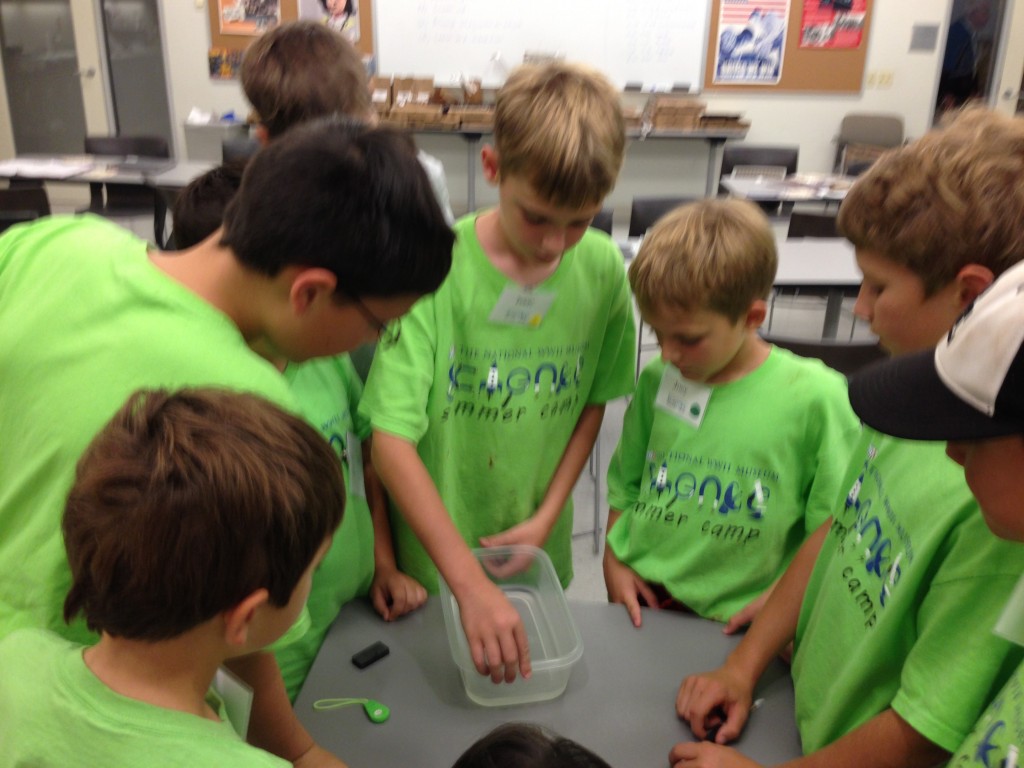
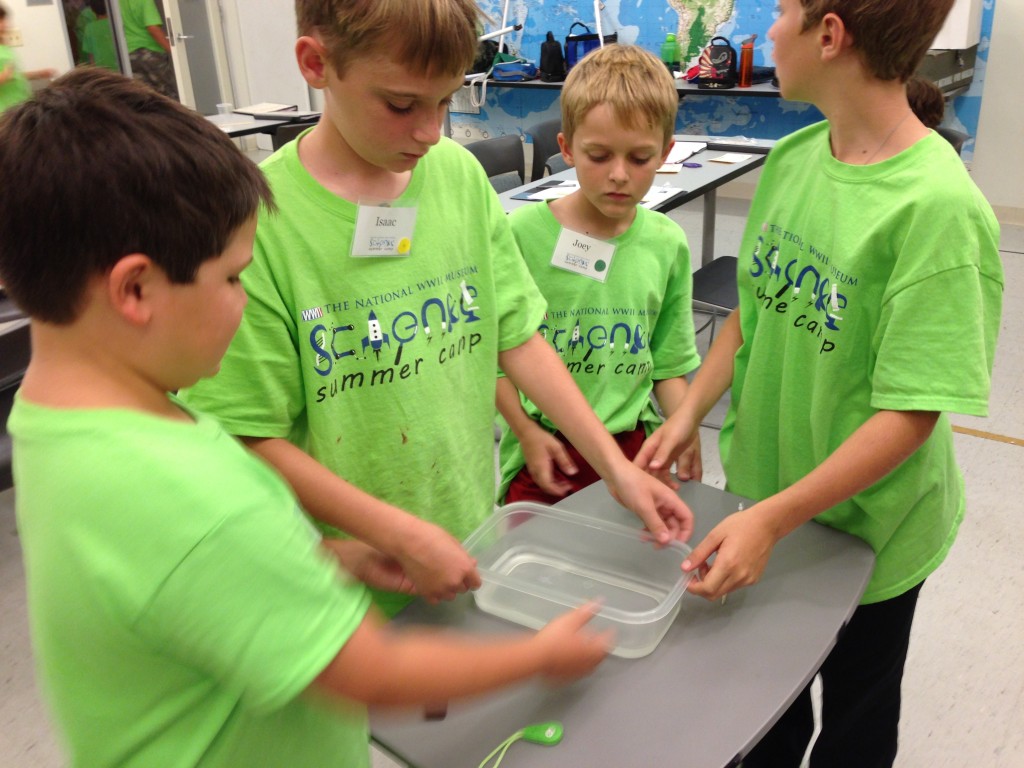
Our summer campers recently learned about survival navigation during the Museum’s second session of science camp. They built a homemade compass using a magnetic sewing needle and thin slice of cork. First, the needle is magnetized by repeatedly swiping a strong magnet along the side of the needle in one direction. Next, the needle is placed carefully through the thin piece of cork (kids, ask a grown up to help you with this step). Last, the cork and needle are placed in a tub of water. Watch carefully, the magnetized needle will always orient north.
Let’s examine what happened to the needle when it was magnetized. The magnet attracts the electrons in the metal, forcing the electrons to line up in an orderly fashion. This creates a positive end and a negative end. The earth has a positive and negative end too – the north and south poles. Compasses work by the magnetic needle’s attraction to the earth’s poles.
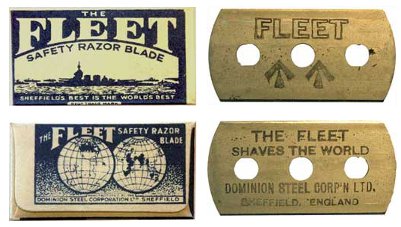
During the last few years of WWII, every razor blade sold in British military exchanges was magnetized for use as a compass. The arrows printed on the steel blade would point north. By floating the razor blade on the surface of a lake or a stream, a prisoner of war who escaped capture could orient towards safety.
Learn more about American POWs in Europe by visiting our special exhibit, Guests of the Third Reich. But hurry, the exhibit closes this Sunday, July 7, 2013!


Post by Annie Tête, STEM Education Coordinator

Leave a Reply