Home Front Friday is a regular series that highlights the can do spirit on the Home Front during World War II and illustrates how that spirit is still alive today!
Never underestimate the honey bee! The influence of these creatures on our world is enormous, and the aid of bees and beekeepers during World War II was necessary to winning the war. In fact, the Department of Agriculture in Washington DC deemed the honey industry ‘essential’ during wartime, even requesting a 20% increase in production in 1942 just to keep up with demand for both honey and beeswax. How is this possible?
Well, the USA loves its sugar, but during World War II, the Japanese occupied many countries we formerly purchased sugar from, meaning a shortage and rationing. Honey became the obvious and easily accessible substitute. In addition to honey, beeswax was used to coat air planes, shells, drills, bits, cables and pulleys, adhesive tape, varnishes, canvases, awnings, anything and everything! Beeswax prevented rust, strengthened, and waterproofed and we had access to it at home. In fact, on certain occasions, beekeepers were deferred from military service just to keep up production of honey and wax!
There is simply no denying the value of bees during World War II, and the benefits do not end there – even today, we can experience the gifts of beeswax in our home by burning beeswax candles! Believe it or not, in addition to waterproofing the family plane, beeswax can be used to purify the air. Beeswax releases negative ions when burning, which neutralizes the positive charge of air contaminants (like pollen, dust, and dirt), allowing them to be sucked into the burning candle or drop to the floor.
We know this information is incredibly mind blowing, but there’s more! Here are five simple steps to creating your own beeswax candles:
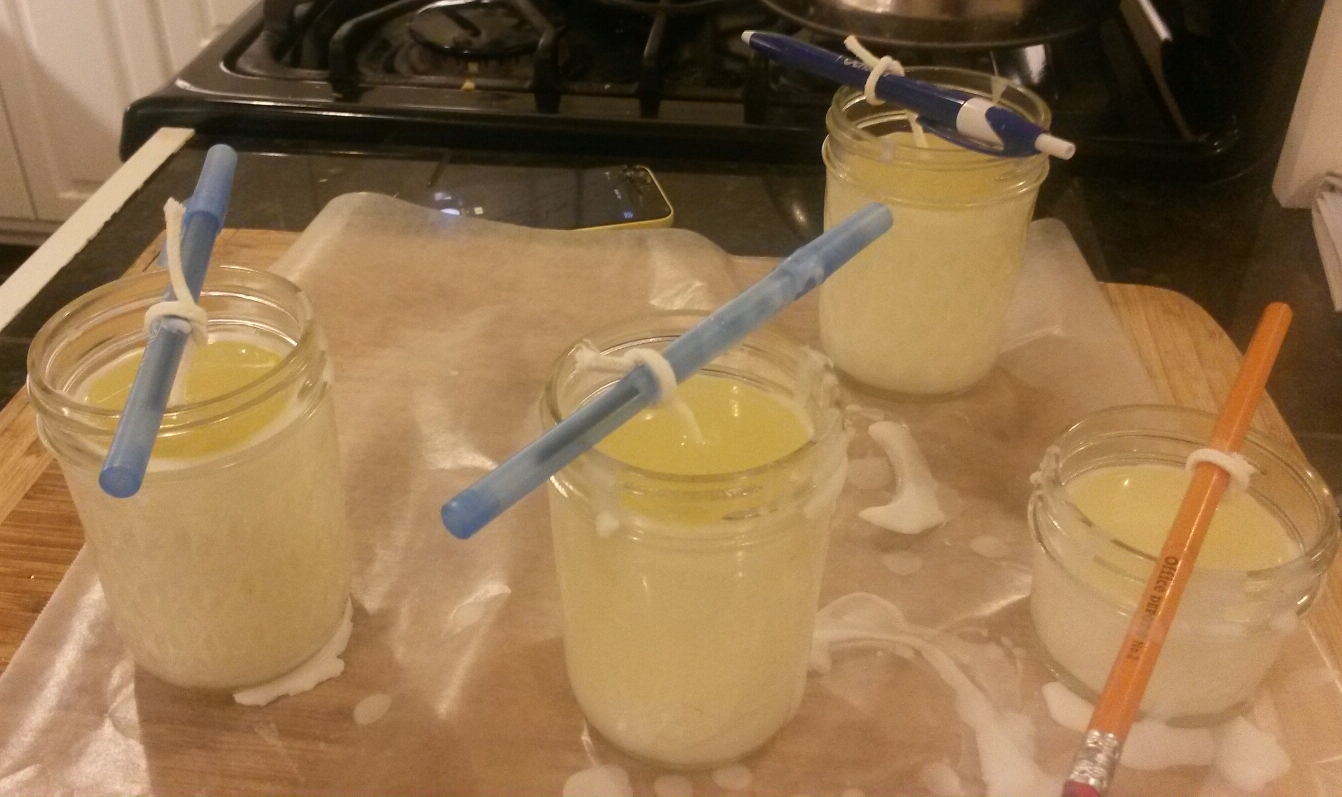
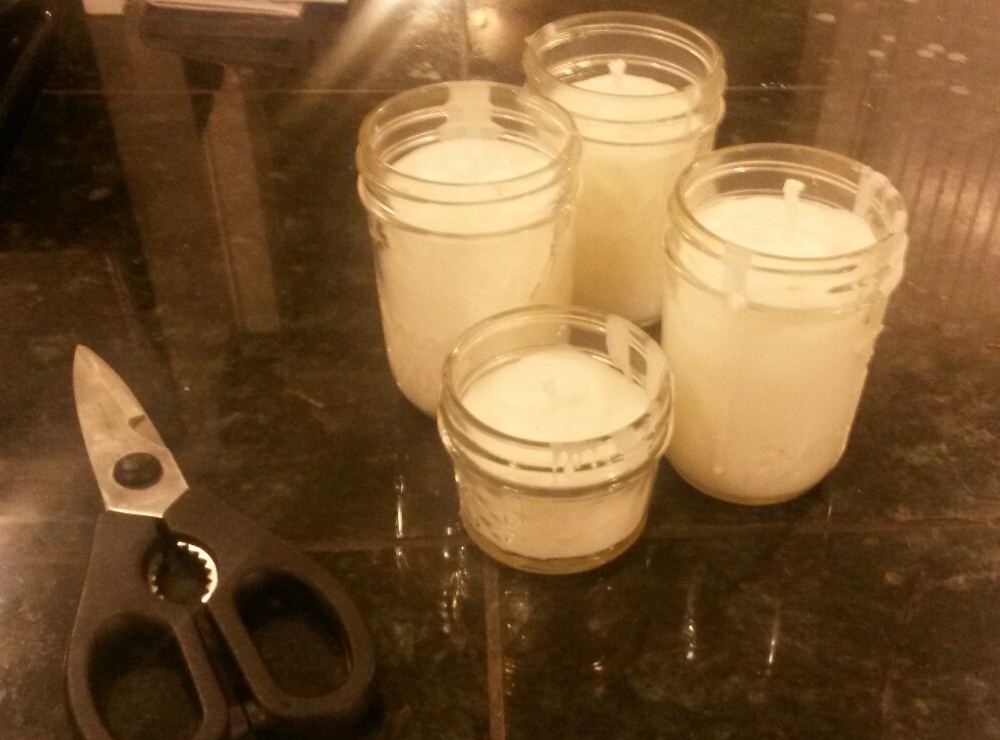
1. Prepare jars – we used mason jars found around the house. Use cotton square wicks – these are not the same as for paraffin candles as beeswax burns slower so requires a larger wick – and wrap them around a pen or pencil.
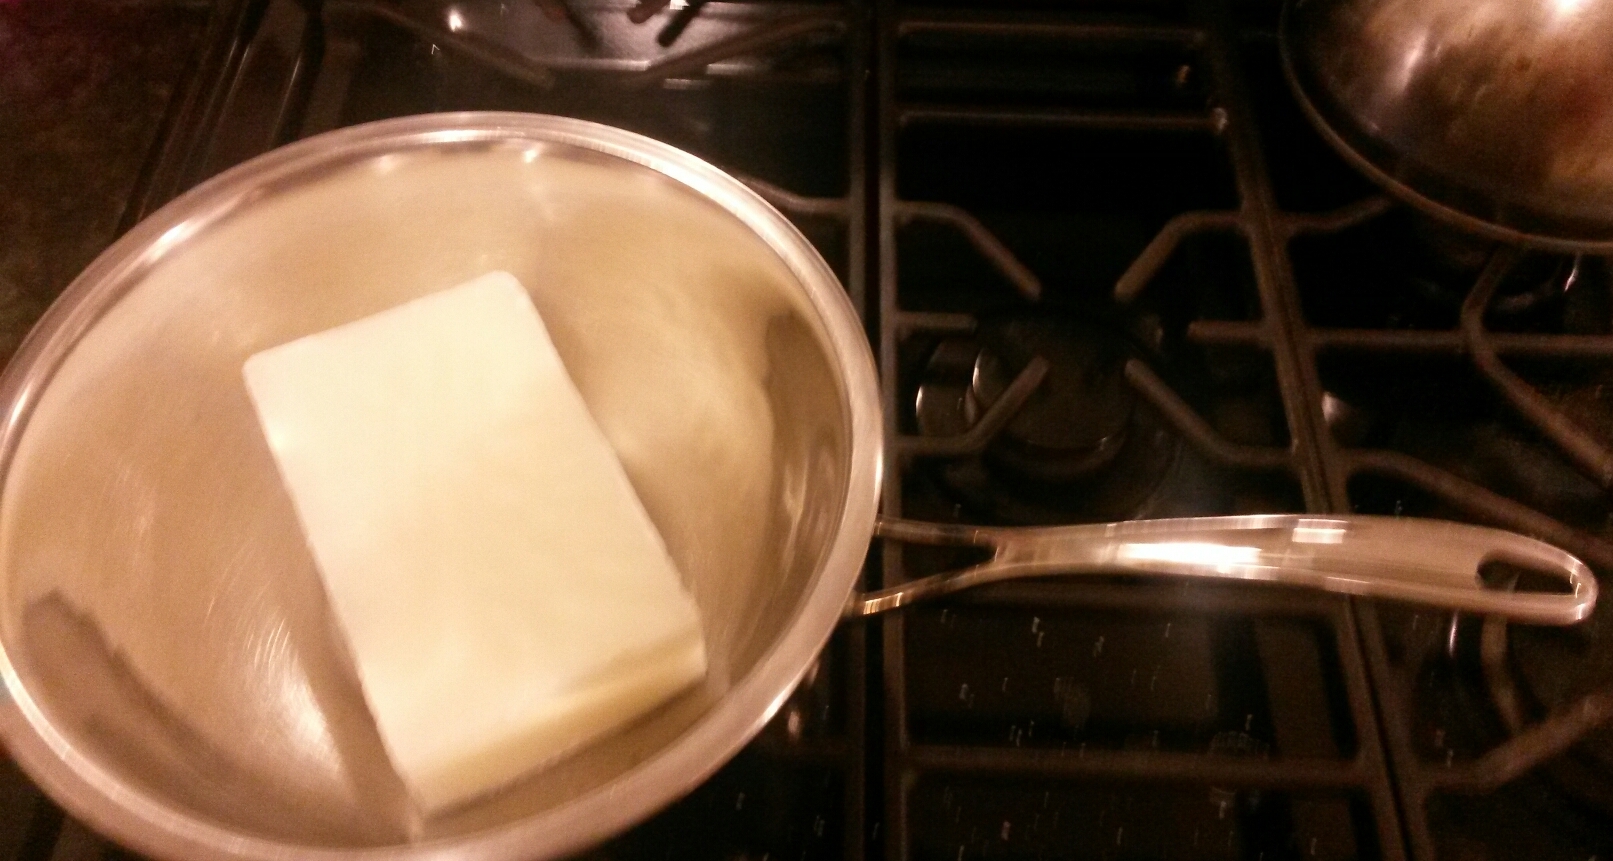
2. Melt wax – we used 1 lb of beeswax. Use a double boiler – or we used a small metal mixing bowl inside of a saucepan. After the wax is melted, add about ¾ cup of coconut oil. It smells lovely, but any oil will do.
3. Set wick – pour just a bit at first to get the wick to stick.
4. Pour candle – After about a minute, the jar can be filled the rest of the way with the melted wax.
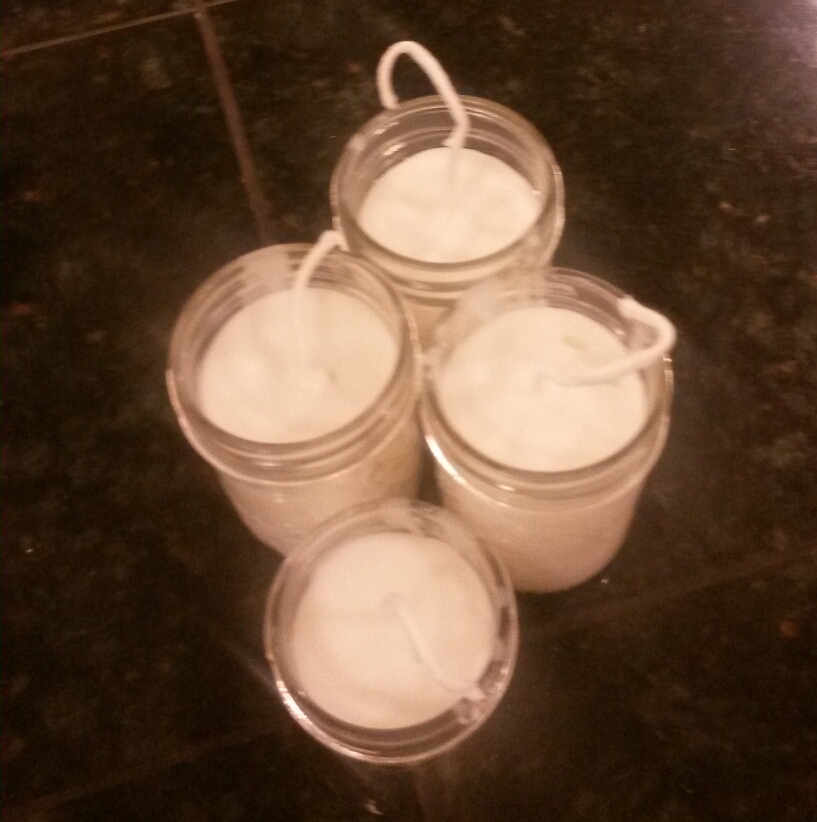
5. Trim wick – after you are sure the wax is set, go ahead and trim your wick. But wait to burn the candles for 24 hours, just to make sure the mixture is set.
Voila! The instructions were what we found worked after consulting many DIY candle-making websites. Should you like more comprehensive information, such as using alternate sized jars or wicks, or how to filter beeswax, we found this blog very enlightening.
Posted by Laurel Taylor, Education Intern and Lauren Handley, Assistant Director of Education for Public Programs at the World War II Museum
Home Front Friday is a regular series that highlights the can do spirit on the Home Front during World War II and illustrates how that spirit is still alive today!
Tomorrow is February 14, and if you haven’t been living under a rock your entire life, you know that means Valentine’s Day. For some of us, this holiday is filled with chocolates, roses, and sweet romance. For others, it is a day to wallow in our loneliness, finding solace at the bottom of a wine glass or five. This year, the World War II Museum reminds you that it could always be worse…
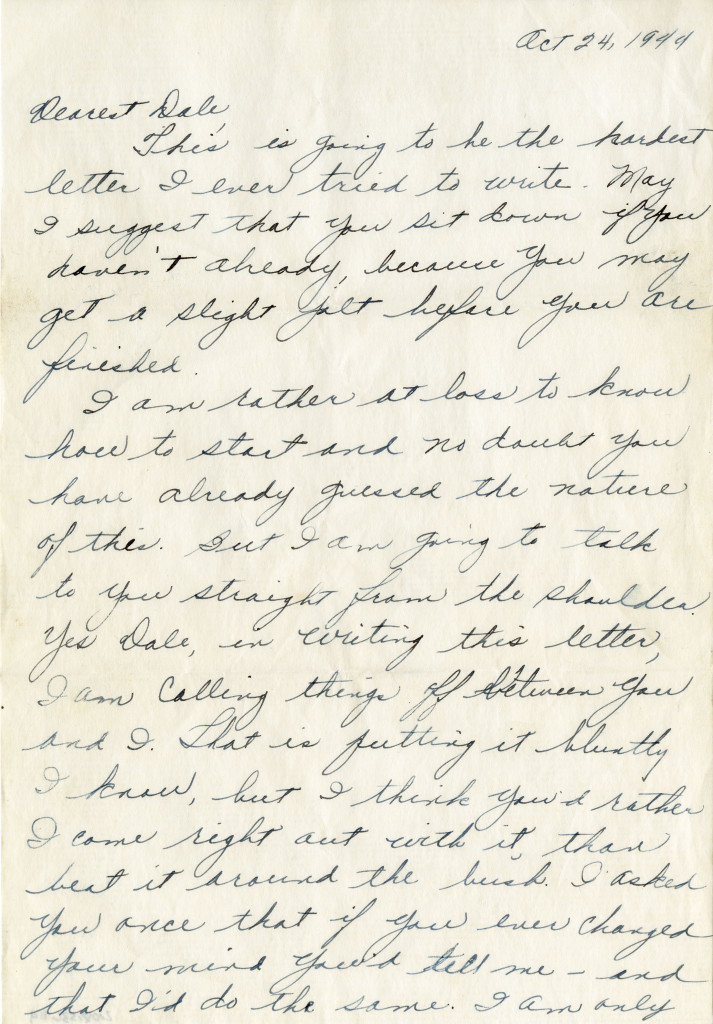
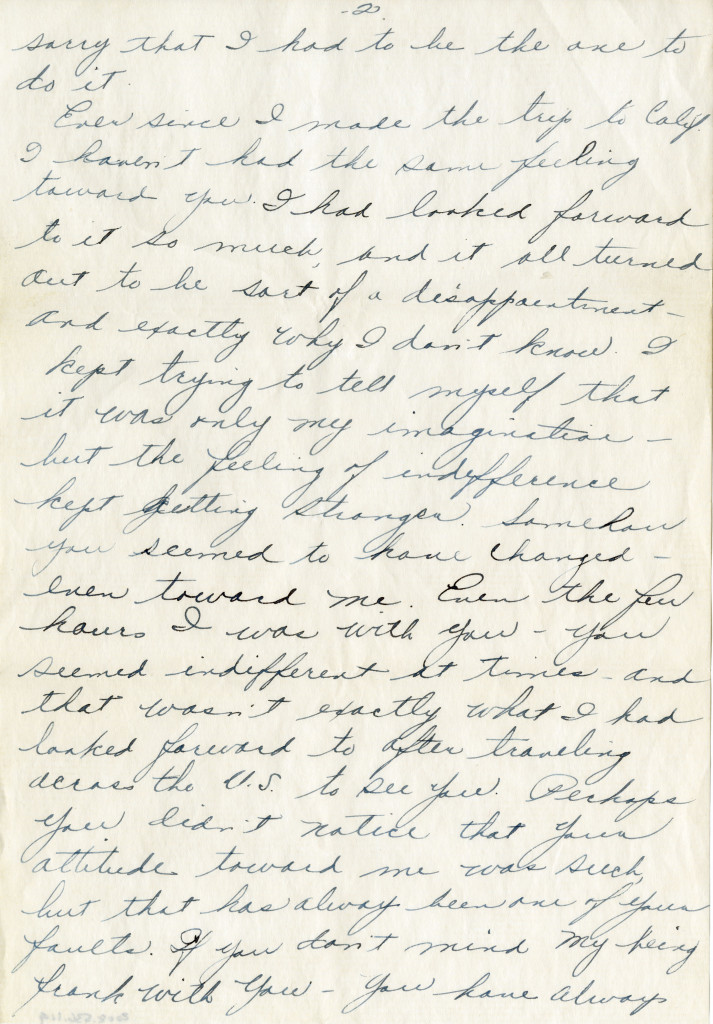
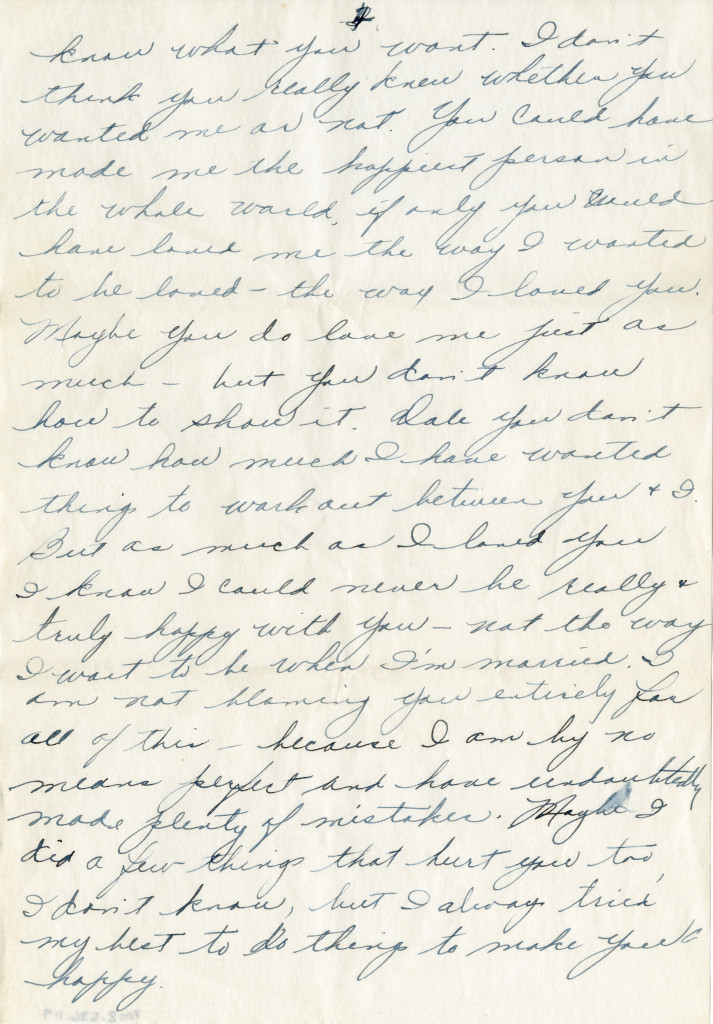
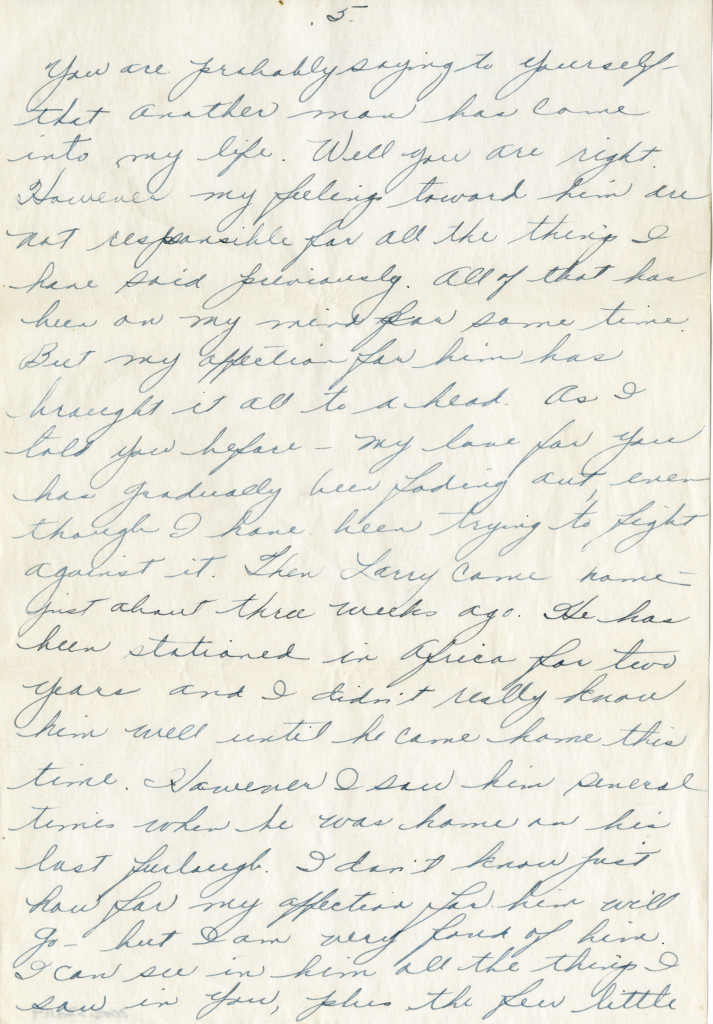
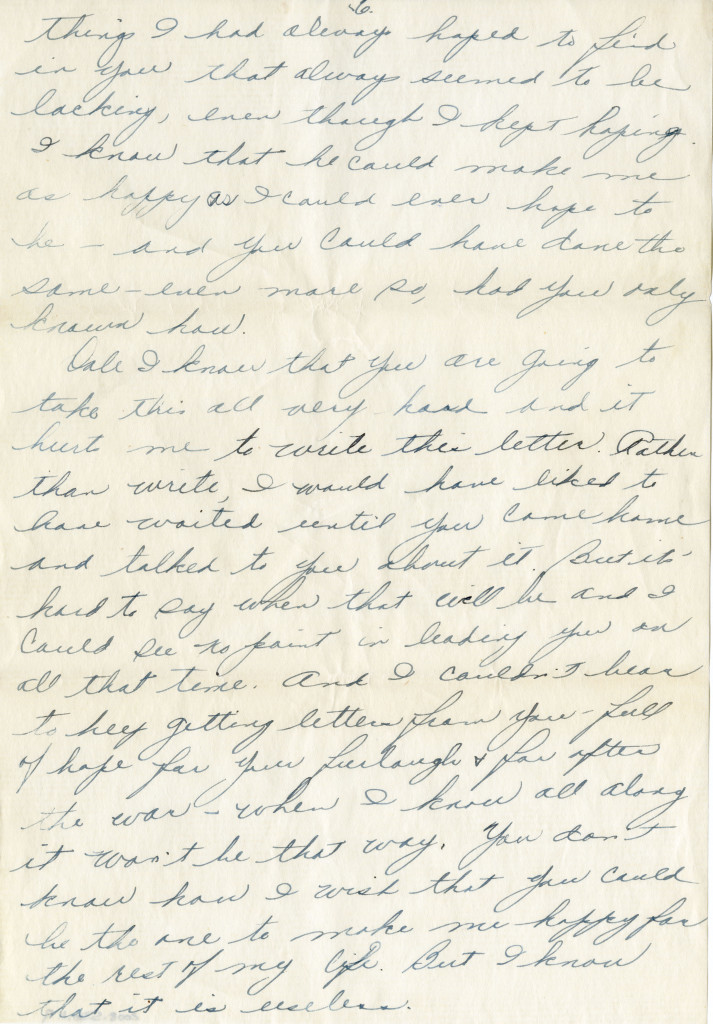
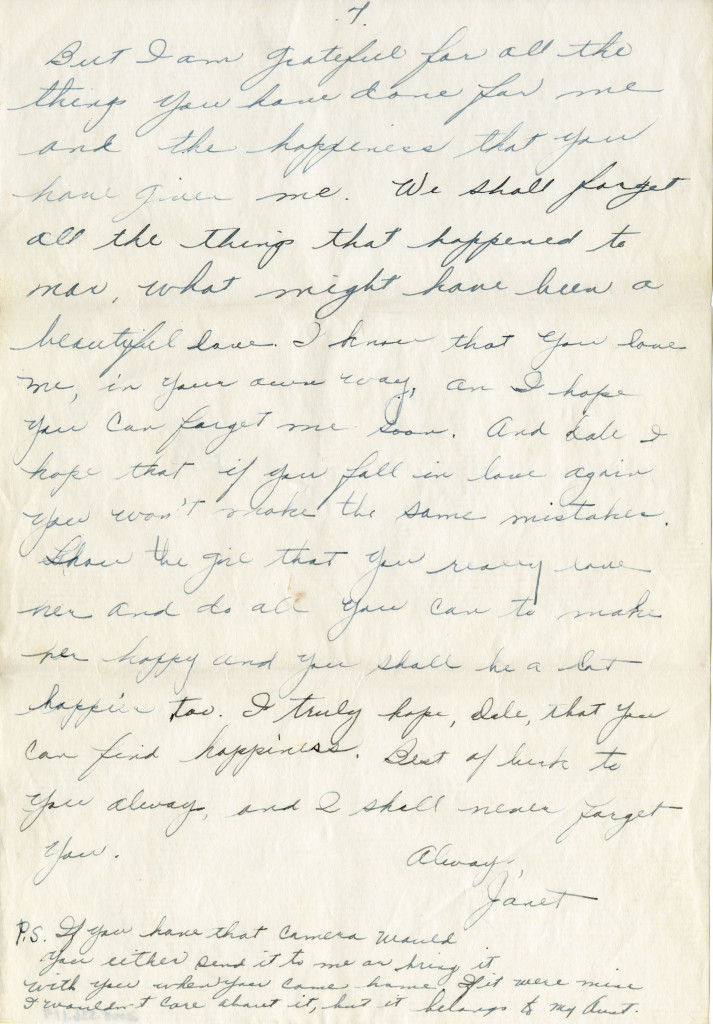
During World War II, letters were an extremely valuable form of communication between soldiers and their loved ones back home. Nothing could boost the morale of servicemen quite like hearing from darling Judy or dearest Jane during the grueling months of combat overseas. And nothing could be as devastating as Judy or Jane deciding not to await your return, but rather to move on (often) with a different man. These letters became known as “Dear John letters” during World War II. When a letter began with an abrupt “Dear John” instead of the usual “My dearest Johnny,” the content to follow was never promising.
The Warren Dale Brown Collection, Gift of Jim Simpson from the collection of The National WWII Museum.
In spite of the devastating letters, soldiers were forced to push on and finish the war, battling both their enemies and a broken heart. So, this year – keep Valentine’s Day in perspective. Though you might be celebrating solo, remember all the Johns who had it a lot worse and drink to them.
Posted by Laurel Taylor, Education Intern and Lauren Handley, Assistant Director of Education for Public Programs at the World War II Museum
Home Front Friday is a regular series that highlights the can do spirit on the Home Front during World War II and illustrates how that spirit is still alive today!
It’s a new year, and while we’re making resolutions and plans for a successful 2015, why not consider trying something different with your hair? Take a tip from the women of the 1940s who could set a pin curl like it was nobody’s business. They found a way to look elegant no matter what they were doing – from nursing on the front lines to operating machinery on the home front. Whatever occasion, the vintage hairstyles popularized during WWII will bring a casual yet sophisticated look to this new year!
cover of March 3, 1941 LIFE magazine
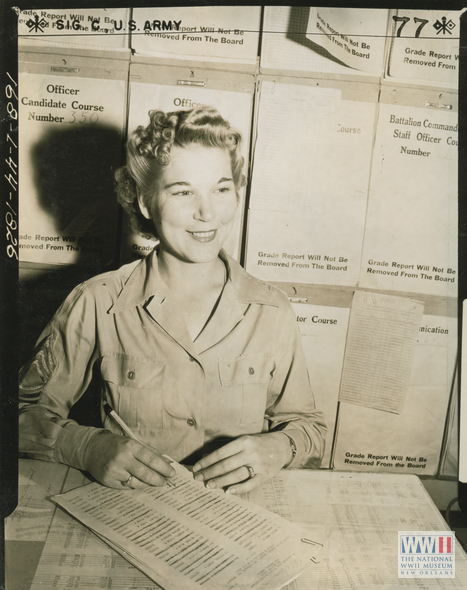
Margaret D. Bailey sorting mail at the Army Post Office, Fort Benning, Georgia on 12 July 1944
Close up portrait of a civilian woman on a California beach during World War II
The 1st WAC to hold the rank of Master Sgt. at Fort Benning, Georgia on 14 July 1944
There were multiple hairstyles during this period, that women wore whether in service, at work or at play, and you can easily recreate any of them using Lauren Rennells’s book, Vintage Hairstyling. For now, we’d love to share Rennells’s eleven simple steps to creating Victory Rolls!
This style is said to get its name from the exhaust trails left from WWII fighter plane maneuvers. Essentially, anytime hair is rolled up with a visible opening, it is a victory roll. It was useful to keep hair out of women’s faces when they entered the work force. Due to the rationing, women pulled this look off with pipe cleaners decades ago, but you won’t have to do that!
Things You’ll Need:
Hot rollers and clips
Thermal spray
Styling comb of choice
Styling brush
Bobby pins
Hairspray
Pomade
Step 1: Set the hair in hot rollers and let cool. Hair can be slippery and if hair is too fine, the rolls may look skimpy. For this reason, back brushing or teasing is helpful. It adds locking power to the roll and fullness for high impact. Hold the entire piece that will be rolled up in the direction it will be rolled. Use a brush or comb to tease gently.
Step 2: Then use a comb to smooth out the hair that will be on the outside of the roll. Spray a little hairspray on the hair to hold on to what was just formed.
Step 3: This is where the bend from the hot rollers comes in handy. Allow the ends that now curl to curl into themselves.
victory rolls on the cover of March 3, 1941 LIFE magazine
Step 4: This style works nicely when the ends of the hair are actually hidden inside the roll. It creates support in the style and staying power.
Step 5: Hide large bobby pins inside the roll to attach to the hair at the scalp.
Step 6: The victory roll can be made any size. Traditionally, it sits on top of the head facing forward, but experiment with different directions and placement. See the Final Styles section of the book for creative things to do with victory rolls.
Step 7 & 8: If it is not desired to see through the roll, gently insert a comb at the side of the roll and shift the hair back until the side of the roll is lying flag against the hair.
Step 9: Insert a couple of small bobby pins where the hair has been pressed against the head to hold a beautiful swoop.
Step 10: Victory rolls can be created with any amount of hair desired. For this demonstration, very large pieces have been used, but breaking it up into smaller, more manageable pieces makes for good practice.
Step 11: The second section of hair is rolled back, but held at a diagonal to center the roll. Also experiment with the direction that the section of hair is pulled to achieve different placement. Notice the first roll was pulled straight up for its base placement.
If you like the classic and beautiful hairstyles of the 40’s and 50’s, try this (or another style) out for yourself and start 2015 with a bang (pun intended)!
Posted by Laurel Taylor, Education Intern and Lauren Handley, Assistant Director of Education for Public Programs at The National WWII Museum.
Home Front Friday is a regular series that highlights the can do spirit on the Home Front during World War II and illustrates how that spirit is still alive today!
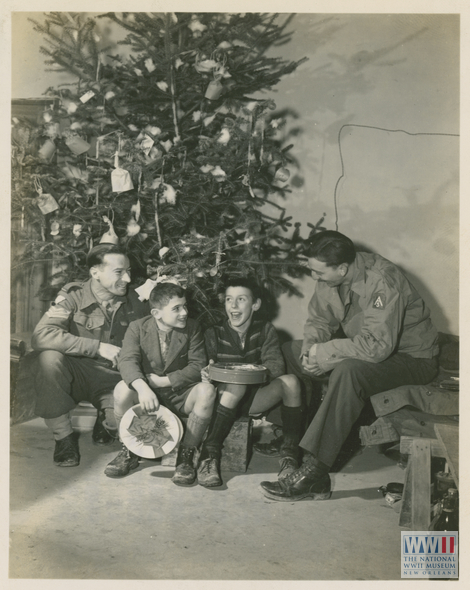
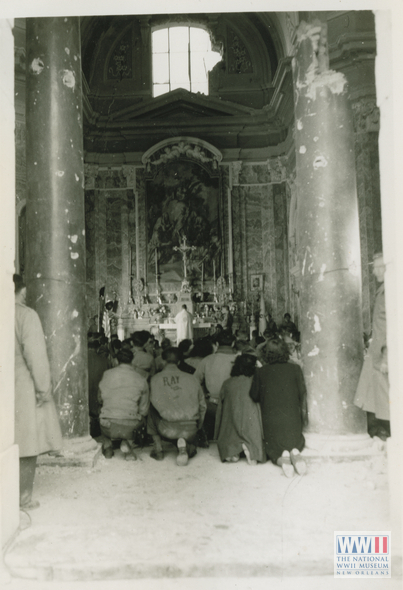
The holidays are upon us. Many take this time to be grateful for the things in our lives that give us peace and solace. We take the time to say thank you to people who touch our lives in different ways. In the spirit of the season, we can also remember those who protect our way of life. During World War II, tens of millions men and women were stationed all over the world far from home. Some had moved to do war work in a factory. Others were training for combat or in support roles helping America’s fighting forces. Several years in a row, many hoped the war would be over by the end of year. But Americans celebrated Christmas all over the world.
An American and a British soldier with two Italian boys under a Christmas tree on Christmas day 1944 near Scarperia, Italy
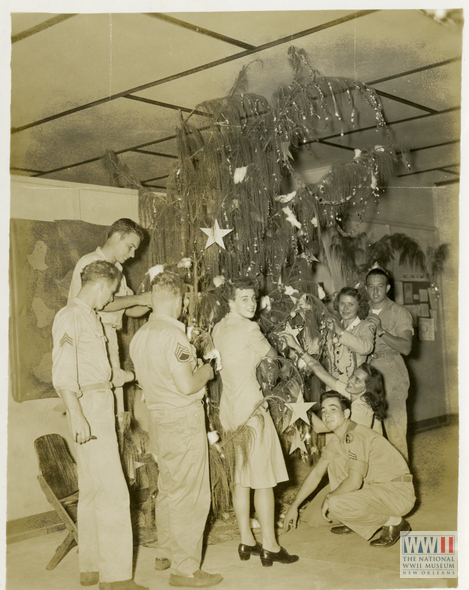
U.S. servicemen and Red Cross women decorating a Christmas tree at the Times Square Club, an American Red Cross club on Tinian
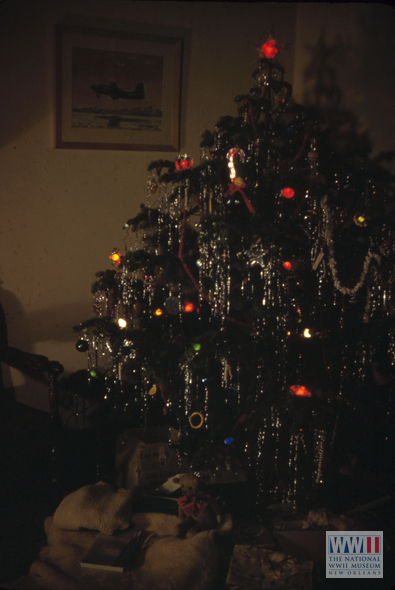
Christmas tree and gifts inside a home in Whittier, California in 1943
Today, we can look back with Christmases past with nostalgia and confidence that the war did end. When you reflect upon the past year, consider our veterans, both from World War II and since, that may not have spent the holidays at home with their families.
Some things you can do:
Write a letter to a veteran thanking him/her for his/her service.
When you bake cookies, bake an extra dozen and give them to a local vet center or research how to send them to active duty troops away from home this holiday season.
Home Front Friday is a regular series that highlights the can do spirit on the Home Front during World War II and illustrates how that spirit is still alive today!
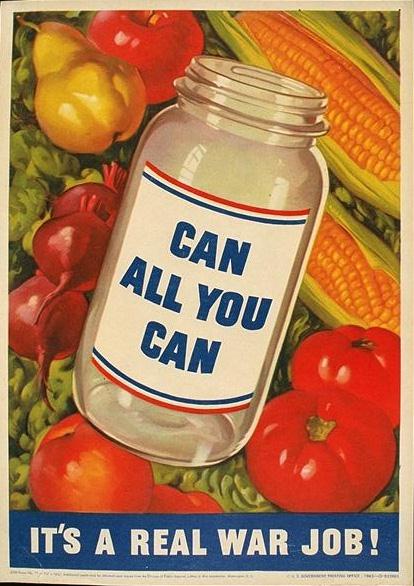
Canning and preserving was a great way to save up the bounty from the nation’s millions of Victory Gardens. Community canning centers opened so equipment could be shared amongst neighbors. Mason jar companies produced booklets, propaganda posters encouraging canning appeared around town, and many people got into the canning spirit. Canning is becoming popular again today as more people grab seasonal produce from local gardens.
If you are a novice canner, it can seem overwhelming. But this simple recipe below using produce from the local farmer’s market is easy and fun and doesn’t even need pectin or a pressure cooker! And it can make a nice homemade holiday gift.
Persimmon-Apple Jam
Ingredients:
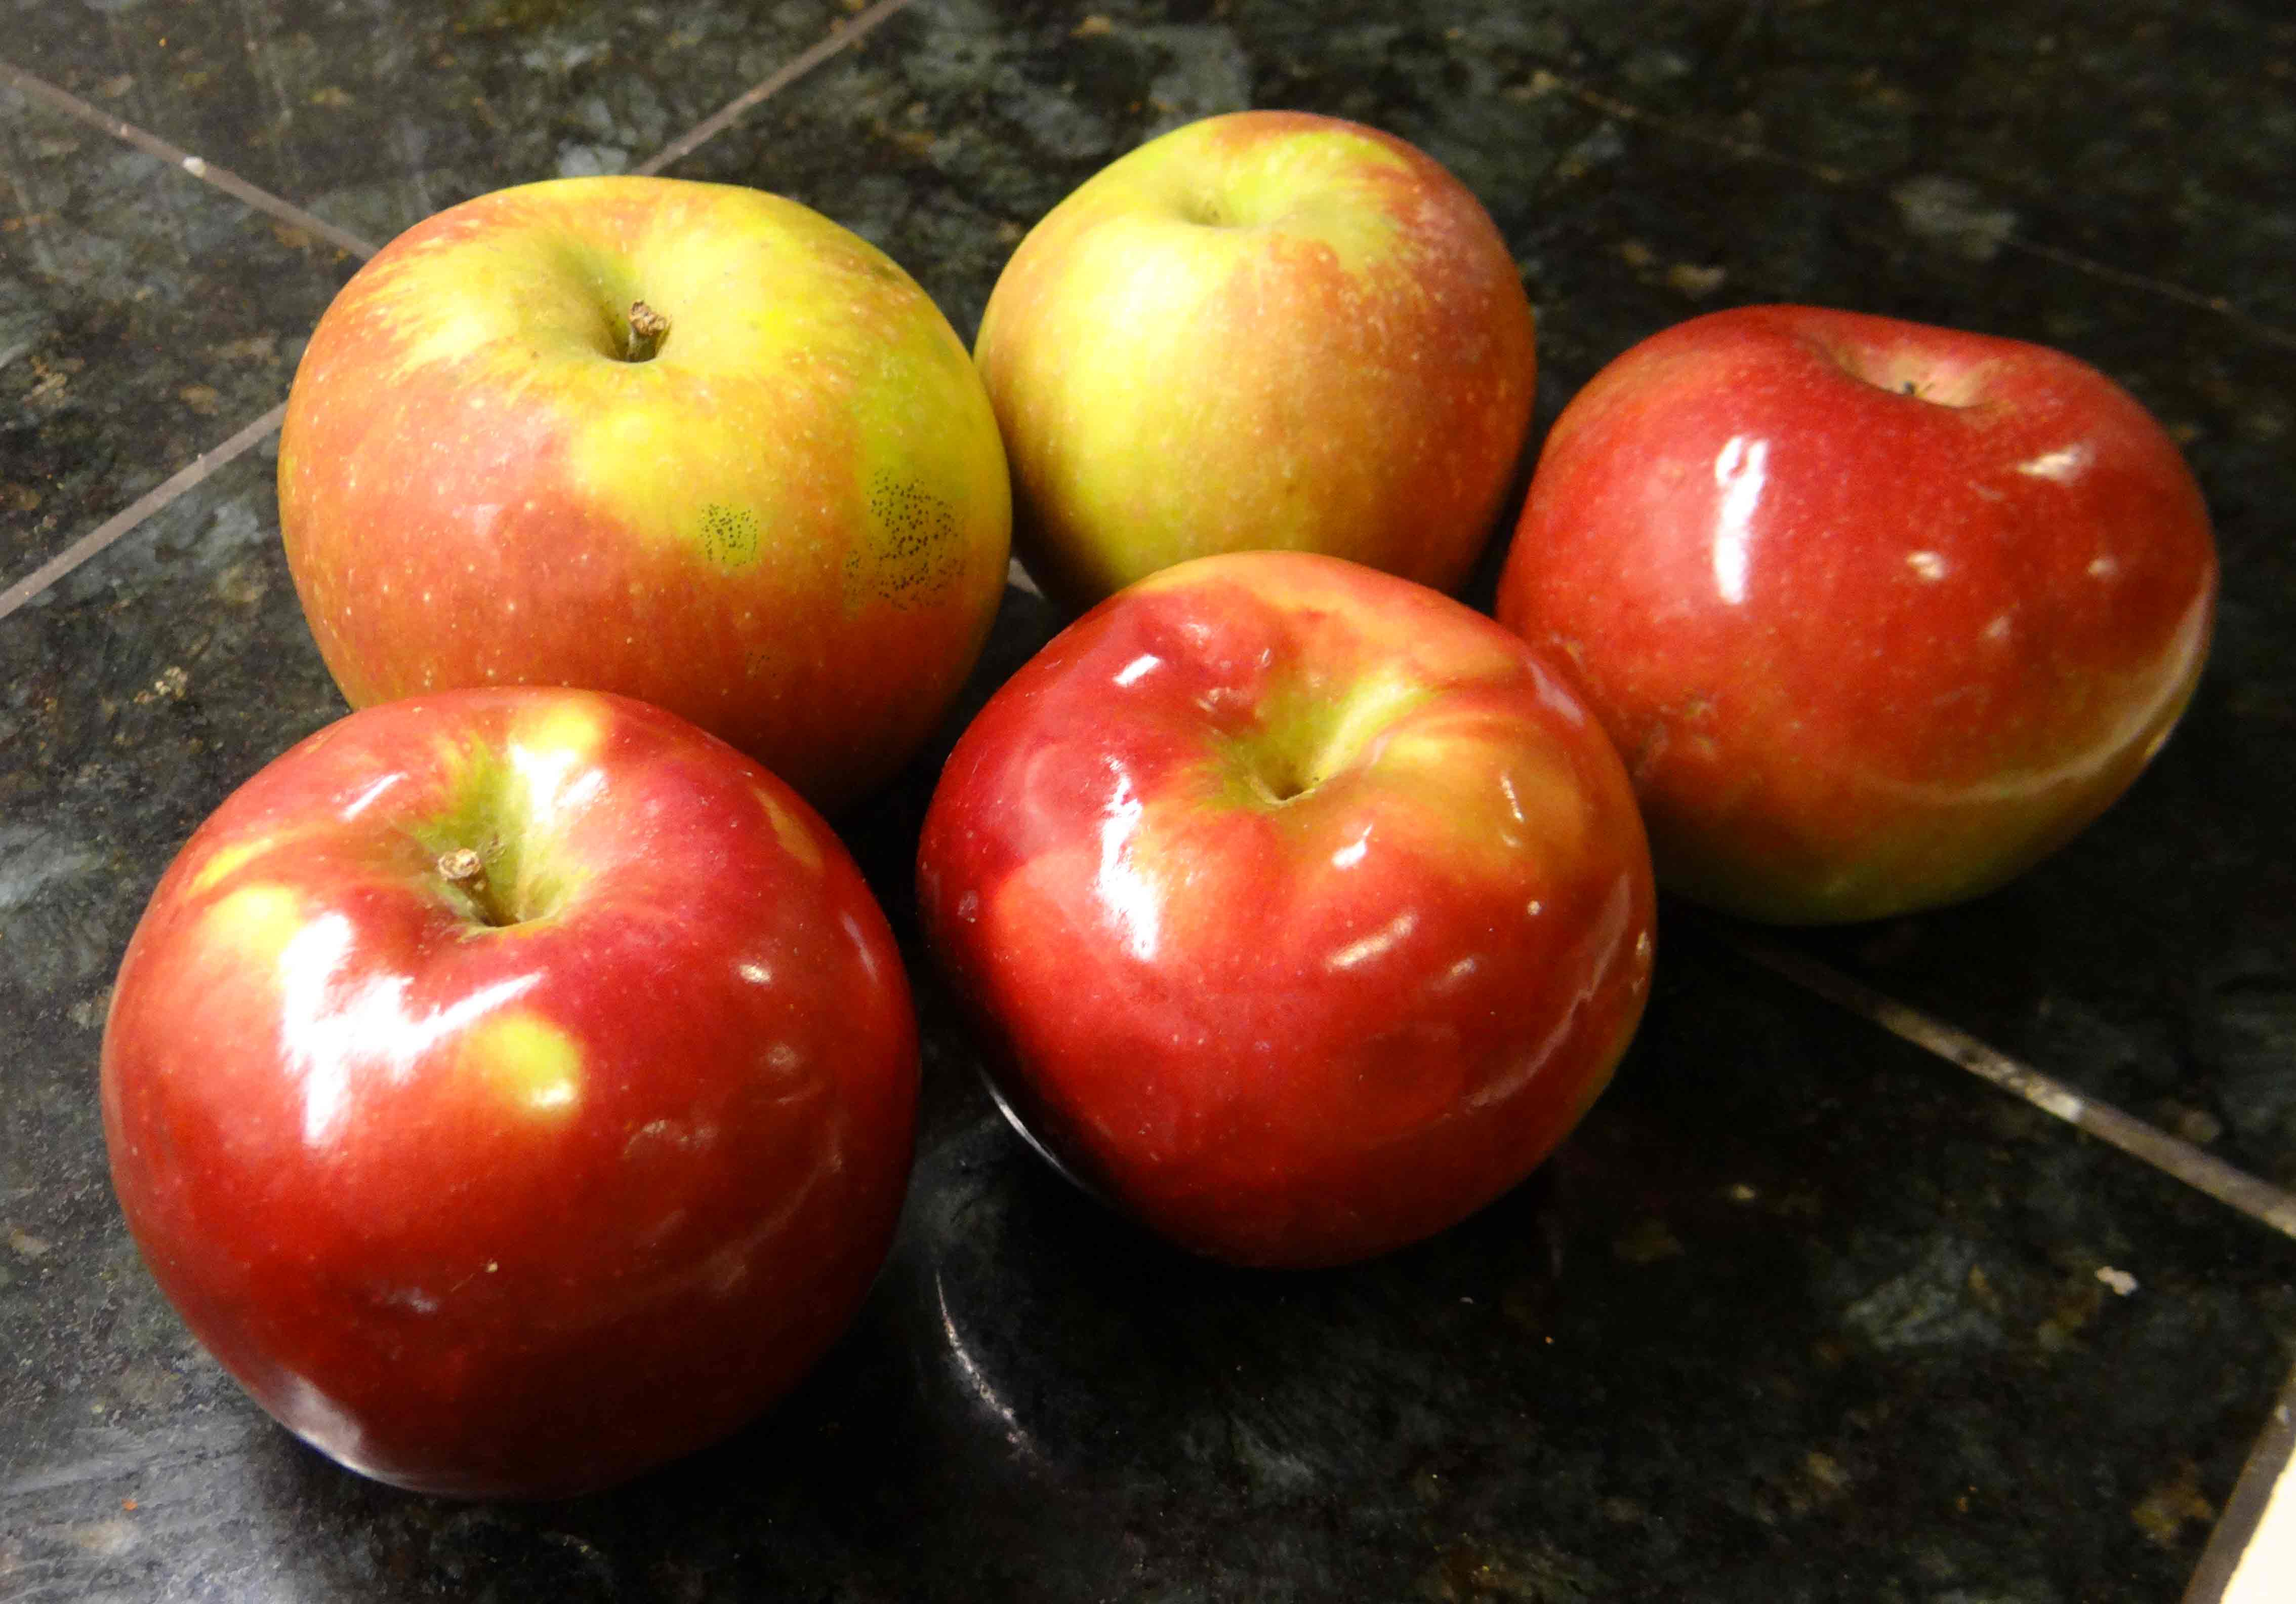
5 apples
5 apples, peeled, cored, and sliced.
You can also add to the food processor if you want a smoother jam.
We used Macintosh, but any baking apple works.
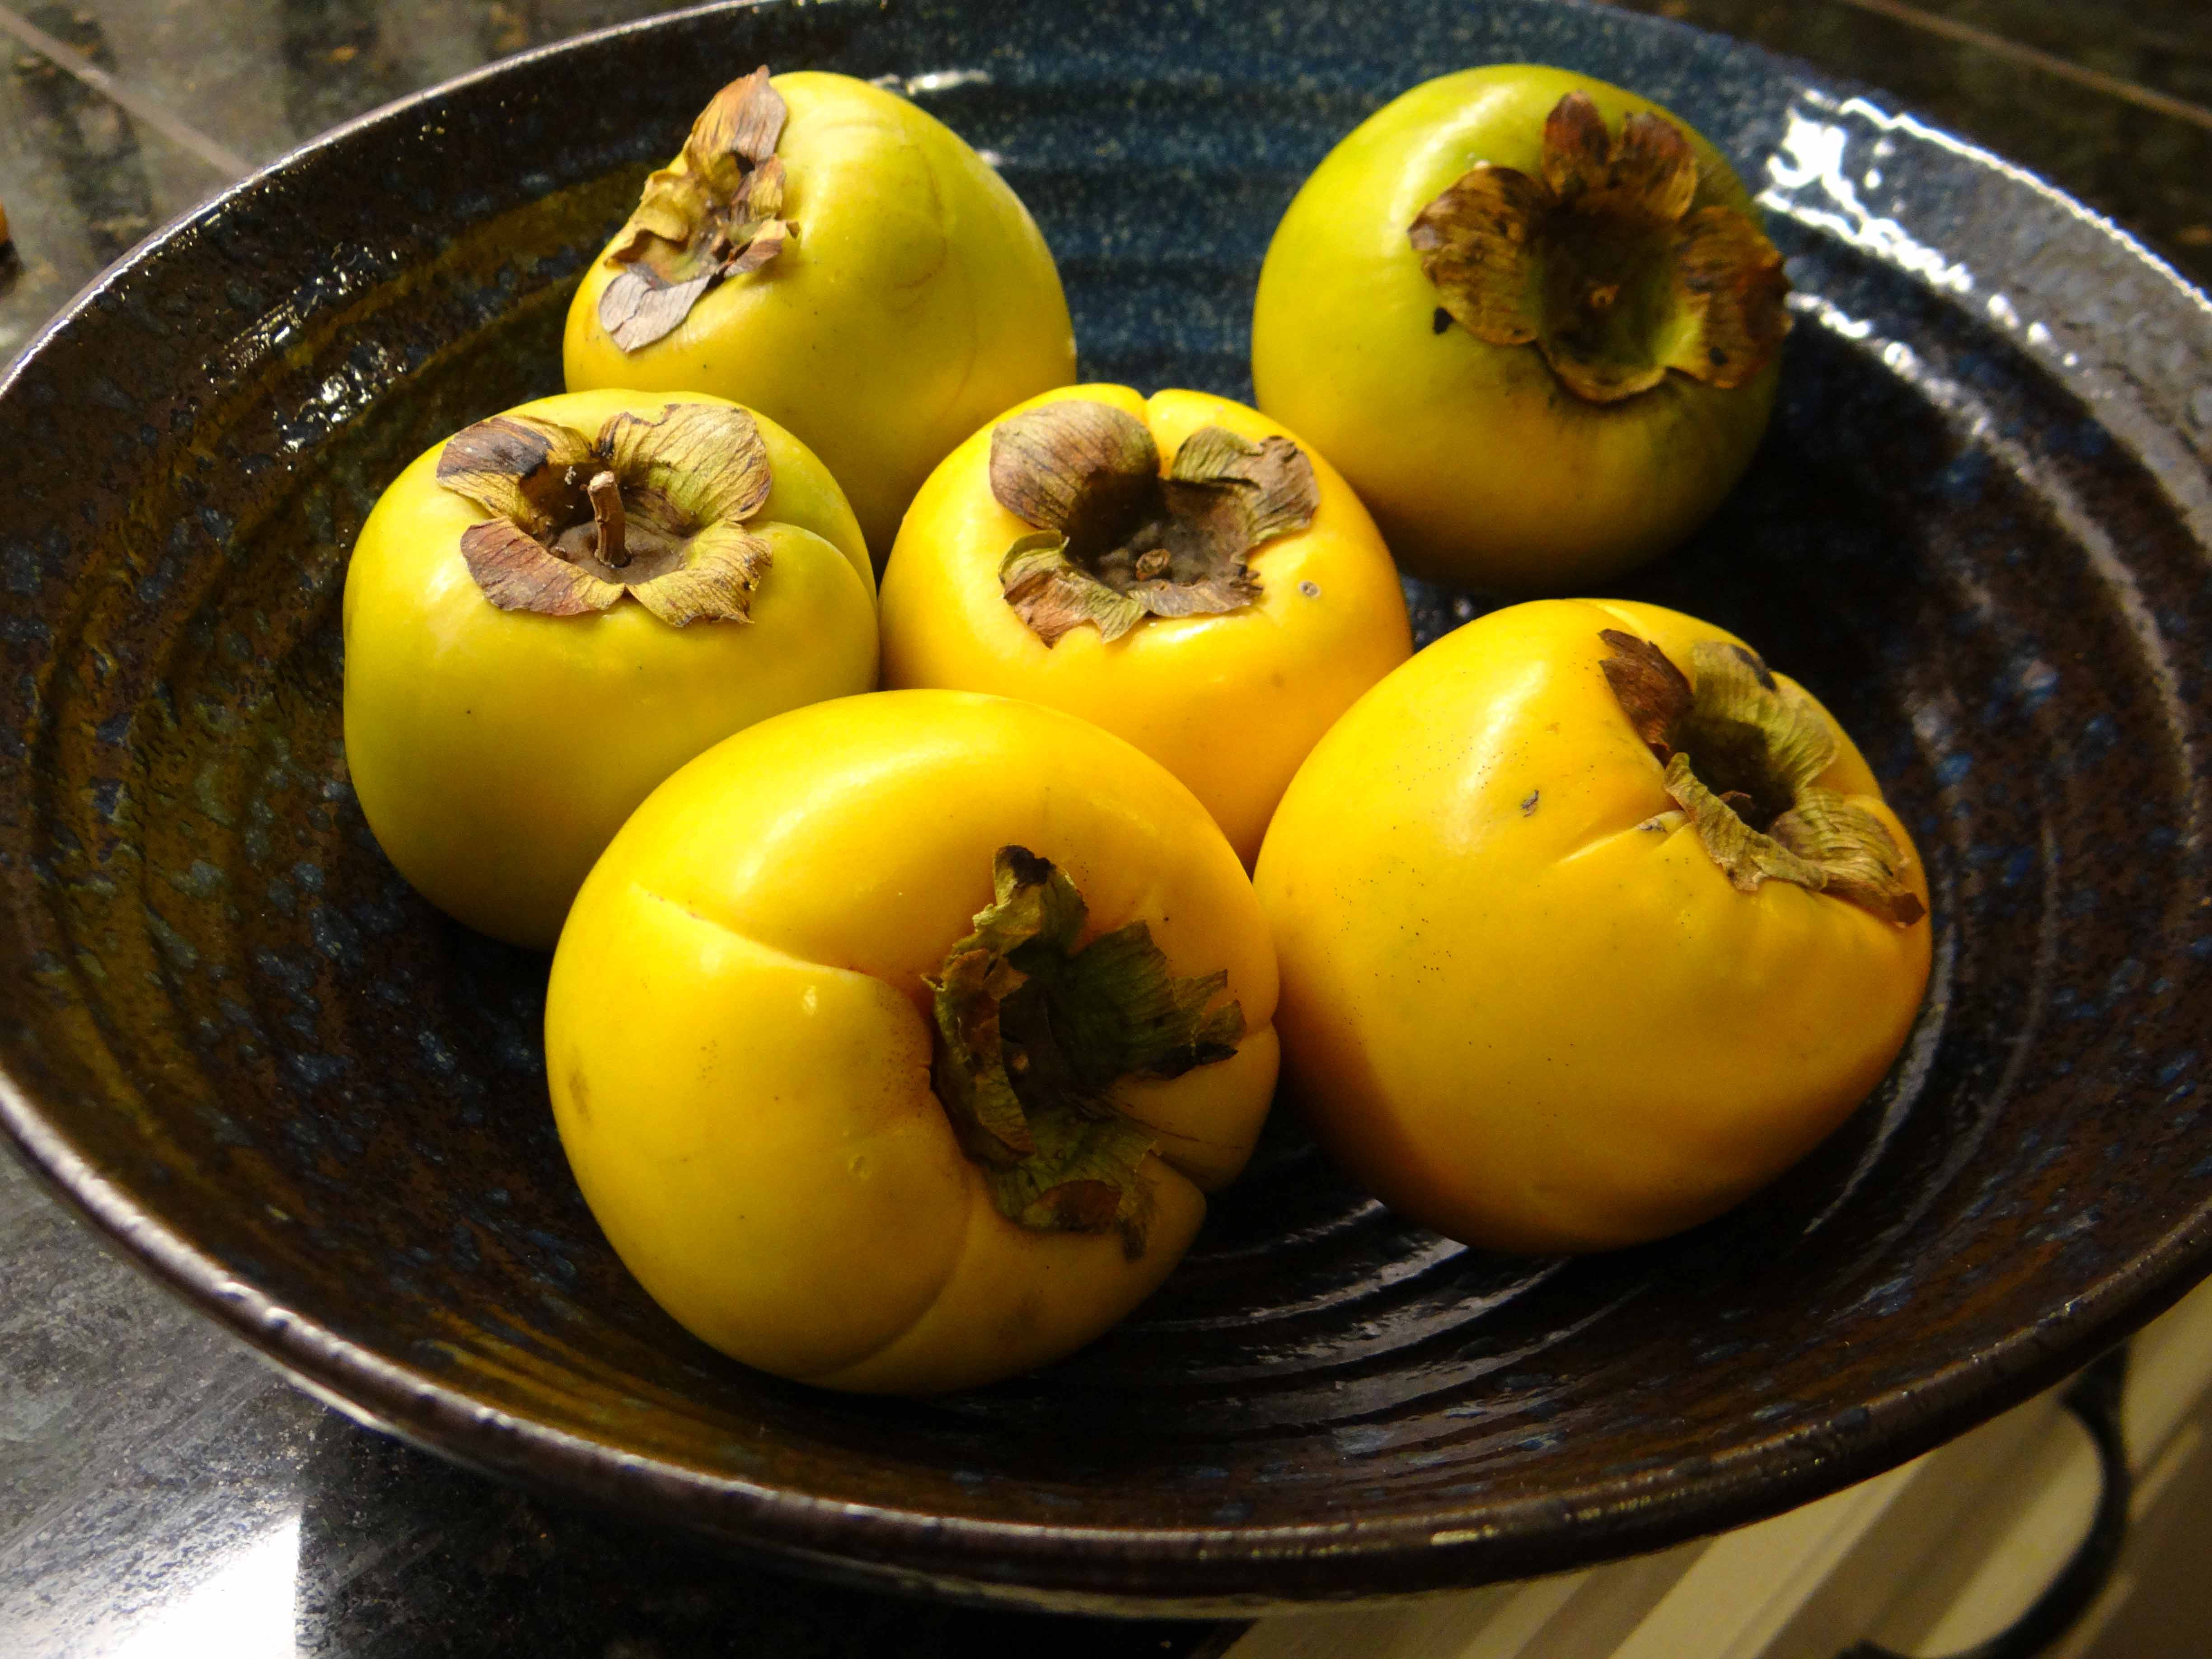
6 persimmons
6 Fuyu persimmons, peeled, leaves removed, pureed in a food processor with 2 cups water.
2 tablespoons of ginger finely chopped.
zest and juice of 2 limes.
3 cups of sugar.
Process:
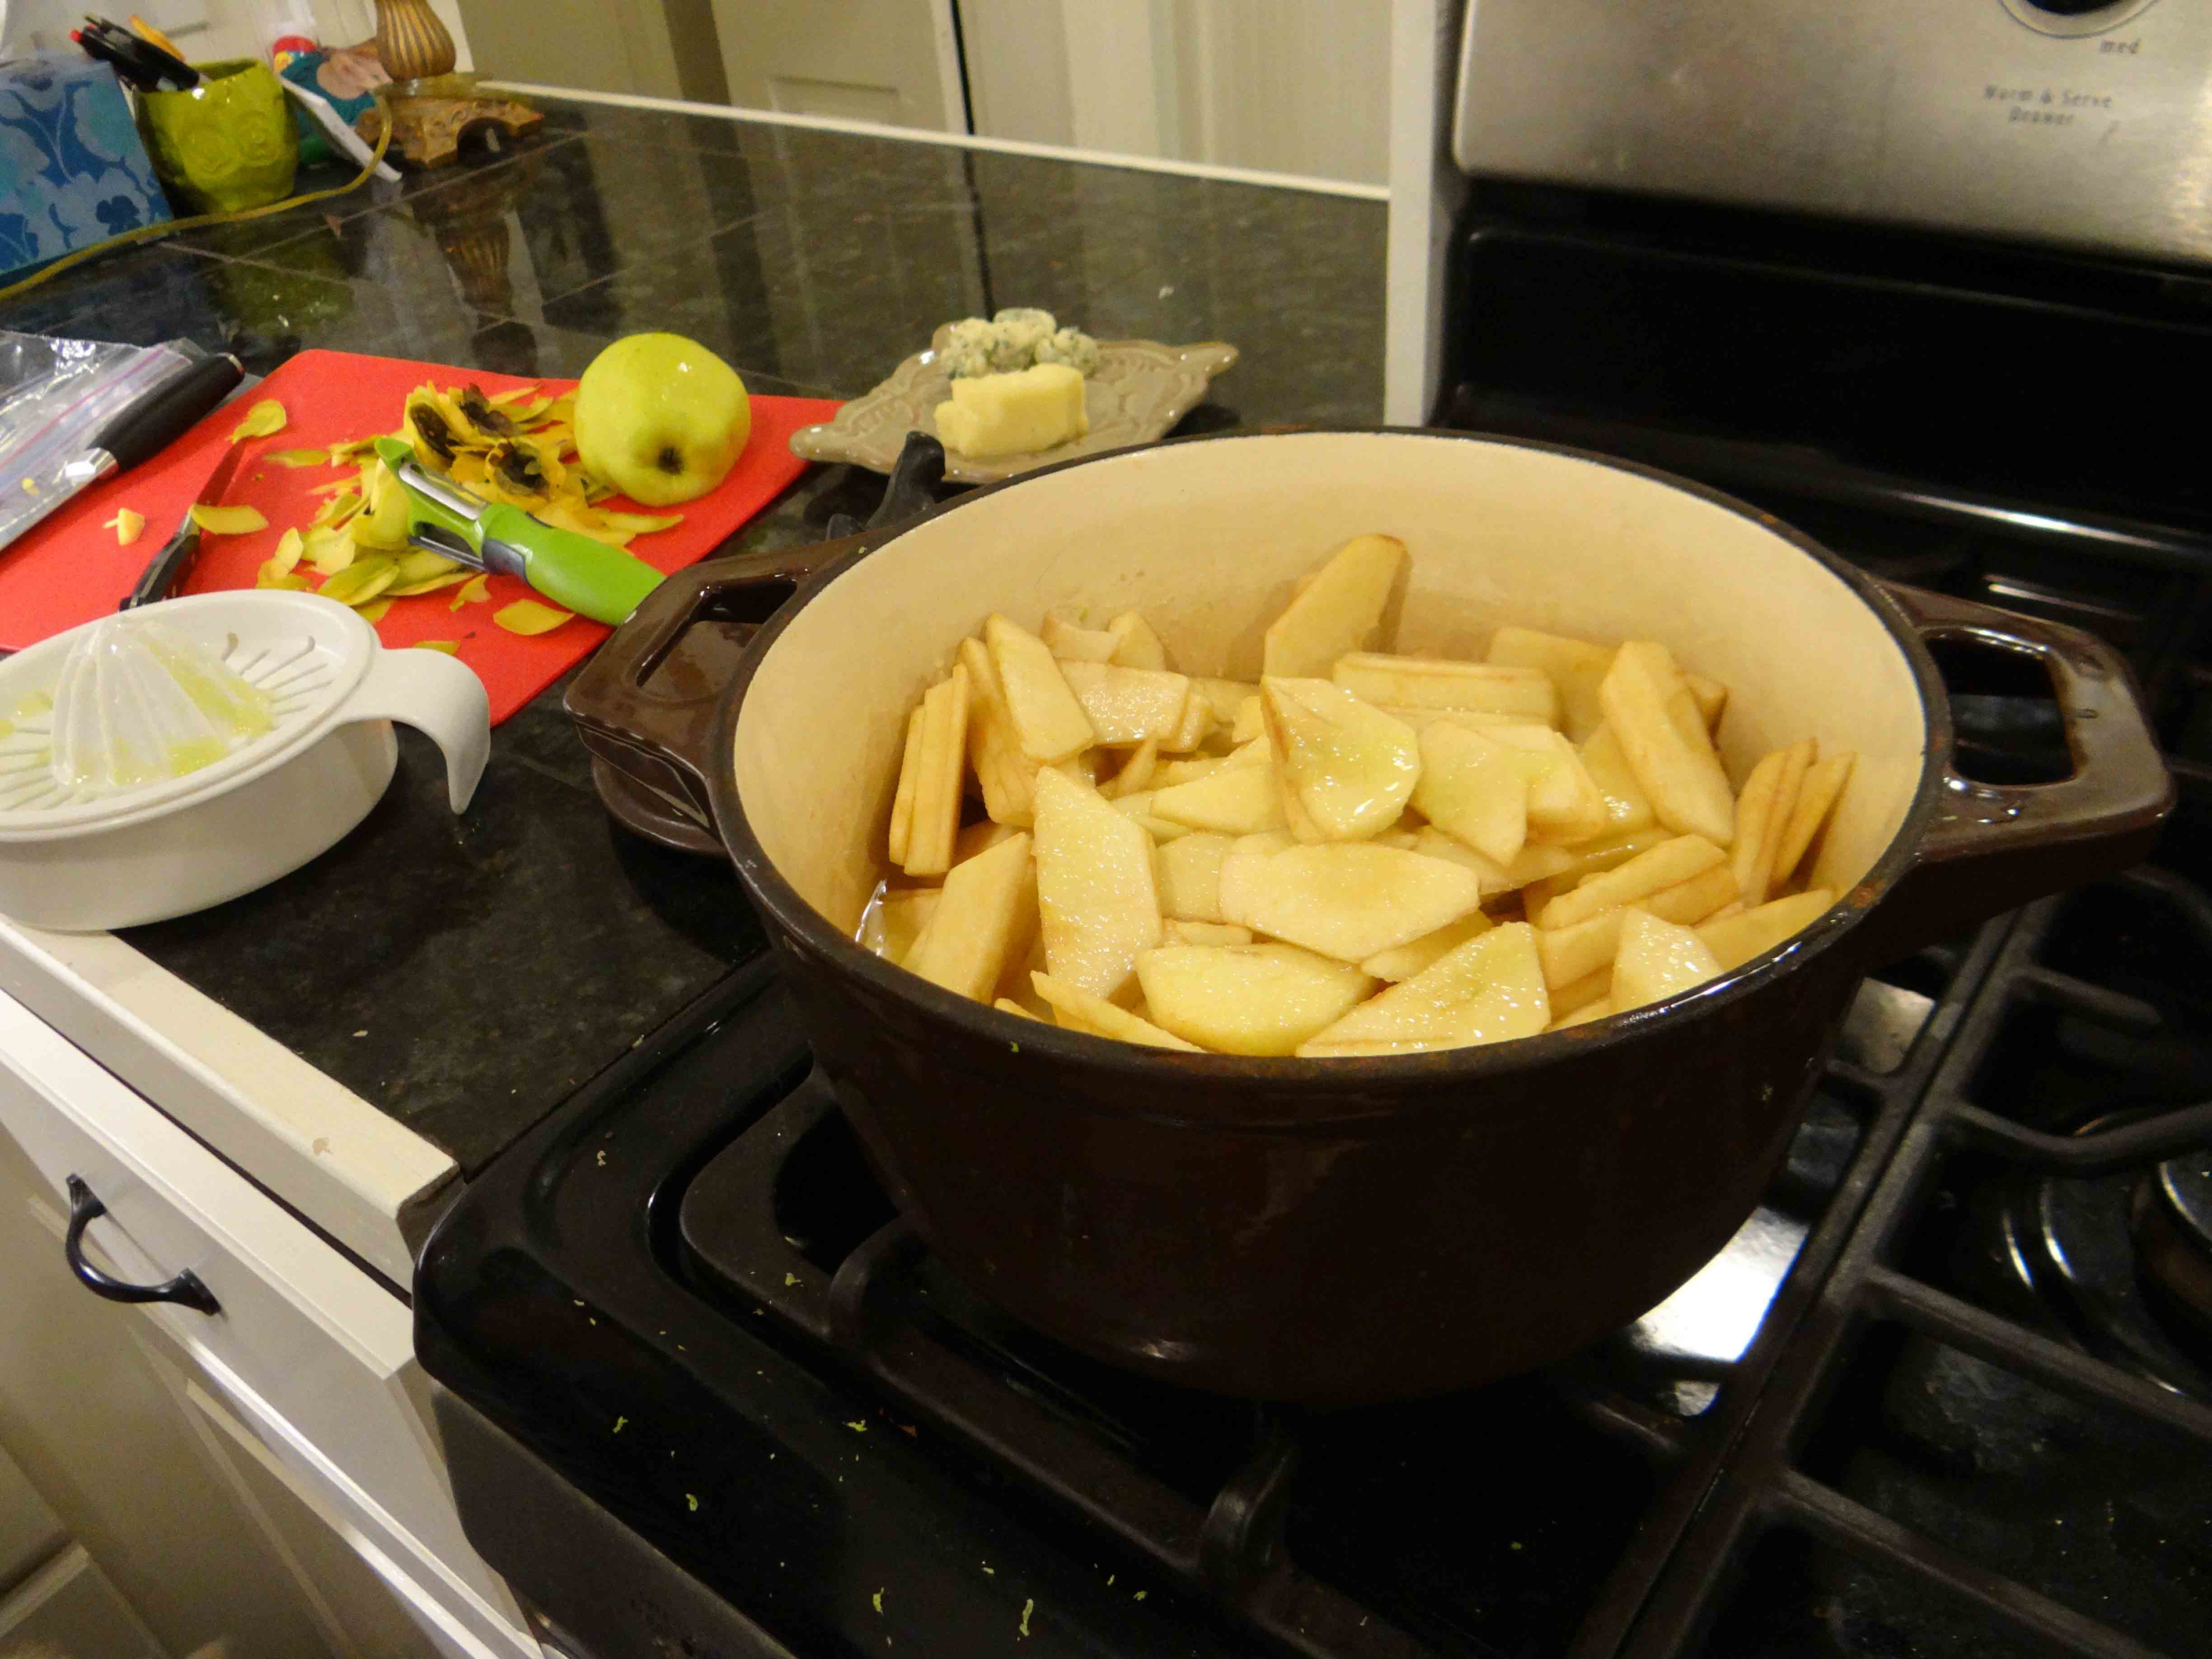
ingredients in the pot
Combine all ingredients except the sugar in a non-reactive pan. Bring to a boil, turn the heat down to maintain low boil.
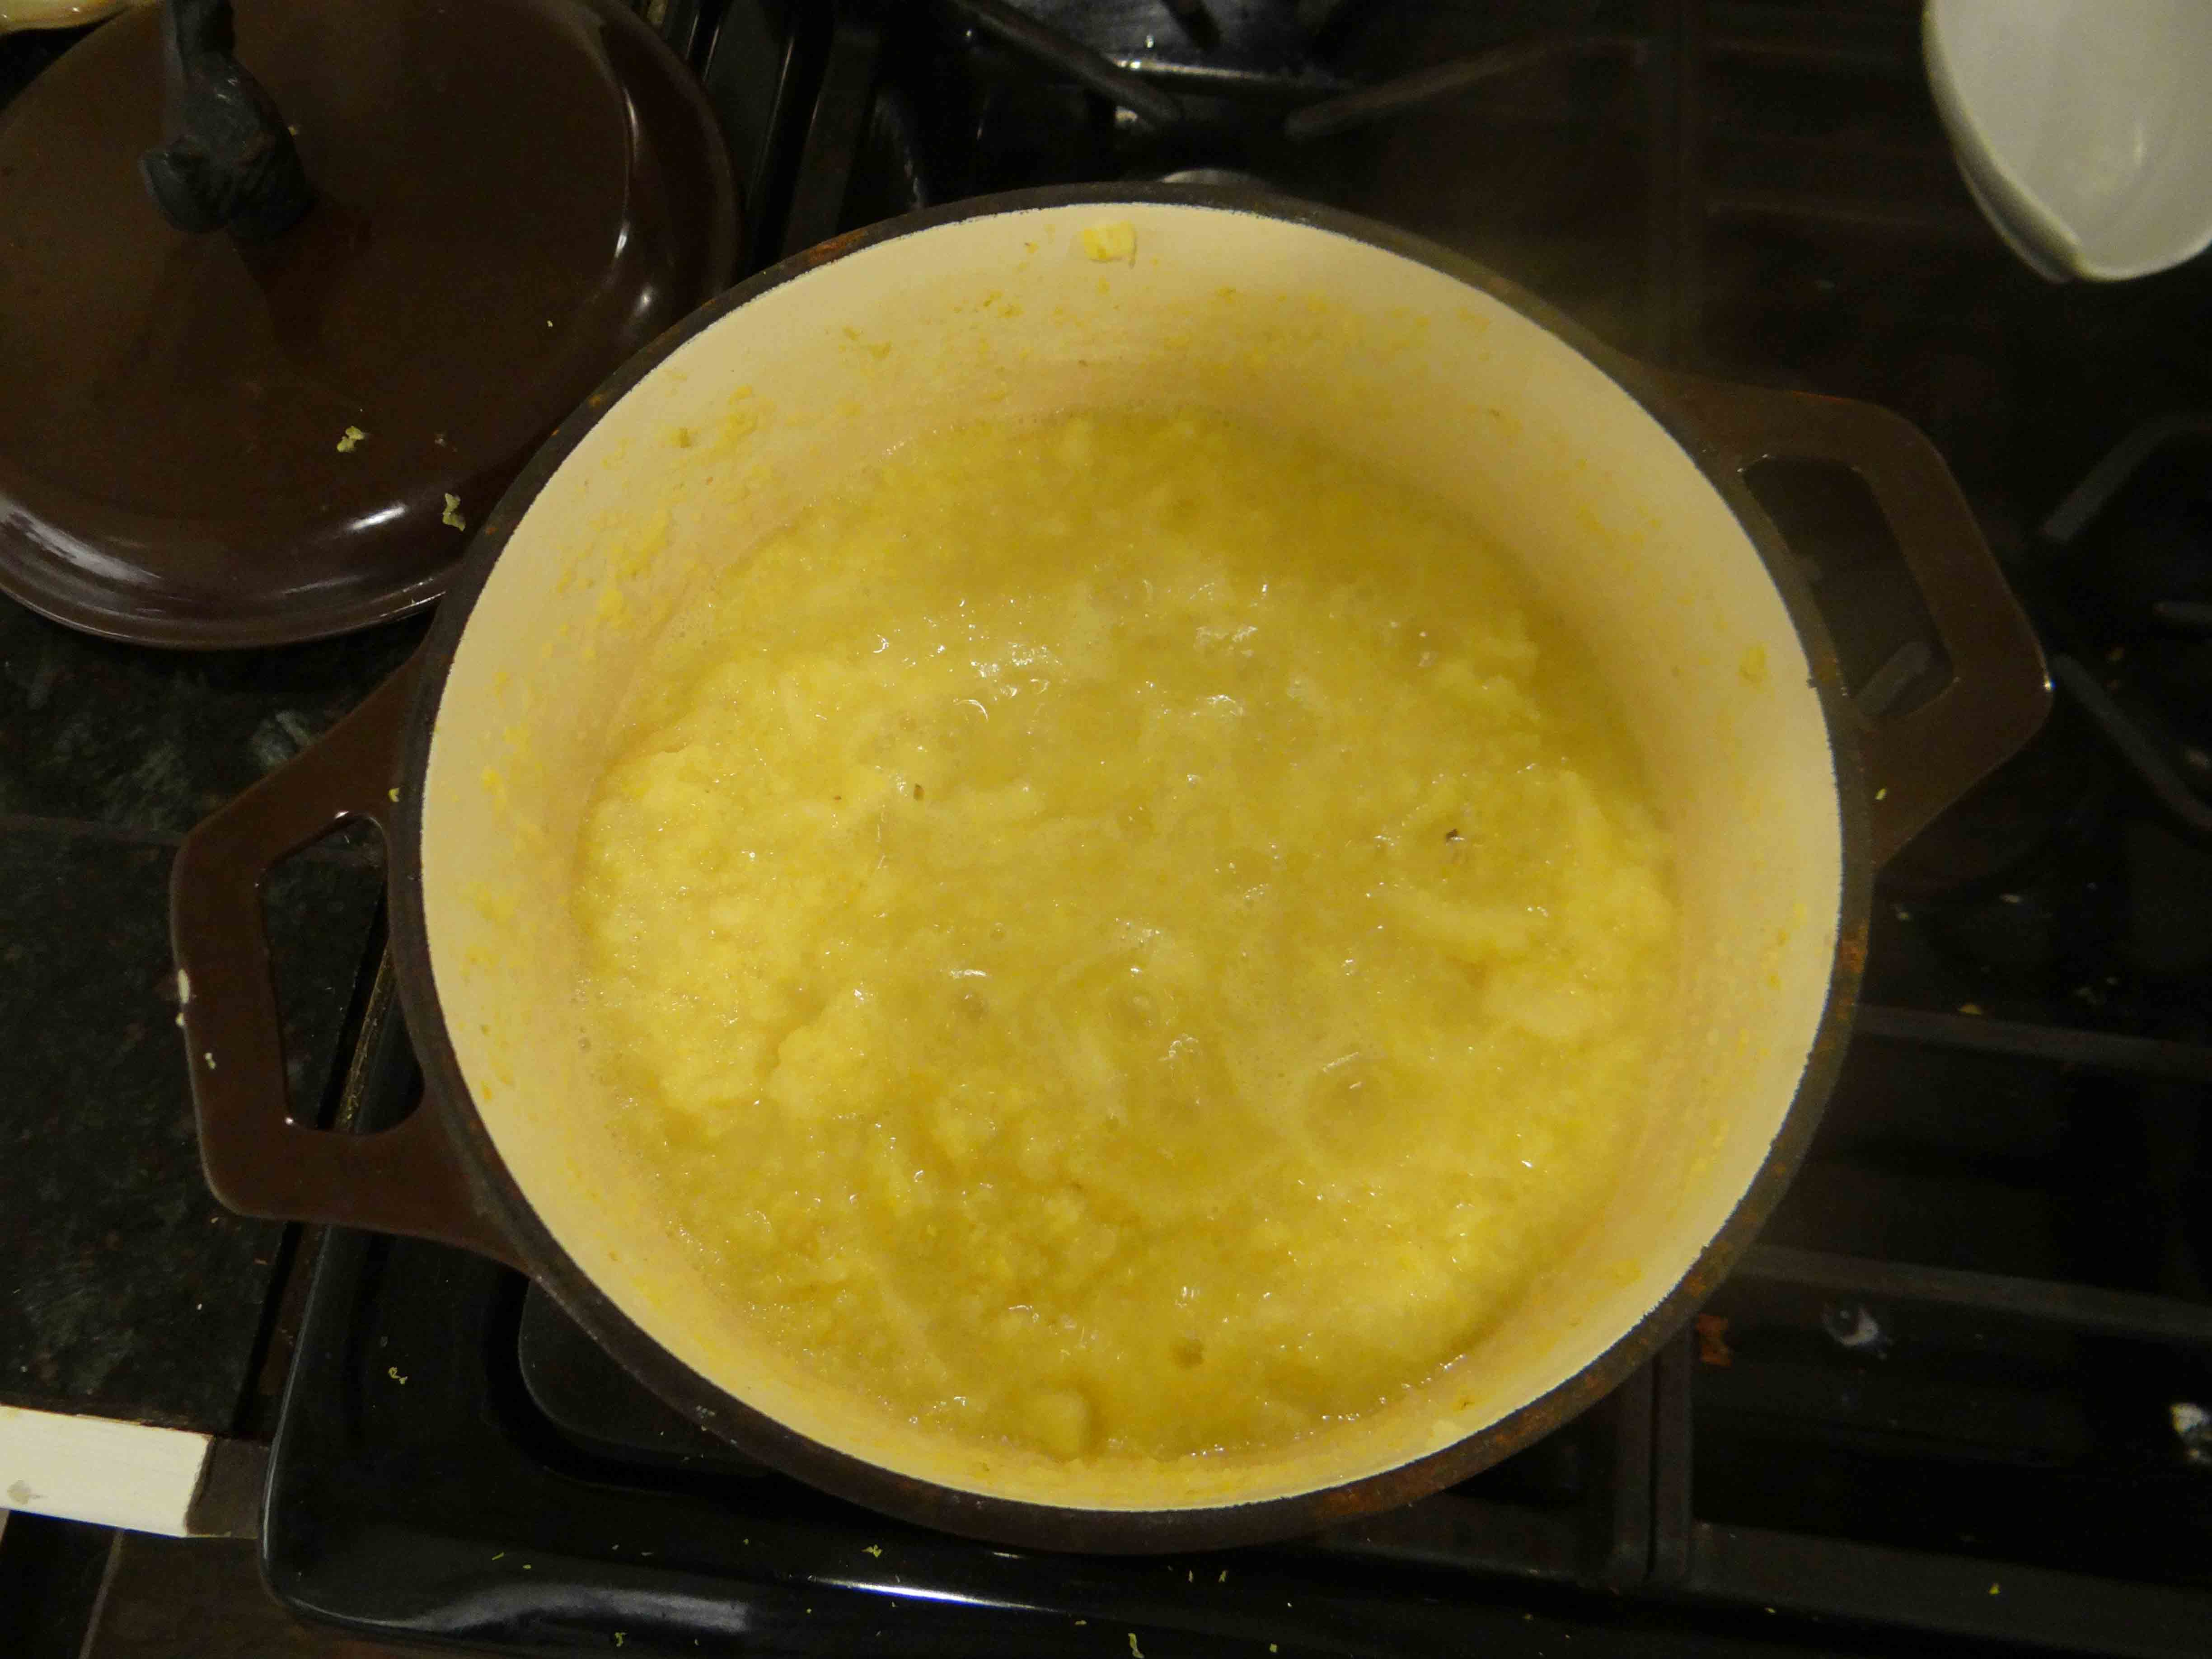
everything cooked down
Cook until the fruit is soft (20-30 minutes).
slowly adding sugar
Then add the sugar gradually, keeping the mixture at a boil.
Cook on a rapid boil until the jam reaches setting stage (15-20 minutes).
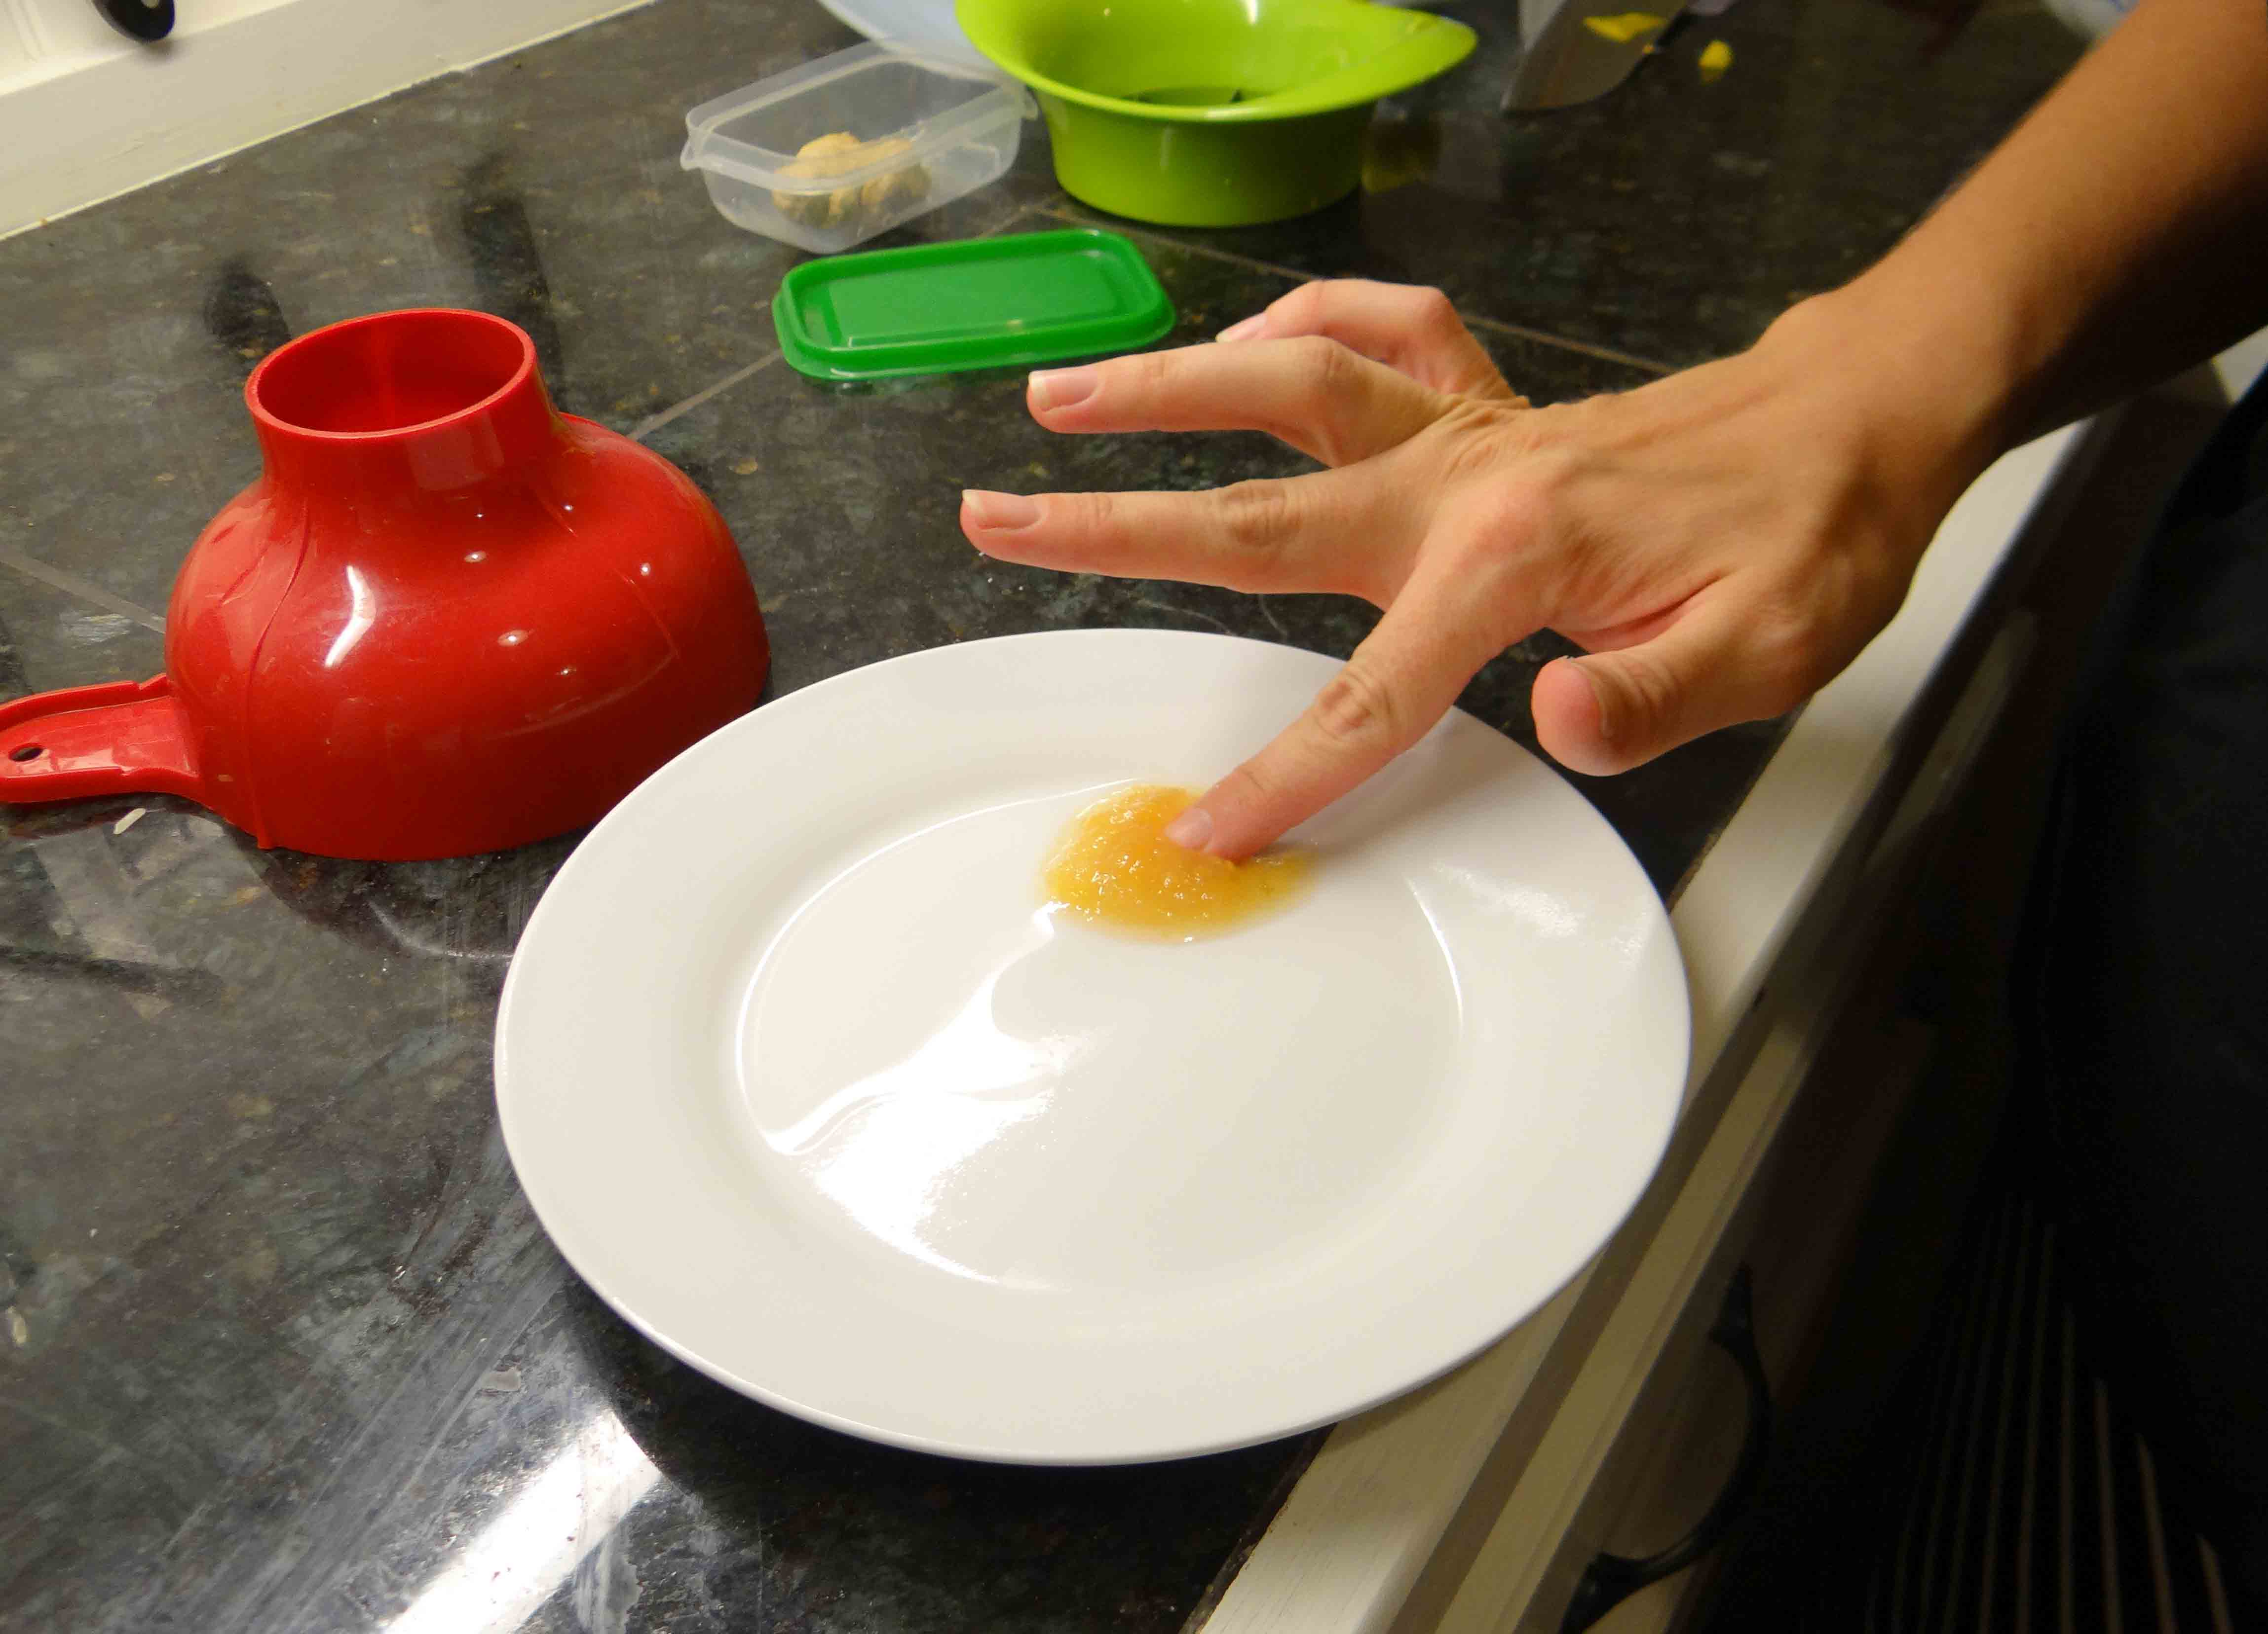
the setting point test
Before taking the jam off the heat, do the setting-point test:
Use a plate that’s been in the freezer for approximately 15 minutes. Dab a little of the hot jam on it, and run your finger through to see if it sticks to its new position. For more help on this test, click here.
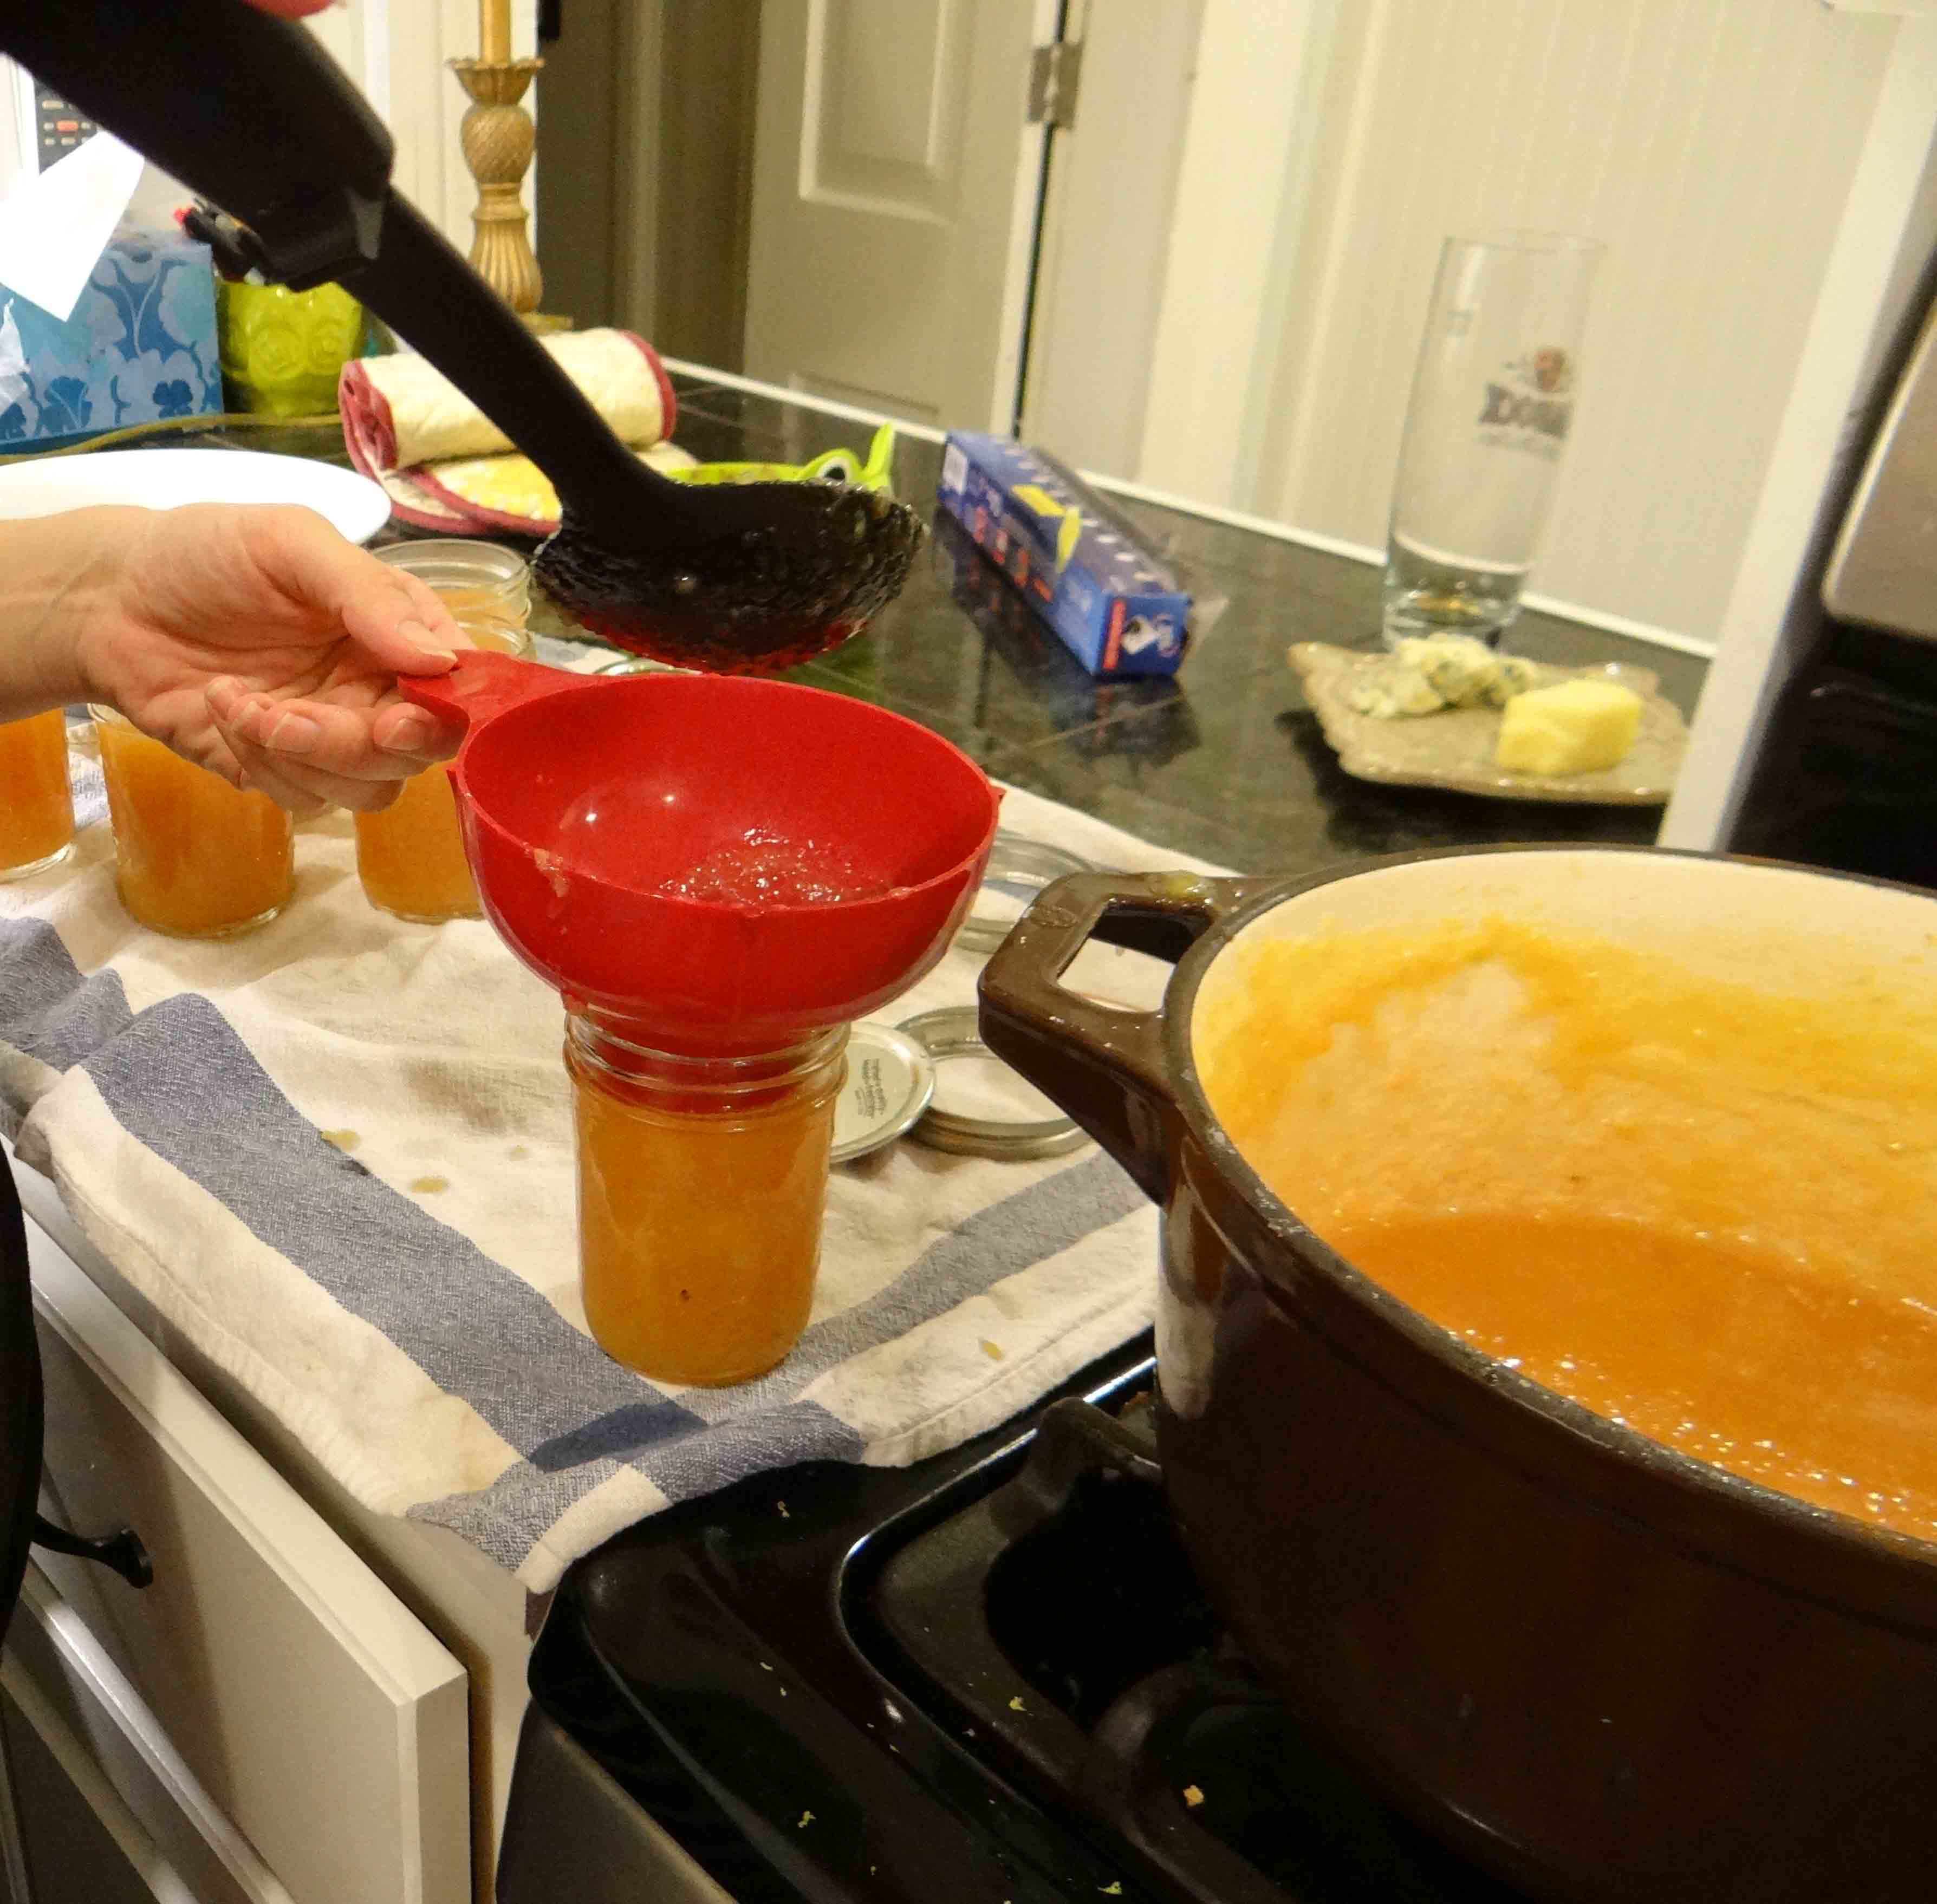
filling the jars
When the jam passes the setting point test, then it’s time to fill it into sterilized jars.
sealed and ready to share
Be sure to seal the jars while the jam is still hot.
*This recipe yields approximately 8 half pint jars.*
Enjoy!
Posted by Lauren Handley, Assistant Director of Education for Public Programs at The National WWII Museum.
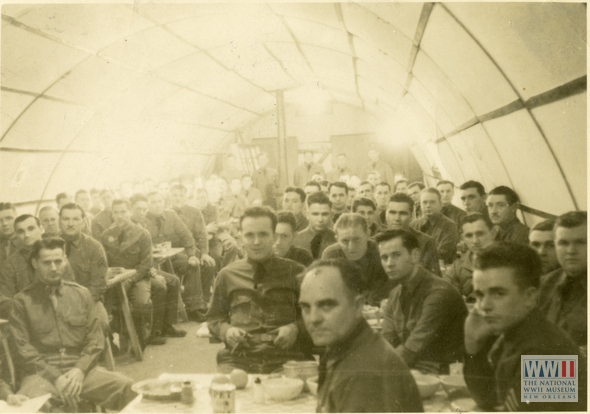
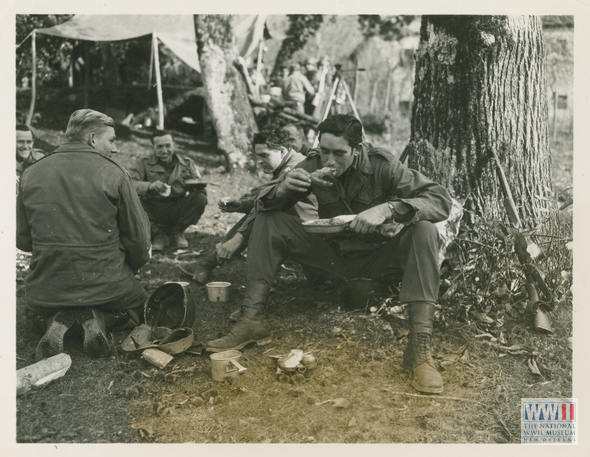
Home Front Friday is a regular series that highlights the can do spirit on the Home Front during World War II and illustrates how that spirit is still alive today!
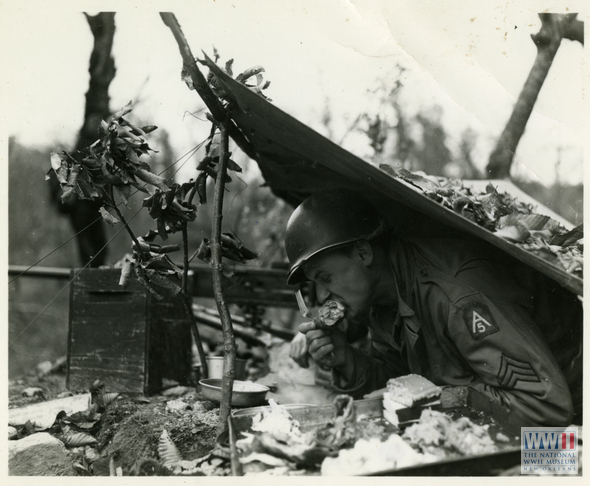
Thanksgiving is an American holiday cherished now and during the 1940s. On the battle front, the decision was made to provide a turkey dinner for all troops in the ETO for Thanksgiving in 1944. To do this, the fresh meat ration had to be cut. It was estimated that a holiday-sized portion equaled three normal meat meals, and poultry took up even more space. Nevertheless, the commitment to provide turkey to all the troops on the Continent had been made in September. The general opinion was that, irrespective of the morale value of a holiday meal, failure to meet a widely publicized commitment would have a very unfavorable effect. By Thanksgiving, fresh fruit, vegetables and over 1.6 tons of turkey had been distributed to troops. The trucks of the mobile bakery companies also helped get the meal out. Some of the combat troops did not receive the special ration until one or two days after Thanksgiving, but it was generally considered a notable feat of distribution under great difficulties.
On the Home Front, Thanksgiving was a tradition worth preserving, even during times of rationing. Many magazines and pamphlets encouraged making pies with molasses, stretching meat rations, and doing other things to create a feast while the nation was at war. In 1943, Norman Rockwell’s famous photo of a bountiful Thanksgiving representing one of the Four Freedoms was released. For Freedom of Want he took pictures from his own family’s Thanksgiving. Rockwell’s mom actually made the painting. The woman placing the turkey is the Rockwell family’s cook, Mrs. Thaddeus. He later thought that the painting flaunted over abundance.
Today, there is no rationing and no substitutions necessary, except if you desire to, but the enduring image of a family gathered and excited over a huge turkey is still etched in all of our minds. Enjoy your feasts wherever you are!
Posted by Lauren Handley, Assistant Director of Education for Public Programs at The National WWII Museum.
Home Front Friday is a regular series that highlights the can do spirit on the Home Front during World War II and illustrates how that spirit is still alive today!
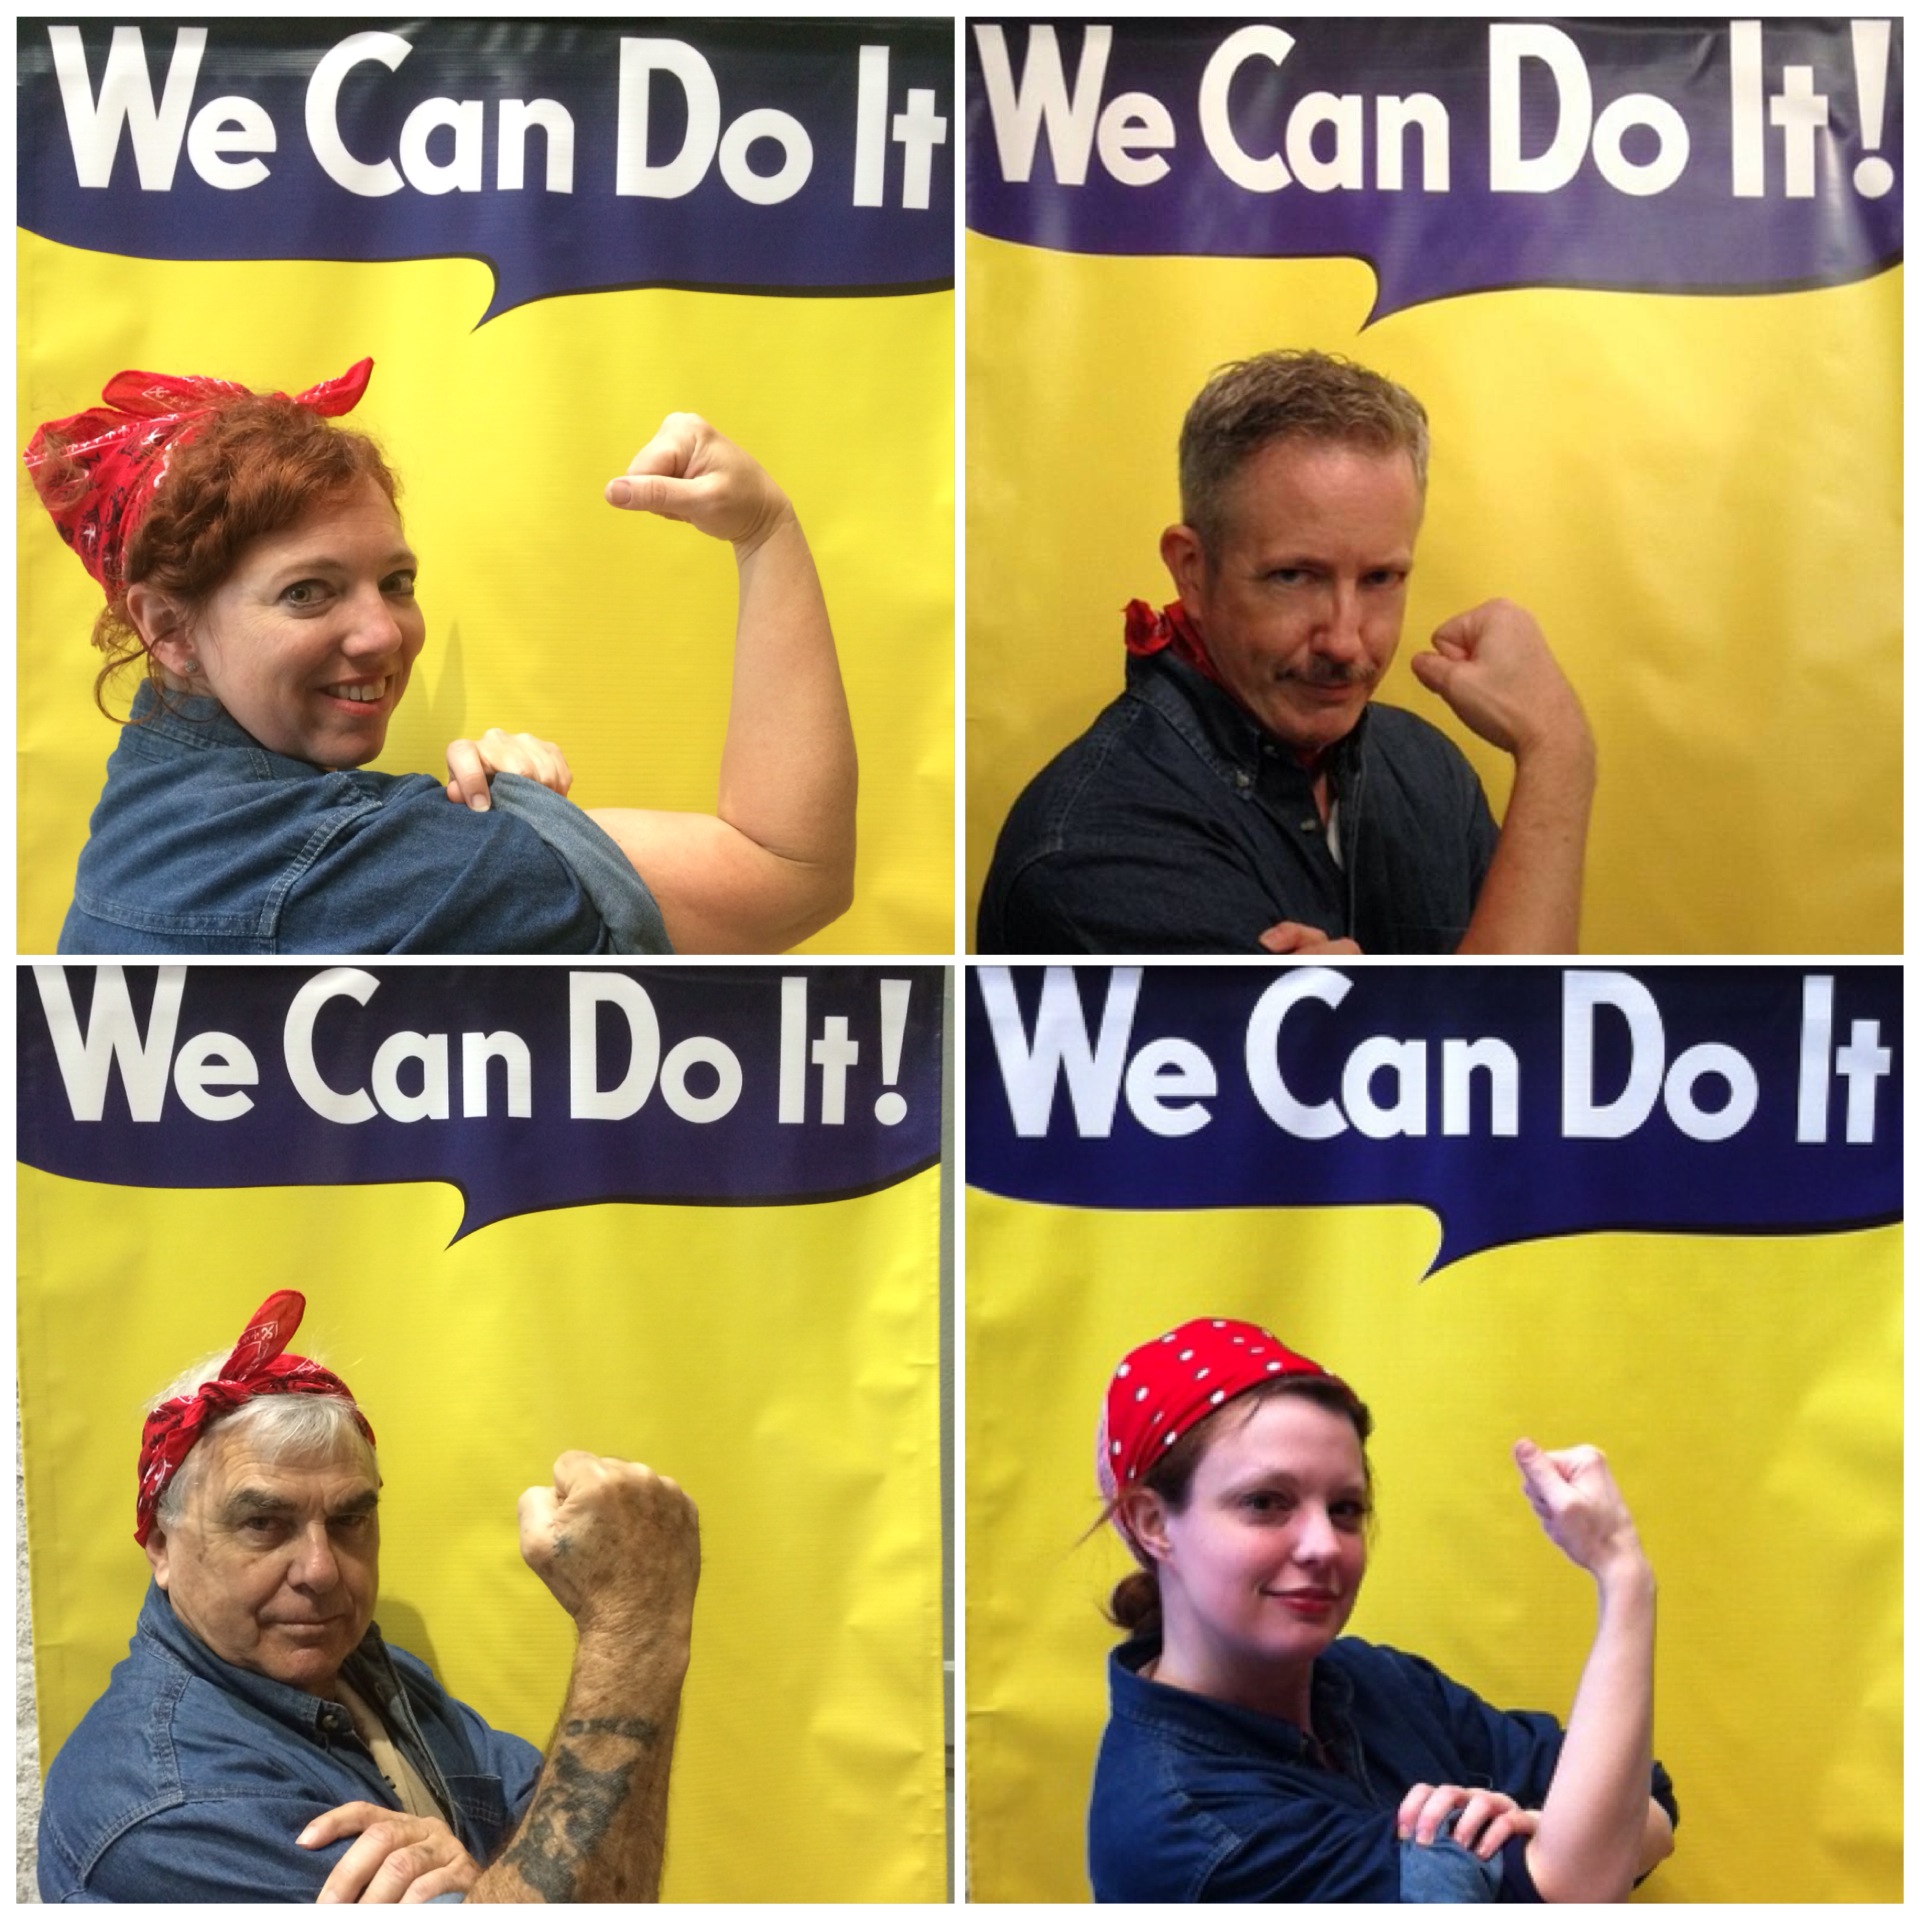
Halloween has evolved over the decades. During World War II, sugar was rationed, so treats were different than one might find in their pumpkin today. Community organizations threw parties for kids – and at those events kids showed off their creativity by coming up with costumes using what materials they could come up with at their home or by scouring the neighborhood to come up with costumes. Today, why not honor that creative crafty DIY spirit and make your own costume?
Our Victory Belle Dody recently shared how to make your own Rosie the Riveter costume.
All you need is:
1. A red and white bandanna
2. An over-sized denim button-down shirt
3. Blue jeans
4. 1940’s hairstyle: curl your hair (Belles use Caruso steam curlers for the authentic 40’s style curl). Part your hair on the side and take small sections of hair on either side of the part around the temples. Roll those sections with your fingers and sit them close to the hairline. Pin them so they feel secure. Now you have Victory Rolls and luscious curls!
5. 1940’s makeup: emphasize eyebrows using pencil or powder. Add some false lashes for the Hollywood glamour look. Keep cheeks simple with soft pink tones, and top those lips with really red lipstick! Paint nails red to complete the look!
Happy Halloween!
Posted by Lauren Handley, Education Programs Coordinator at The National WWII Museum.
Home Front Friday is a regular series that highlights the can do spirit on the Home Front during World War II and illustrates how that spirit is still alive today!
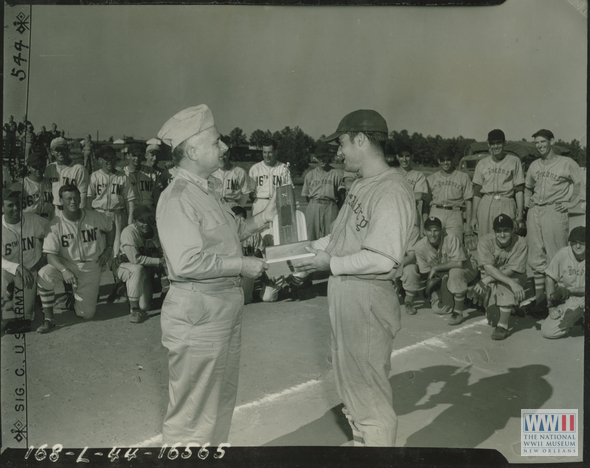
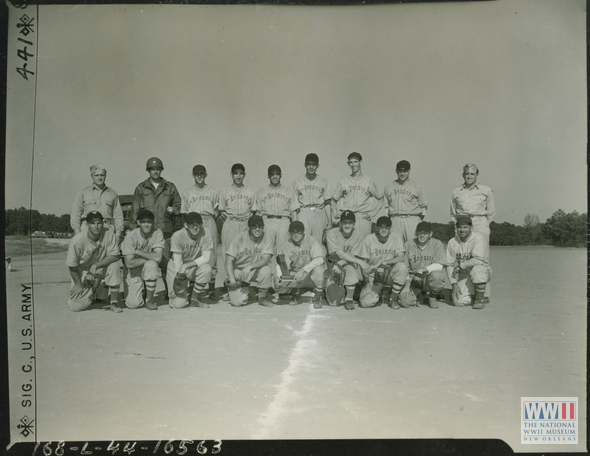
The air is crisp in most of the country. The dog days of summer are quickly leaving us behind. In the 1940s, baseball’s zenith, people young and old, stationed far or working on the Home Front, had America’s pastime on the mind.
In the middle of wartime, 70 years ago, amidst conflict as Americans were island hopping the Pacific and battling their way through occupied-France, generals and GIs gathered on the ball field at Tiger Field in Fort Benning for a championship game.
Sgt Rammazotti of the 5th Inf baseball team receiving trophy from Maj Gen Landrum, 71st Div Commander with 5th Inf and 66th Inf teams in background at Tiger Field, Sand Hill area, Fort Benning, Georgia.
66th Inf team in foreground with the 71st Div band in background at baseball game between 5th Inf and 66Inf at Tiger Field, Sand Hill area, Fort Benning, Ga.
The 5th Inf team champions of the 71st Div after final game at Tiger Field, Sand Hill area, Fort Benning, Georgia.
So this weekend, tune your radio dial to a baseball game, eat some peanuts and cracker jacks, think about what hearing a favorite team’s victory did for a soldier thousands of miles away from home, and enjoy some October playoff baseball.
Posted by Lauren Handley, Education Programs Coordinator at The National WWII Museum.
Home Front Friday is a regular series that highlights the can do spirit on the Home Front during World War II and illustrates how that spirit is still alive today!
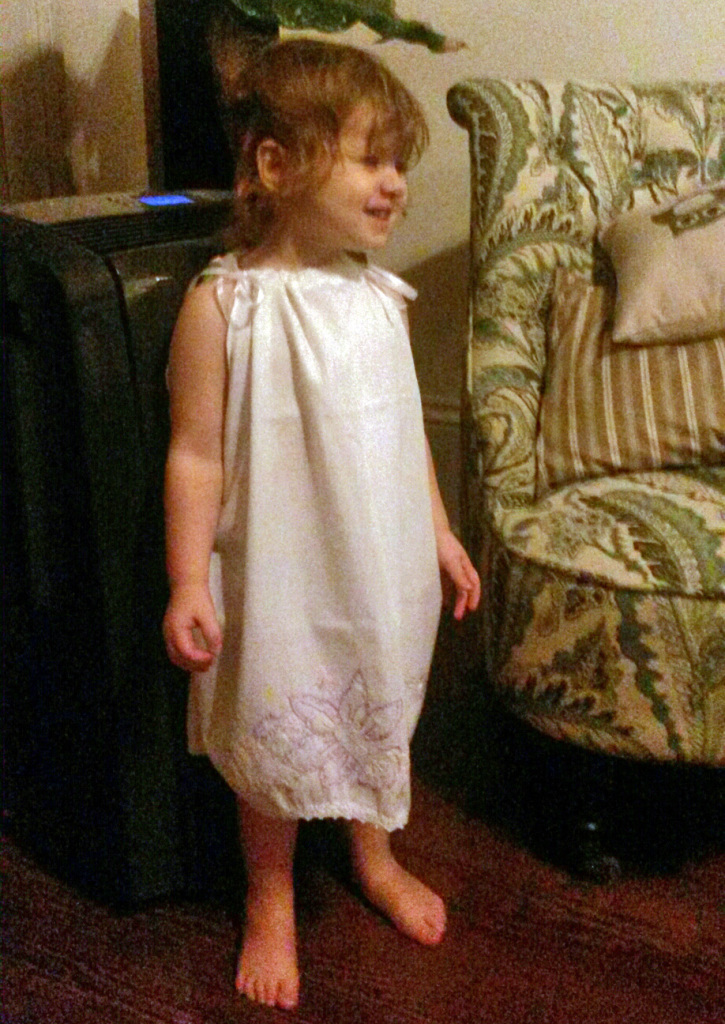
That spirit can be replicated today. In the last Home Front Friday blog entry, we featured embroidery as a travel souvenir and a useful skill. The pillowcases pictured have now been turned into dresses, much like Mr. Mipro’s mother did with the chicken sack dresses for her baby.
Here are step by step instructions for turning something in storage into a handcrafted item (the image gallery has each step pictured):
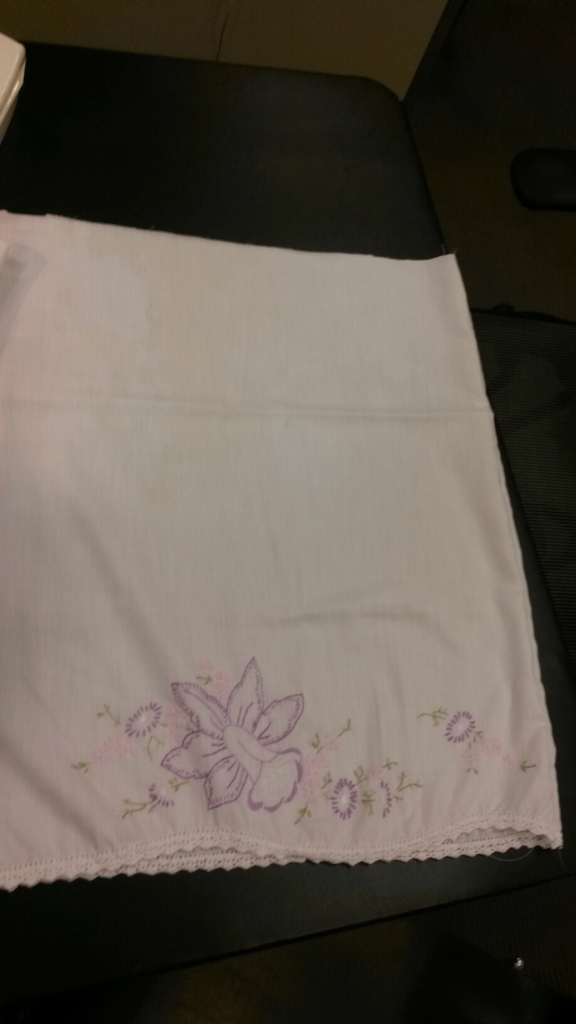
Step One: Find a pillowcase
Step Two: Cut it to size
General shape – find a dress that currently fits the eventual wearer and add two inches for hem allowance. Or you can measure from collarbone to desired length on the child and add two inches. Finally, a typical toddler dress (2T/3T) is about 22 inches, so cut 24 inches up from the bottom of the pillowcase.
Armhole – cut about 4 inches in and 6 inches down.
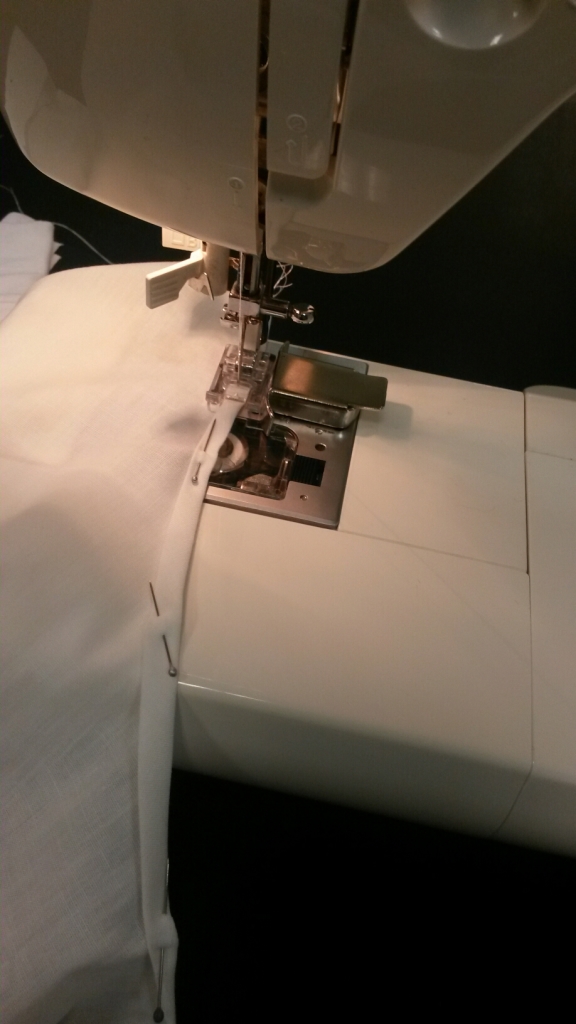
Step Three: Sew it up – sew the arms first. Press 1/4 inch and 1/4 inch again, then sew. Finish the top by pressing 1/4 inch and then approximately 1 inch (wide enough for your ribbon to fit) and sew it close to the edge.
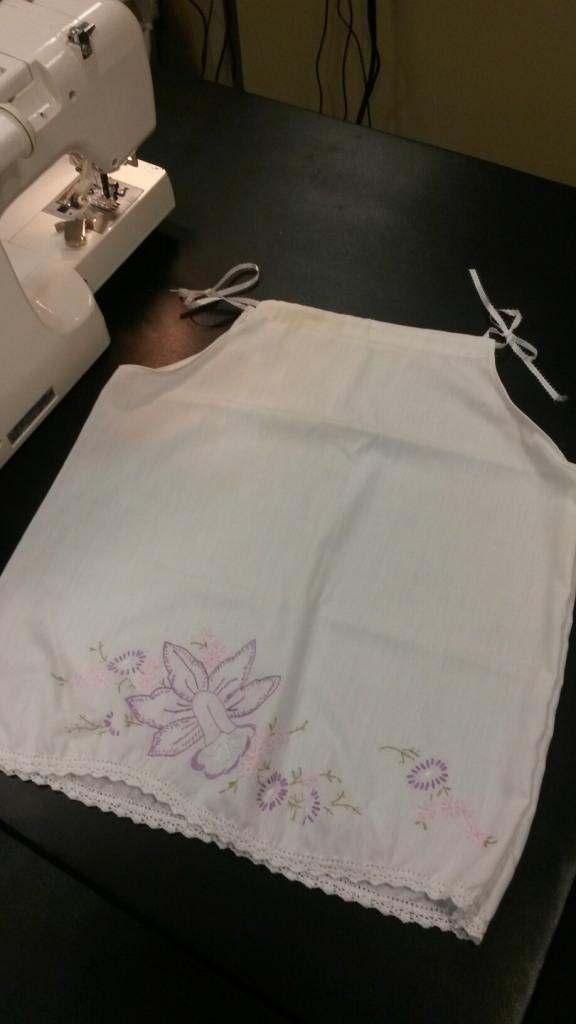
Step Four: Finish it – pull your ribbon through with a safety pin. You can sew a line in the middle of each ribbon to hold it in place.
Step Five: Put it on your toddler (don’t know a toddler? There are a couple of crafty projects out there that send pillowcase dresses to little girls around the world. Send your creation to someone who needs it.)
Step One
Step Two
Step Three
Step Four
Step Five
Posted by Lauren Handley, Education Programs Coordinator at The National WWII Museum.
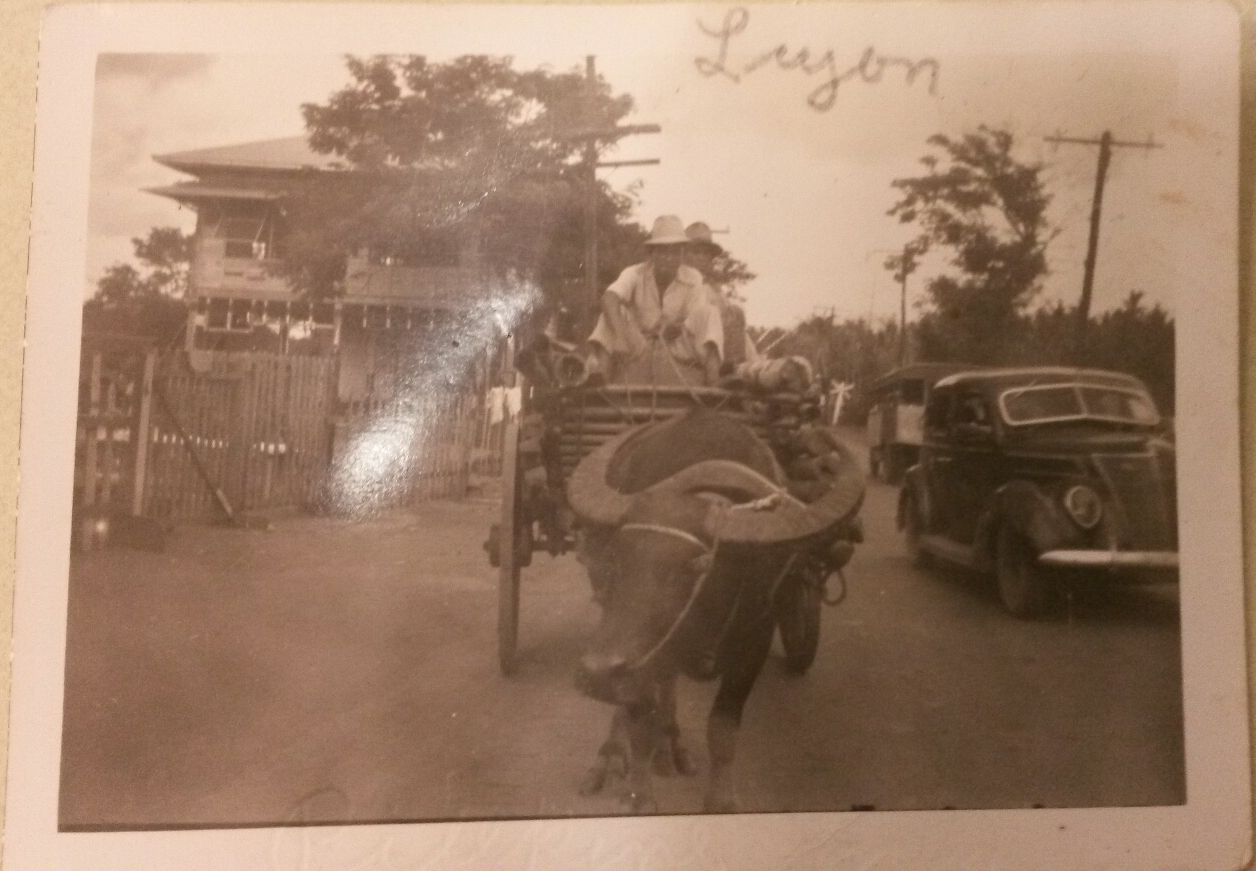
In Luzon, the largest island in the Philippines. Gift of Otto Toennies. From the Education Collection at The National WWII Museum.
Home Front Friday is a regular series that highlights the can do spirit on the Home Front during World War II and illustrates how that spirit is still alive today!
During World War II, soldiers sought to remember their experiences in many different ways. For many, it was the first time out of their home state and they were thrust into foreign lands all over the world.
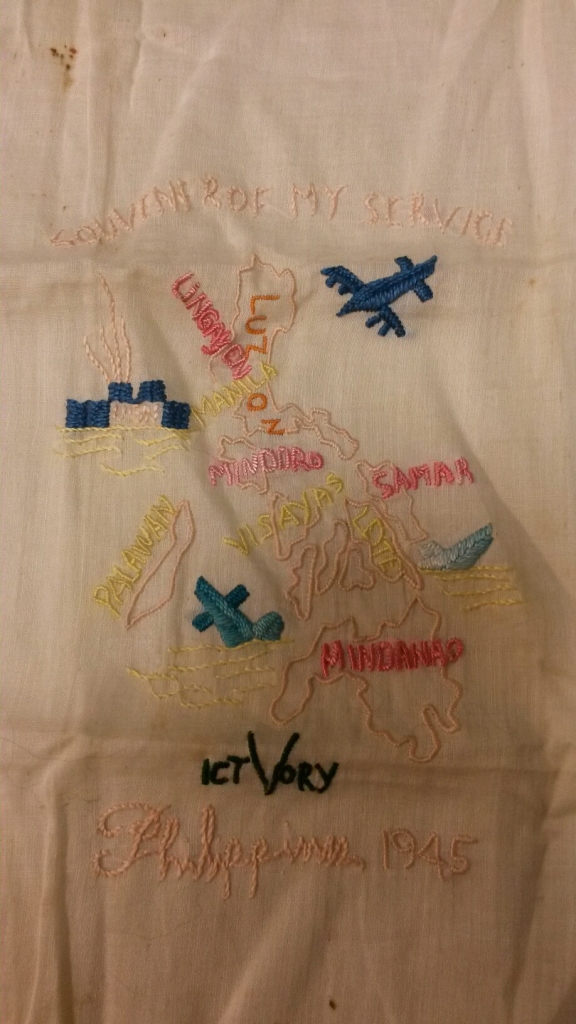
In looking through photographs and war memorabilia recently, we came across a hand-embroidered handkerchief that had “Souvenir of My Service” embroidered across the top and “Victory Philippines 1945.” More digging through the collection revealed a photograph of a scene in Luzon and a picture of a young corporal there as well.
Embroidered "Souvenir of My Service" Map of Philippines. From the Collection of The National WWII Museum.
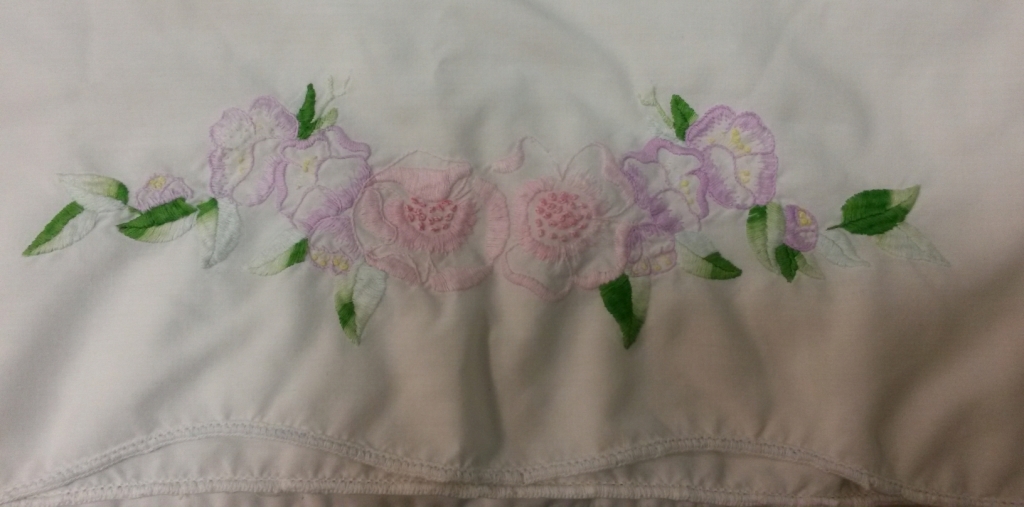
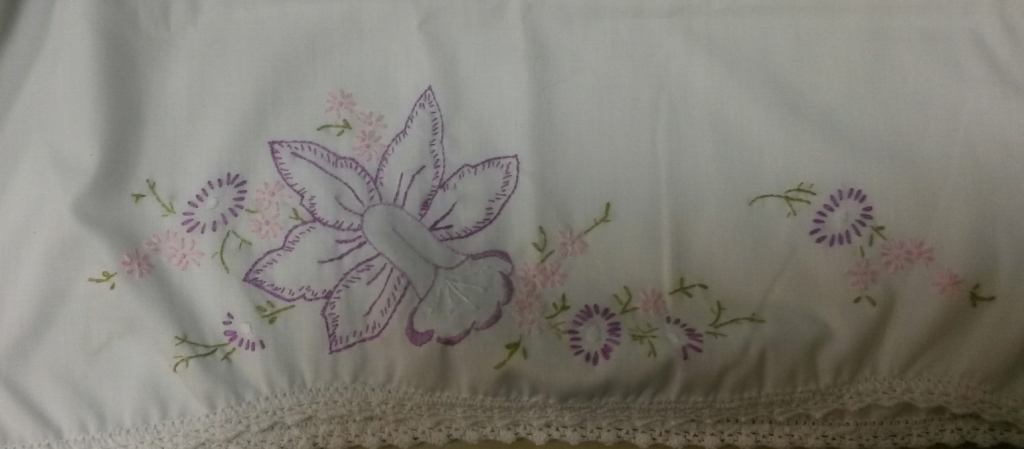
Embroidered pillowcase. From the Collection of The National WWII Museum.
Embroidered pillowcase. From the Collection of The National WWII Museum.
Embroidery is a fairly simple yet beautiful craft that can be personalized for anything. As the map shows, it can commemorate your travels and personalized. Consider embroidering a memory from an upcoming trip of your own. Alternately, you can add embellishment to everyday items to make you feel like you are on vacation, such as in the pillowcase examples made by the soldier’s wife later in life.