74 years ago today, the 18th Annual Scripps National Spelling Bee was held with eleven-year-old Richard Earnhart from El Paso, Texas taking the top prize. Wearing ‘lucky’ Number Thirteen, Earnhart captured the 1942 championship by correctly spelling the word ‘sacrilegious.’ For his prize, Earnhart received $500 and a two-day trip to New York City. When asked how he was enjoying Manhattan, Earnhart replied that he found it ‘swell…but I would kinda like to get back to normal life sometimes.’
The National Spelling Bee would not occur again until 1946; Scripps postponing all future contests until the successful conclusion of WWII.
This post by Collin Makamson, Student Programs Coordinator @ The National WWII Museum
Home Front Friday is a regular series that highlights the can do spirit on the Home Front during World War II and illustrates how that spirit is still alive today!
Last Saturday was National Armed Forces Day! You may be able to imagine why this special day is so near and dear to the Museum.
Before World War II, the United States had more horses than people in its military. It ranked 18th in army size, just behind Romania. That all changed after the attack on Pearl Harbor. People began registering in droves, and before long, the United States military had swollen massively for the war effort. At its peak, 12,364,000 Americans came under the jurisdiction of the United States military – the second largest military in the entire war, with only the Soviet Union beating it out.
After Pearl Harbor, America launched a massive campaign to recruit new soldiers into the military. Artists, filmmakers, and intellectuals were hired by the government to encourage enlistment.
via the National Archives
via the National Archives
via the National Archives
via the National Archives
via the National Archives.
This very famous image of Uncle Sam was actually created during the First World War. However, the poster was brought back with a vengeance when the United States entered into World War II. (via the National Archives)
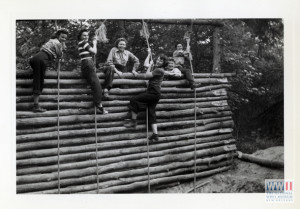
The recruitment process was not for the faint of heart. Not long after being accepted, new recruits would be shaved, given a new uniform, and hauled into barracks. They were then put through very rigorous training to get them in peak physical condition so that they may have a better chance of survival at the front. Training was also designed to teach the new recruits how to follow orders and work together as a team. They were taught how to operate weapons swiftly and without hurting themselves, to fly planes and to launch ships. Of course, just about everything had to be done with pounds and pounds of heavy equipment on their backs!
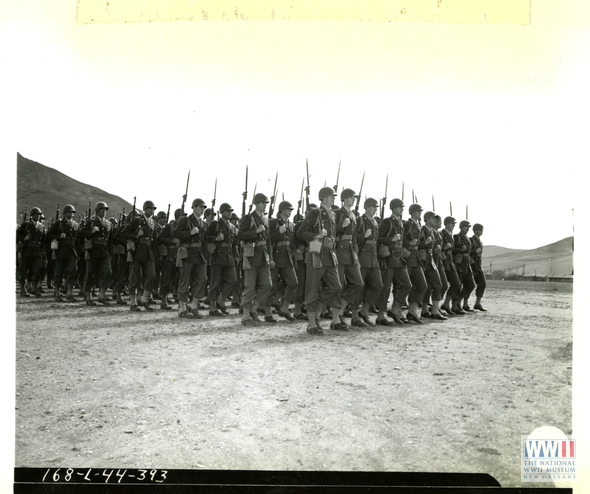
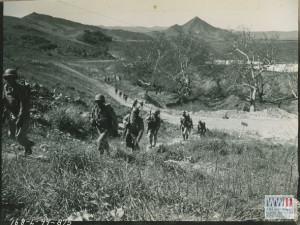
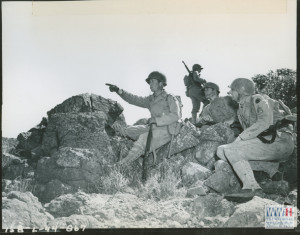
81st Infantry Division soldiers during review at the Camp San Luis Obispo parade grounds on 5 February 1944.
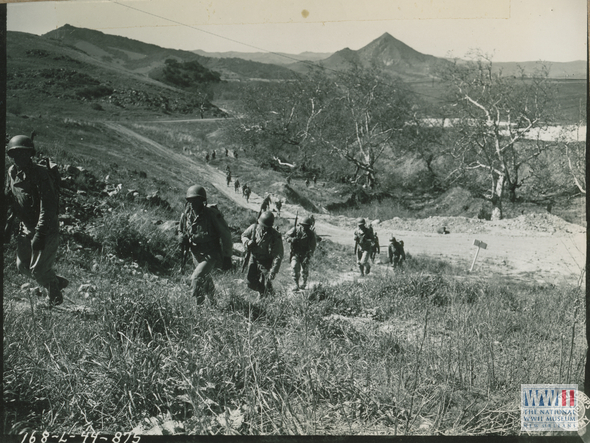
81st Infantry Division servicemen marching throughout California landscape during training exercises at San Luis Obispo, California on 14 March 1944.
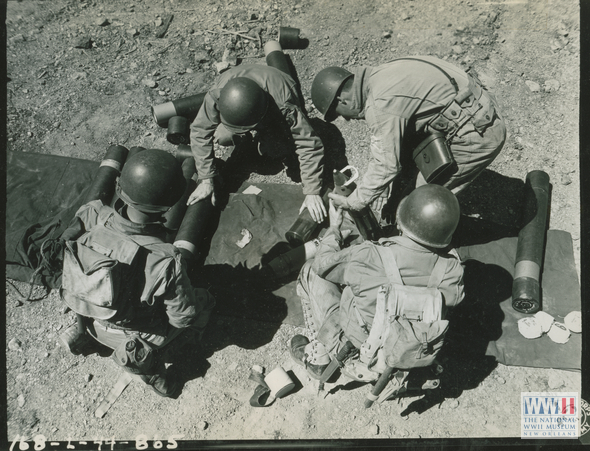
81st Infantry Division 105 mm Howitzer Motor Carriage/ Priest troops preparing 105mm shells to use during training exercises at San Luis Obispo, California on 14 March 1944.
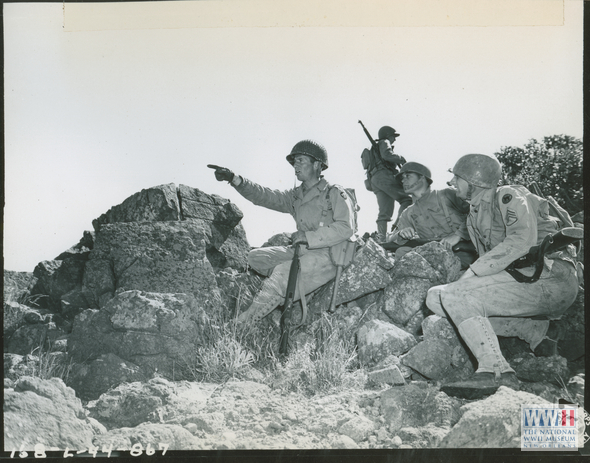
81st Infantry Division soldiers during training exercises at San Luis Obispo, California on 14 March 1944.
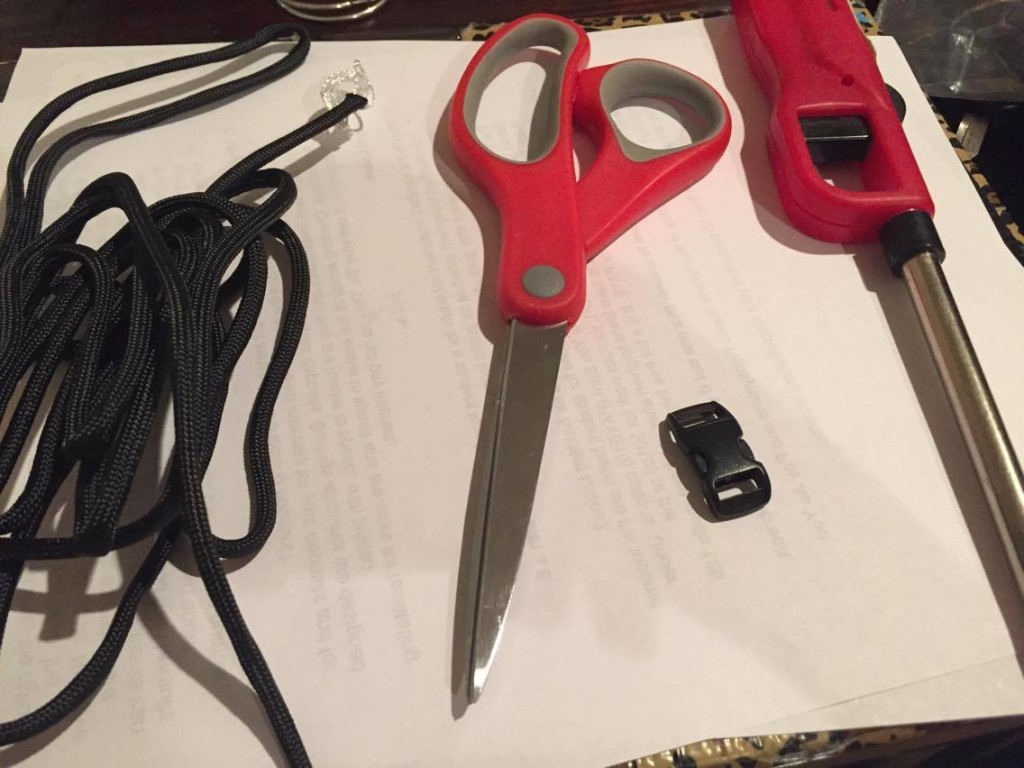
Our hats go off to all of the young men and women who dedicated their time, services, and even lives to the United States Armed Forces. In honor of this very special day, we are going to teach you how to make your very own paracord survival bracelet:
WHAT YOU NEED:
Paracord
Plastic buckle
Scissors
Lighter
STEPS:
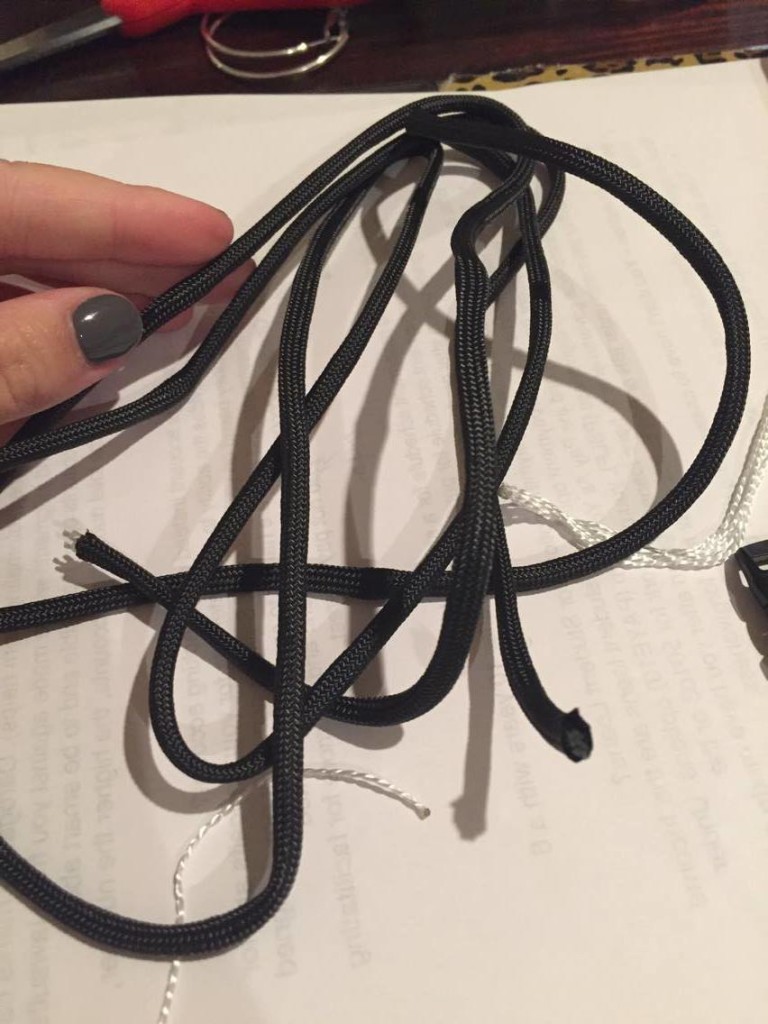
Measure out between 7-10 feet of paracord. It is better to have too much than too little to work with!
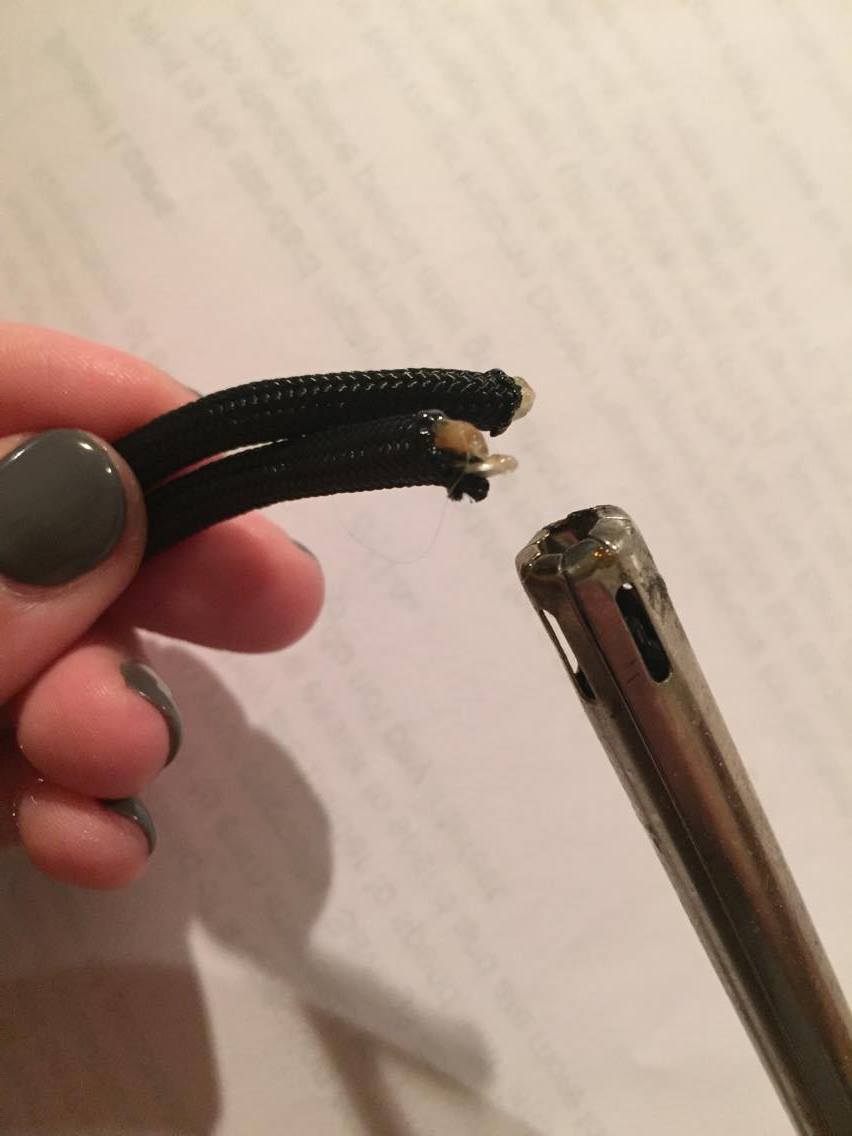
Use your lighter to burn the ends so they don’t fray.
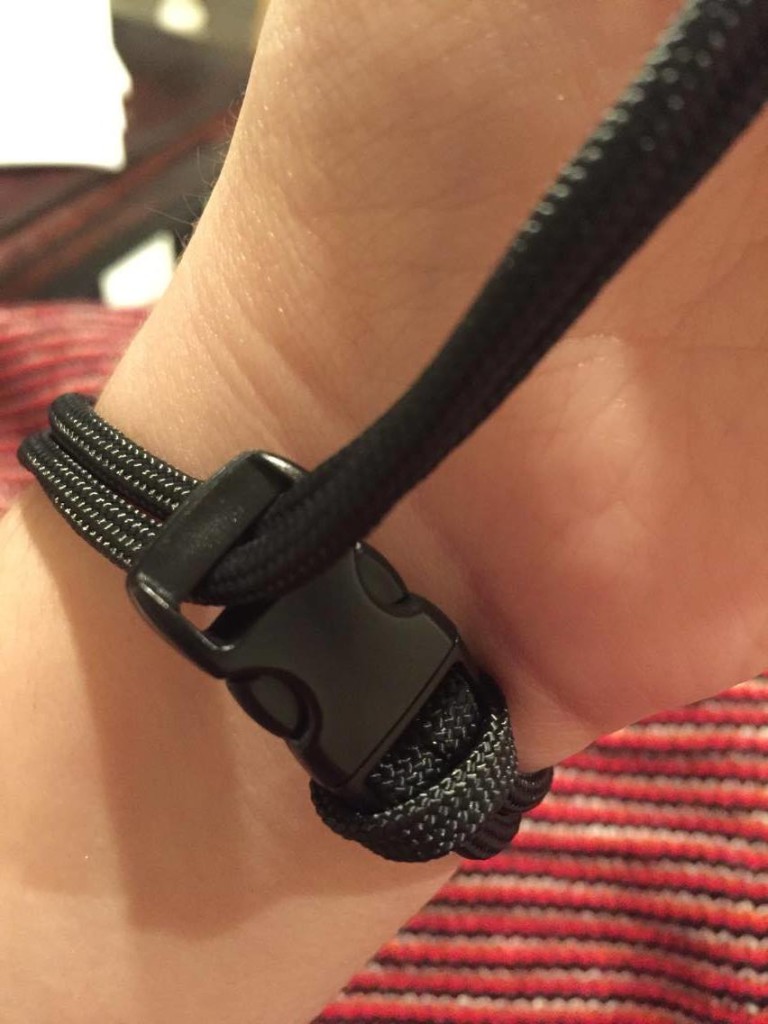
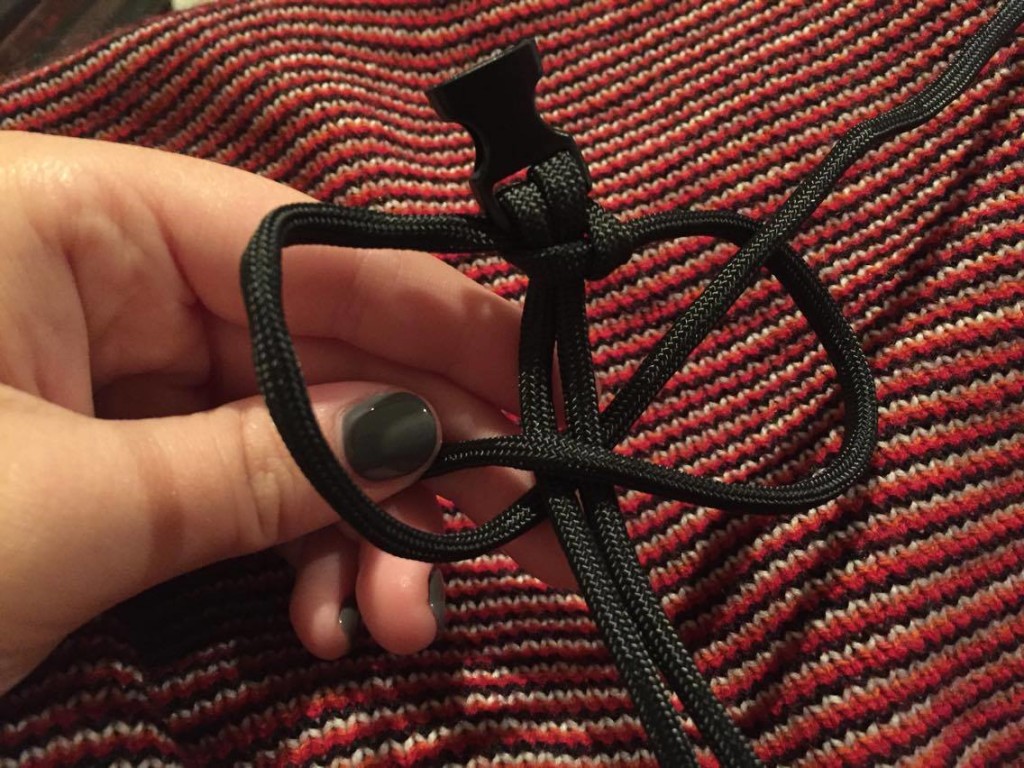
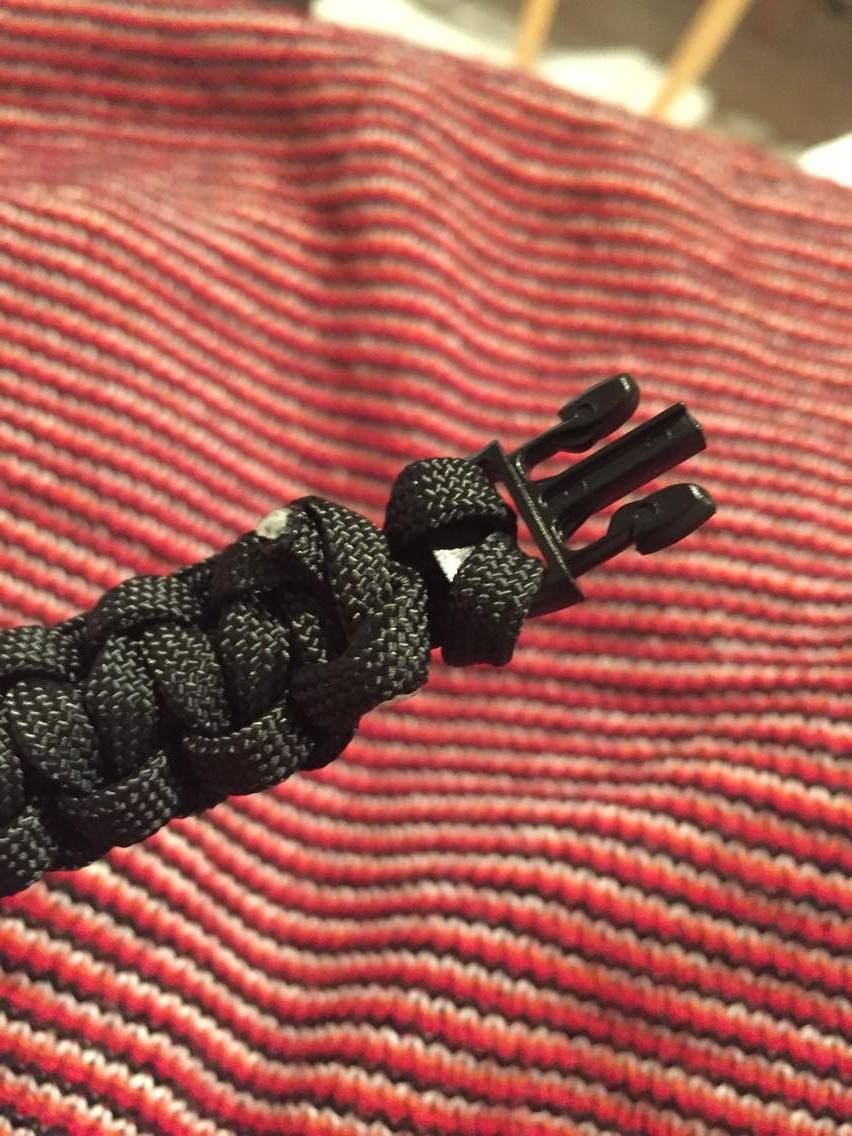
Fold your paracord in half so that the ends meet. Slip both ends of the paracord through one end of the buckle. Bring them back around and put them through the loop created at the other end and tighten.
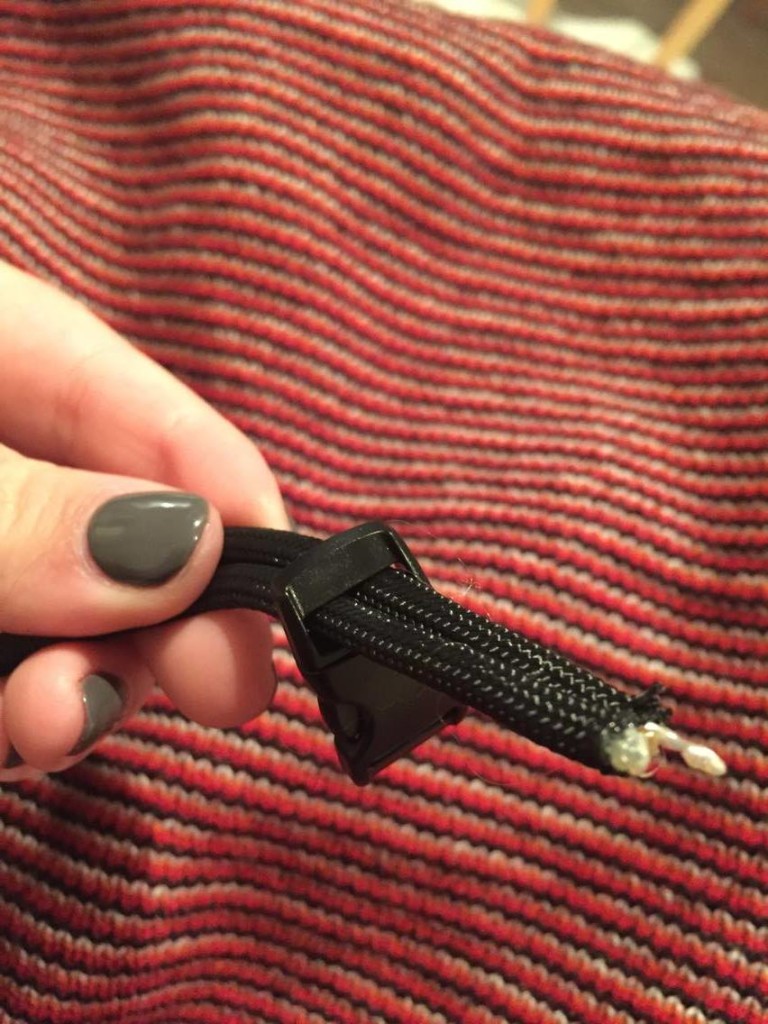
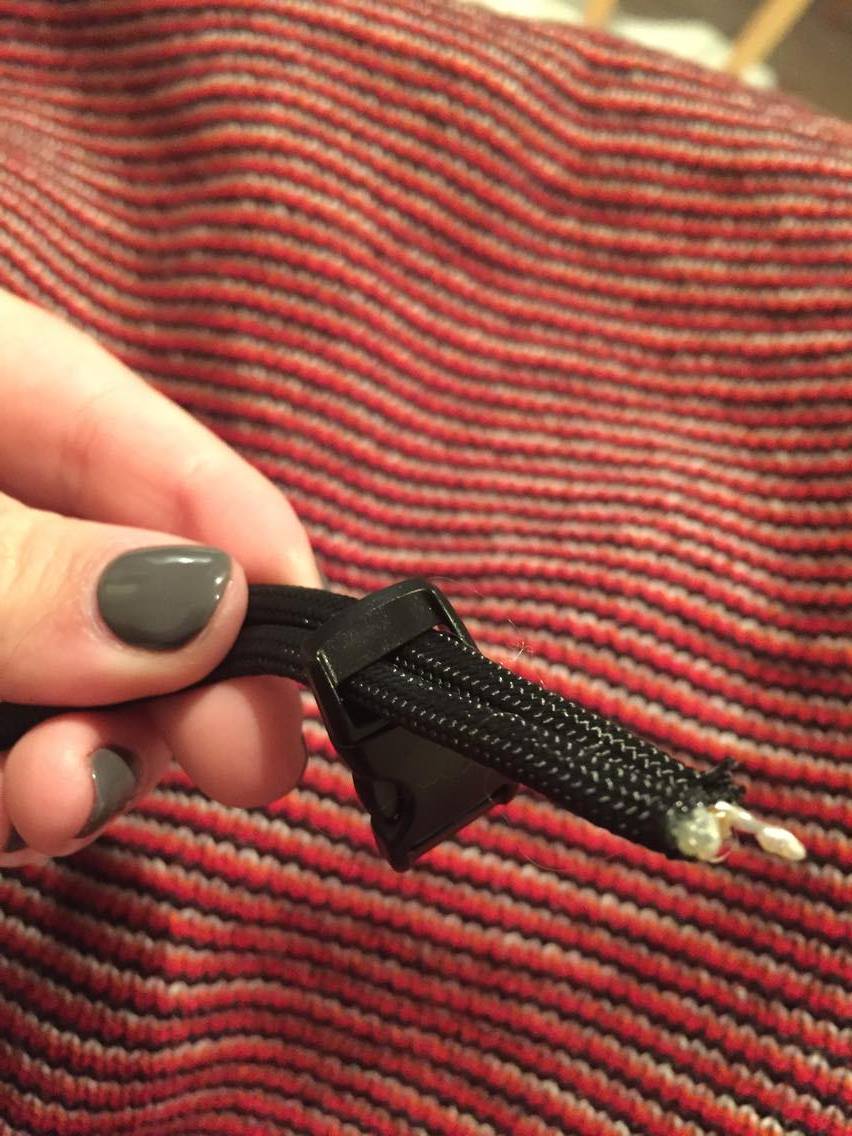
Slip both ends of the paracord through the other side of the buckle. Pull until the length between the two buckles is your desired wrist size. Don’t pull too tightly!
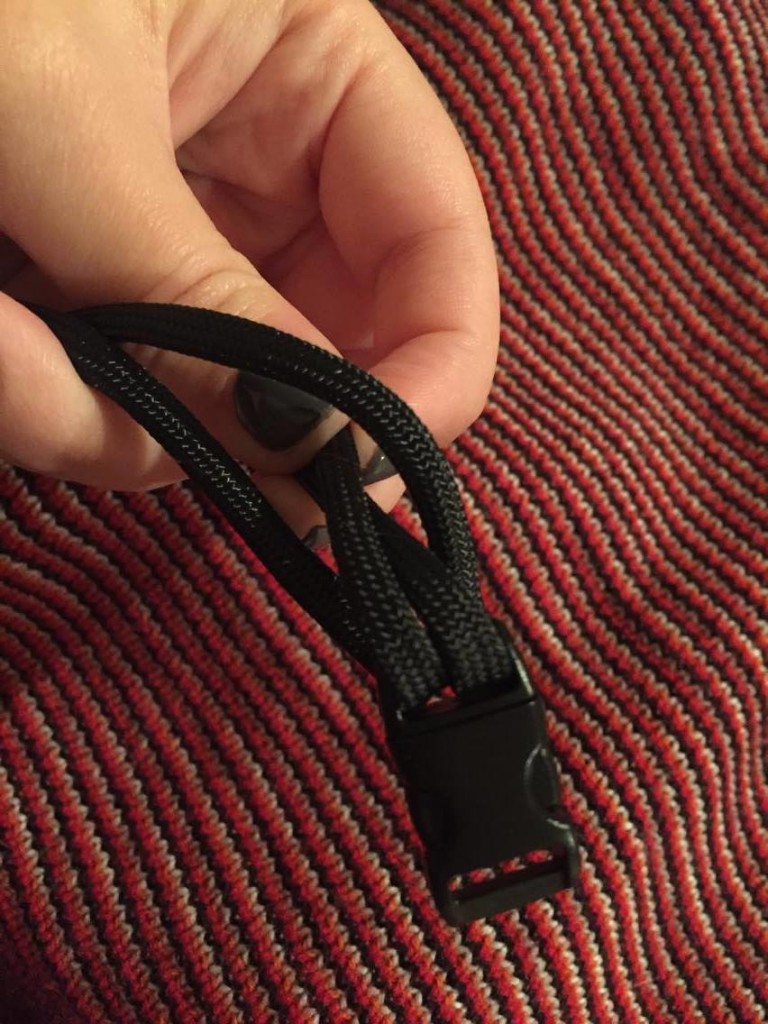
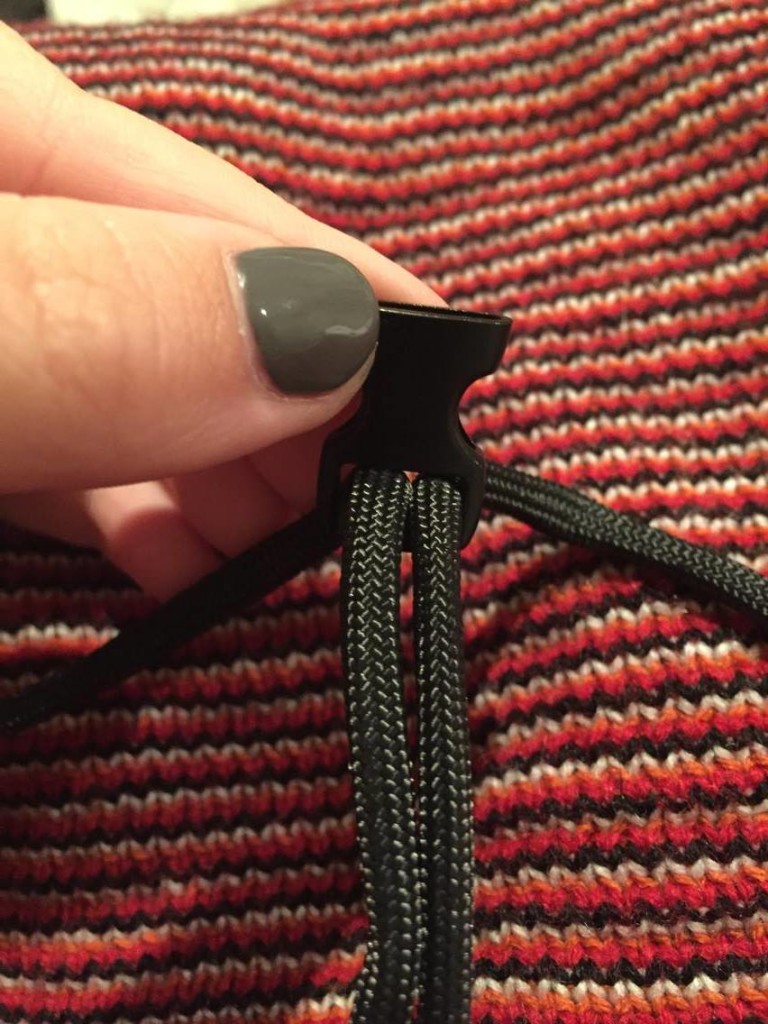
Unbuckle the buckle. Be careful to keep the wrist measurement you just took – don’t let the loose side of the buckle slide around! Separate the two strands of paracord that are not part of the measurement.
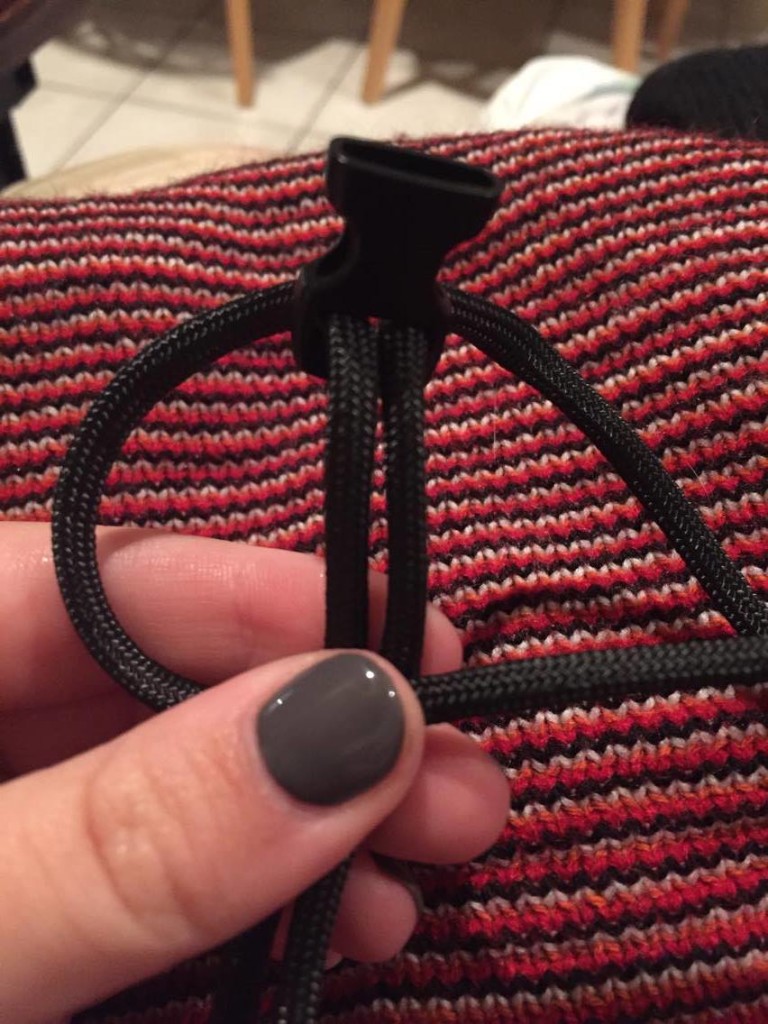
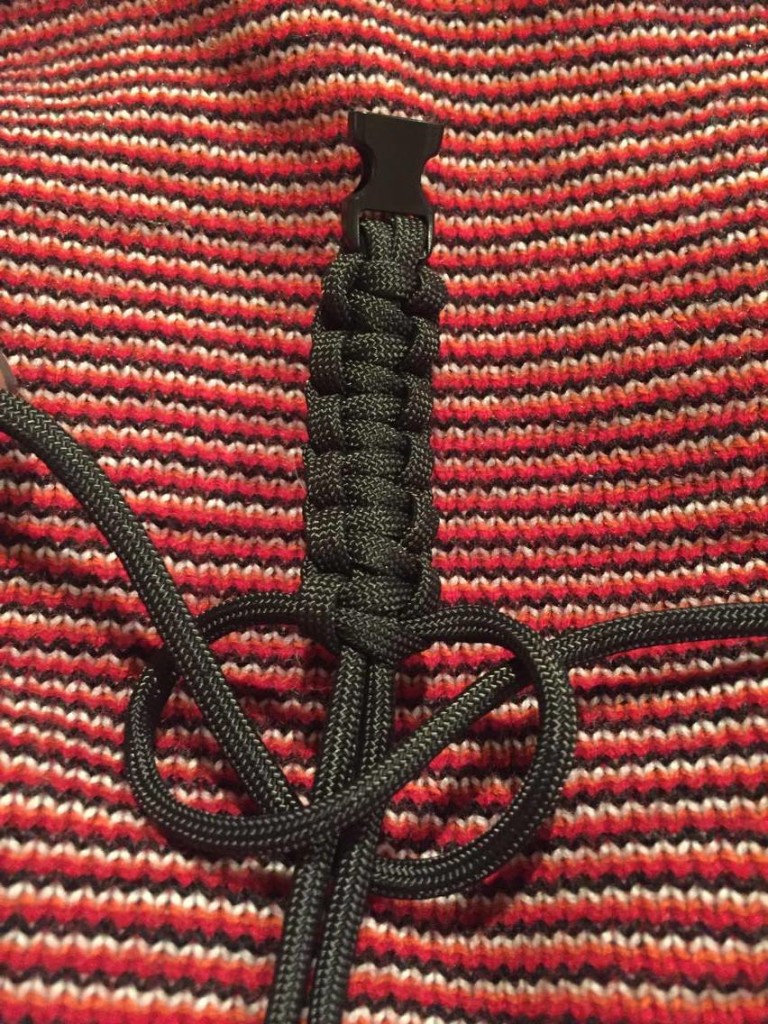
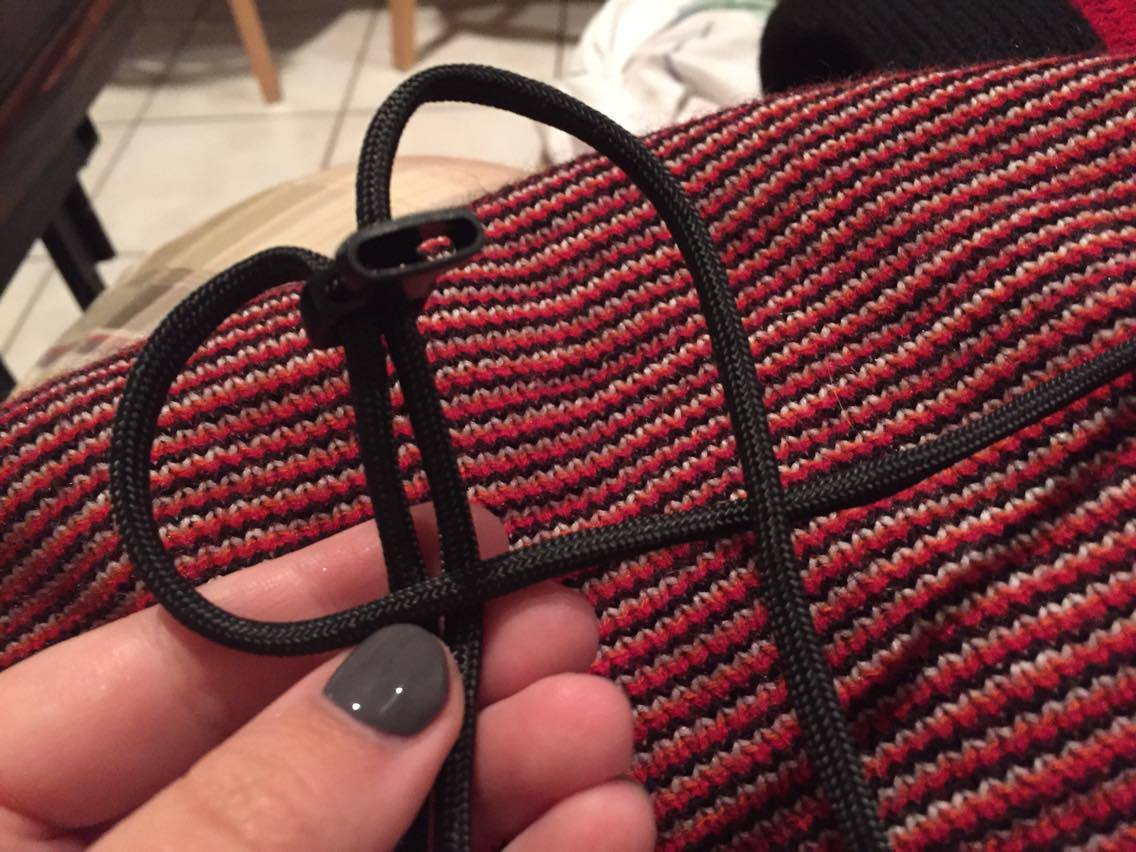
Start with the left strand. Lay it over the measurement section. Then, take the right strand and lay it on top of the left one.
Wrap the right strand around backward and thread it through the loop made by the left strand. Pull both strands and tighten. This is your first weave.
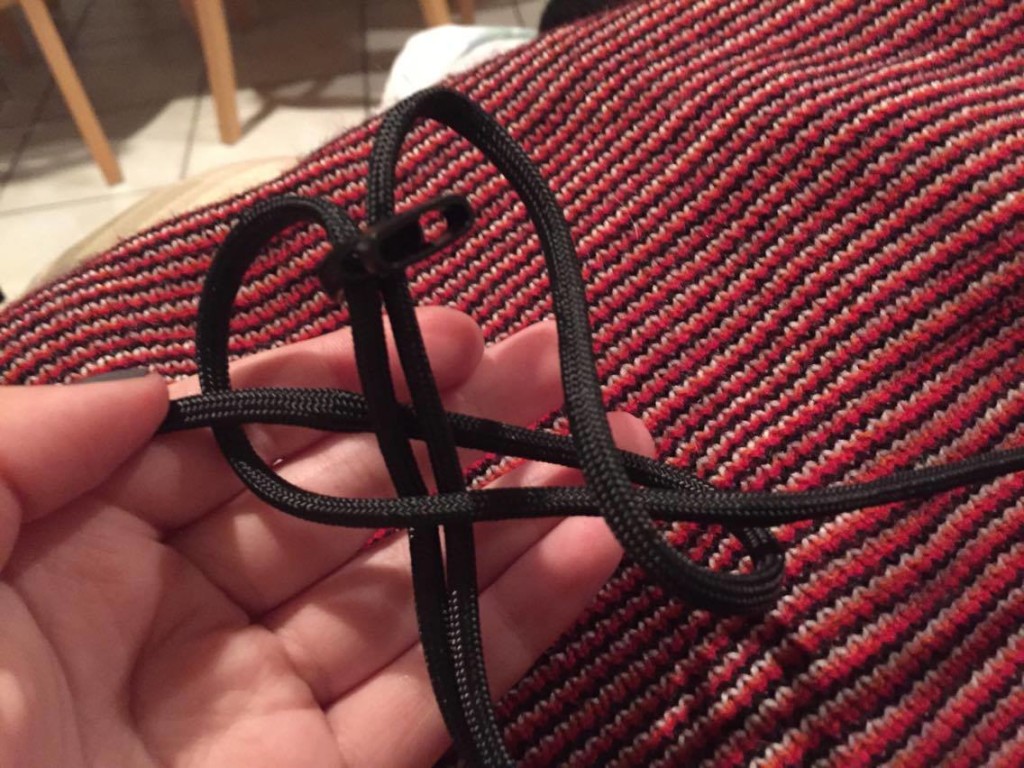
Next, do the same thing on the right side. Lay the right strand on top of the measurement section, and then lay the left strand on top of the right strand. Wrap the left strand backward and thread it through the loop made by the right strand. Pull and tighten. This is your second weave.
Repeat these steps, alternating sides, until you get to the end!
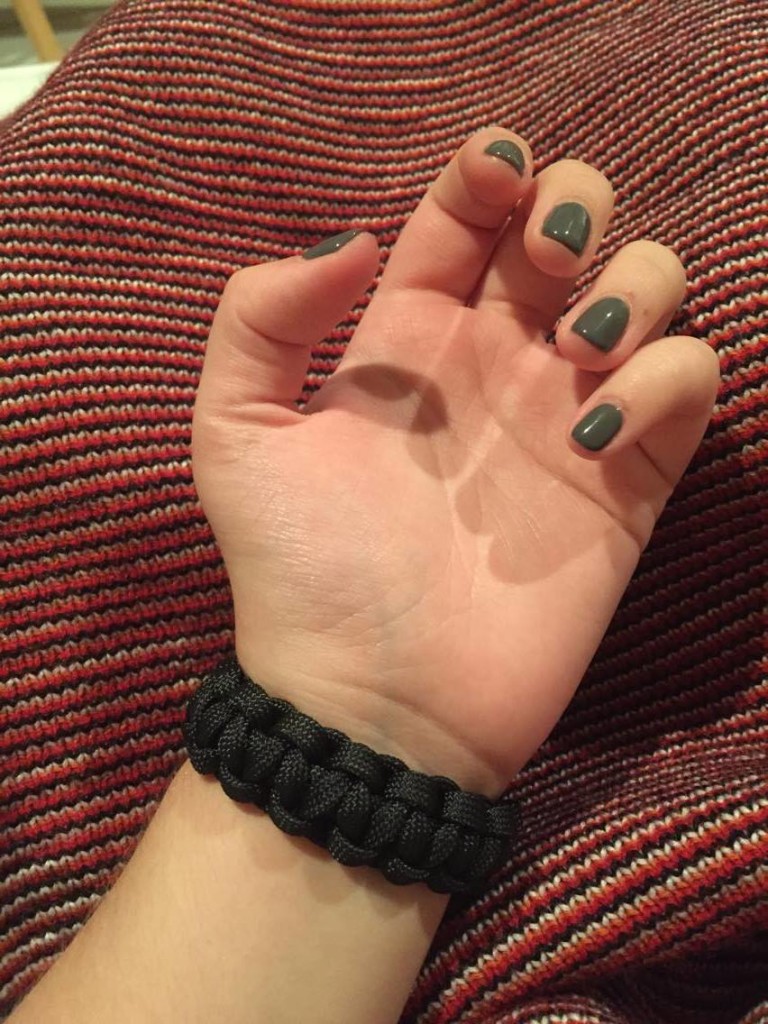
Once you get to the end, make a final weave closest to your buckle. Then, take your scissors and clip the excess paracord. Use your lighter again to singe the edges so they don’t fray. If you like, you can mold the singed edges while they are still warm to flatten them out and make them less likely to come undone. Be careful – the cord will be hot!
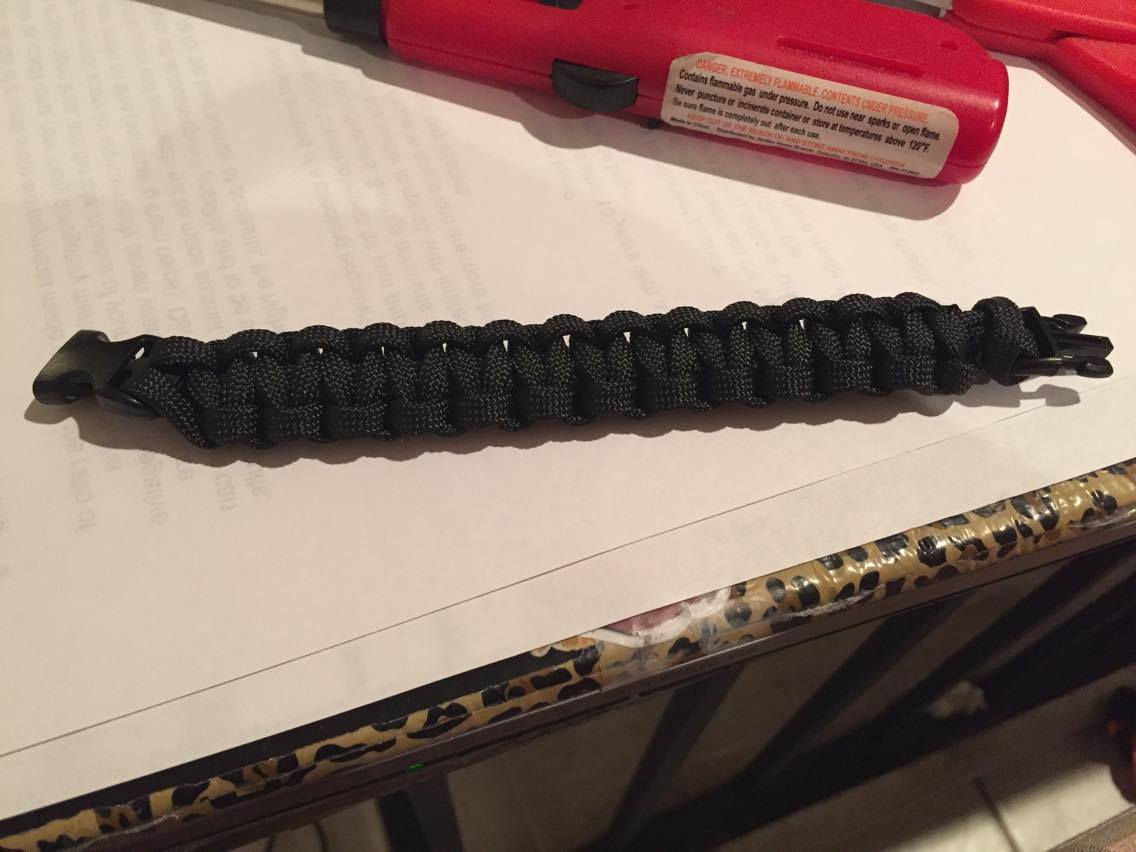
All done!
Posted by Katie Atkins, Education Intern and Lauren Handley, Assistant Director of Education for Public Programs at The National WWII Museum.
Home Front Friday is a regular series that highlights the can do spirit on the Home Front during World War II and illustrates how that spirit is still alive today!
Yesterday was International Nurses Day, a very special day for us here at the Museum!
Nurses are some of the most important people in our society today, and the same thing was true during the war. Before the Japanese attacked Pearl Harbor, the United States had fewer than 1000 nurses in its Army Nurse Corps. By the time World War II had come to a close, that number had ballooned to more than 50,000 women! The army established specific nurse training procedures to teach its new recruits the ropes, with special programs dedicated to anesthesiology and psychiatric treatment.
Army nurses served under enemy fire in field and evacuation hospitals, on hospital trains, hospital ships and in general hospitals overseas as well as in the United States. Because of their aid, fewer than 4 percent of the American soldiers who received medical care in the field or underwent evacuation died from wounds or disease!
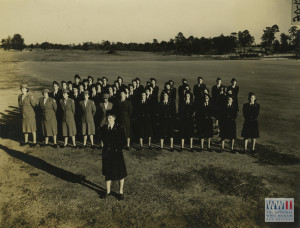
Nurse Corps at Fort Benning, Georgia, circa 1942-43
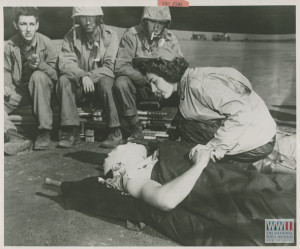
Ensign Jane Kendiegh, USNR, of Oberlin, Ohio, the first Navy flight nurse to set foot on any battlefield, bends over a wounded Marine on the airstrip on Iwo Jima, 6 March 1945
The government recognized the tremendous service that nurses brought to the war effort, and began offering free education to nursing students between 1943 and 1948. Initially, the number of Black nurses allowed to serve in the Army Nurse Corpse was limited to 160, but a public outcry forced the authorities to drop that policy in 1944. After that, more than 2000 black students enrolled in the Cadet Nurse Corps program and funding for Black nursing schools increased dramatically.
Being so close to the front, many of these army nurses suffered wartime casualties, just like the soldiers on the field. There were 201 army nurse casualties during the war, with 16 of them being caused directly by enemy forces. Sixty eight American sevrvicewomen were captured as POWs in the Pacific. However, more than 1,600 nurses were decorated for bravery under fire and meritorious service!
Nurses during army training at Fort Meade, Baltimore, Maryland, 1940s
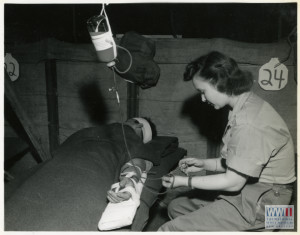
Army nurse adjusts an IV inserted into a soldier’s arm. Soldier is lying on hospital bed with head bandaged. Italy. 1944-45
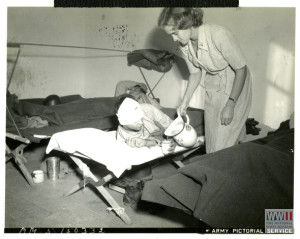
Nurse assisting an injured soldier in Italy, 10 November 1943
Nursing provided many opportunities for women to branch out during the war. The Army Nurse Corps, the Navy Nurse Corps, and the American Red Cross all gave women the opportunity to participate, sometimes even militarily, in the war effort. Hitler, meanwhile, called America foolish for putting its women to work….which is probably why he lost the war!
In honor of National Nurses Day, we’re going to teach you how to make your very own ice packs and heating packs – the perfect remedy for sores, scrapes, and bruises!
What you need for an ice pack:
Plastic bag
Rubbing alcohol
Water
Food coloring (optional)
Steps:
Mix one cup of rubbing alcohol with 2 cups of water. The less water you add, the less dense your gel will be.
Place the mixture in a plastic bag. Try to get as much air out of the bag as you can – this will prevent it from popping. If you like, you can use two bags to protect further against leaks.
It may help to add a bit of brightly colored food coloring to your ice pack so you can see what it is at a distance – and to signal to little kids that it isn’t for eating!
Freeze! The gel inside will get cold enough to soothe while still remaining soft and pliable.
What you need for a heat pack:
Old sock or other cloth container
Uncooked rice or oatmeal
Needle and thread (optional)
Scents (also optional)
Steps:
Fill your sock with the rice or oatmeal.
If you like, you can add fragrance oils to make your pack smell nice!
Either sew or tie the sock closed. (Sewing is recommended so your filling doesn’t spill out!)
Microwave for 1-3 minutes.
Always remember to never apply these packs directly to the skin – wrap them in a washcloth or paper towel first!
Posted by Katie Atkins, Education Intern and Lauren Handley, Assistant Director of Education for Public Programs at The National WWII Museum.
Home Front Friday is a regular series that highlights the can do spirit on the Home Front during World War II and illustrates how that spirit is still alive today!
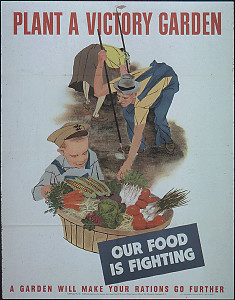
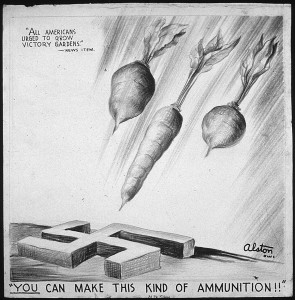
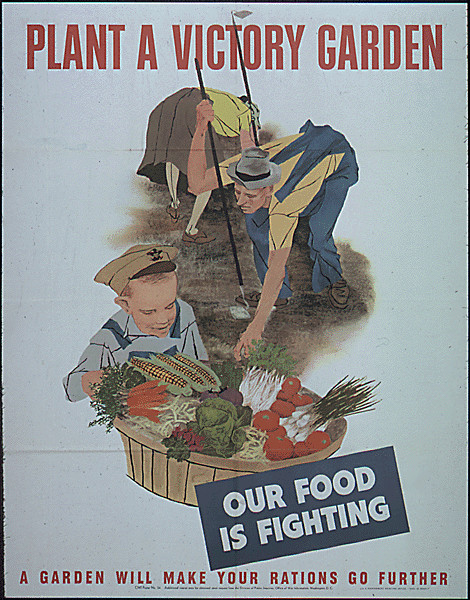
Today is Arbor Day, which is all about going green! April is also Lawn and Gardening Month, making it a perfect time to discuss one of the most defining aspects of life on the home front during World War II: Victory Gardens!
During the war, everything was rationed, including food, to make sure that the soldiers serving abroad had enough to eat. Not only that, but trains and trucks that were used to transport food products before the war were now being used to ship soldiers, ammunition, and weapons. In order to keep families fed, the United States government encouraged them to plant Victory Gardens in their backyards and grow their own food.
via the National Archives
via the National Archives
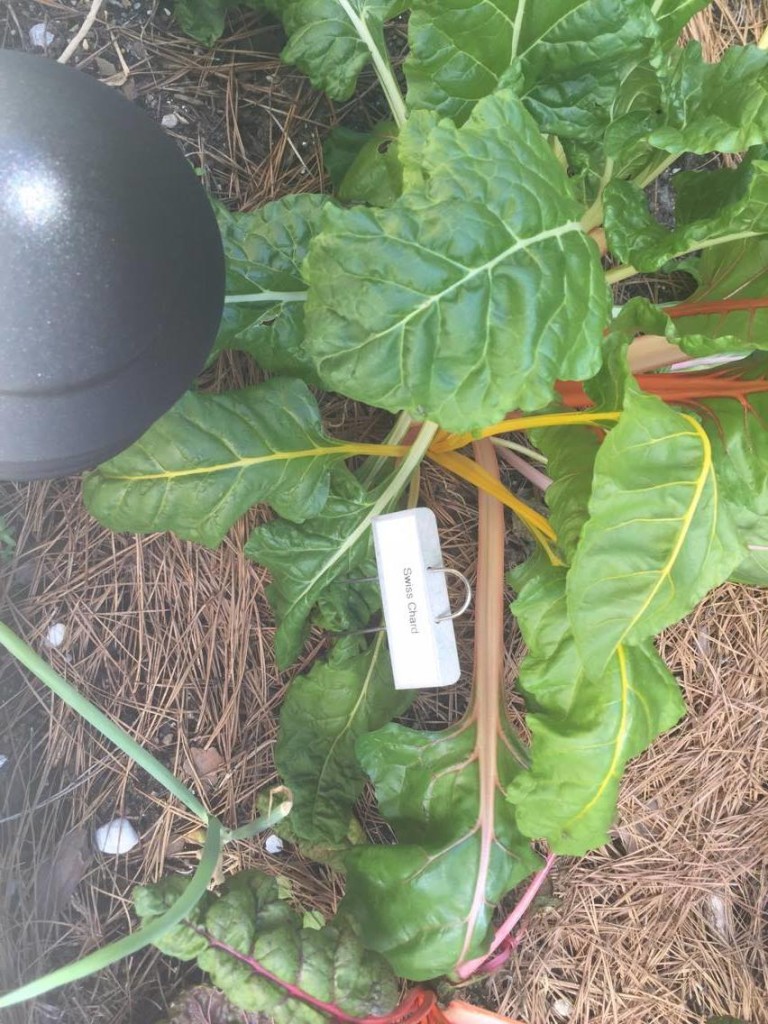
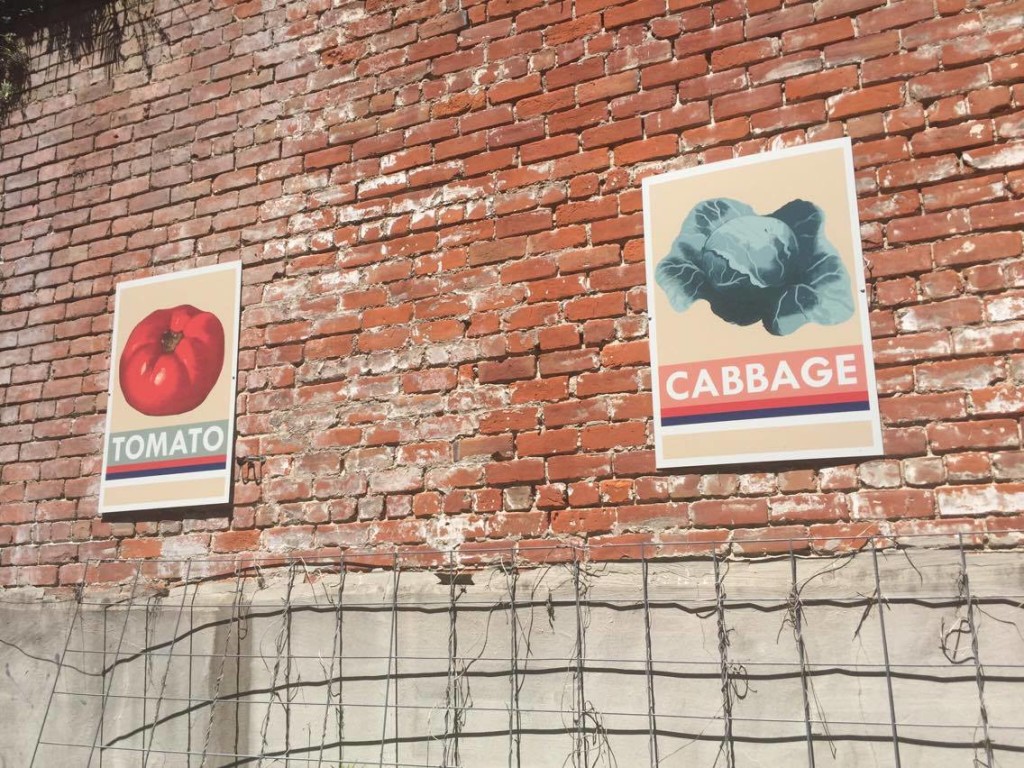
The United States became home to more than 20,000,000 Victory Gardens during the war. By 1944 Victory Gardens were responsible for producing 40% of all vegetables grown in the United States – more than 1 million tons! City homes without backyards resorted to window box gardens or rooftop gardens that the whole building tended to. Schools would often grow their own gardens to provide for the children’s lunches. Excess food was canned and saved for the winter months. Victory Gardens were also responsible for introducing Swiss chard and kohlrabi to the American dinner table because they were easy to grow.
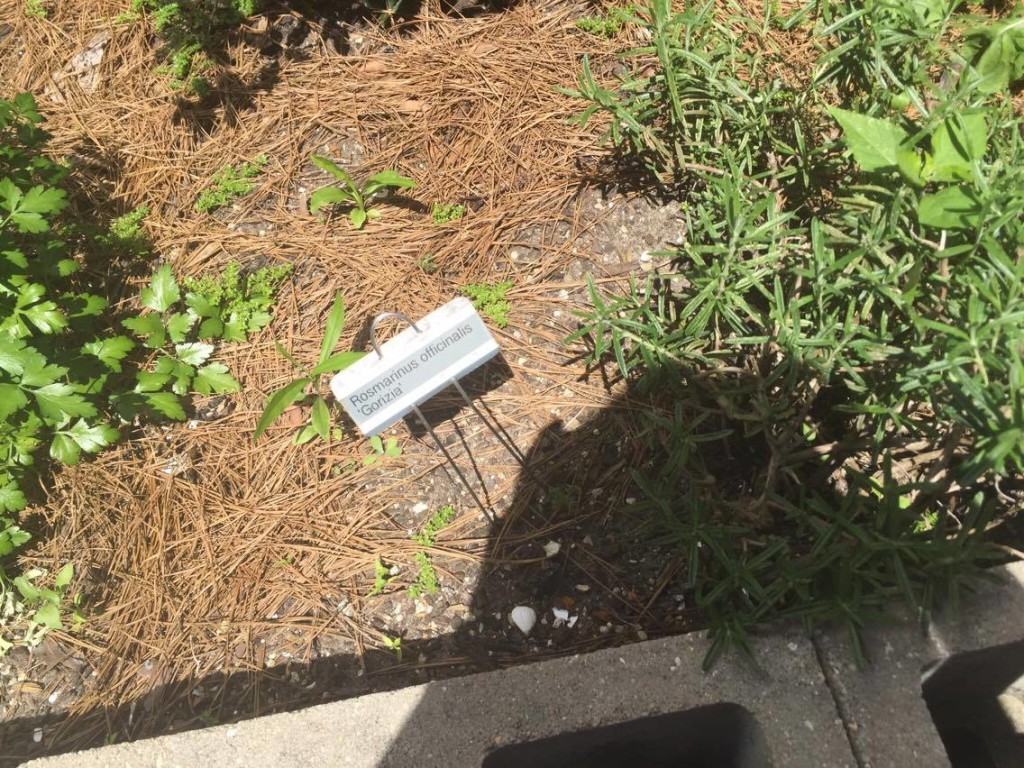
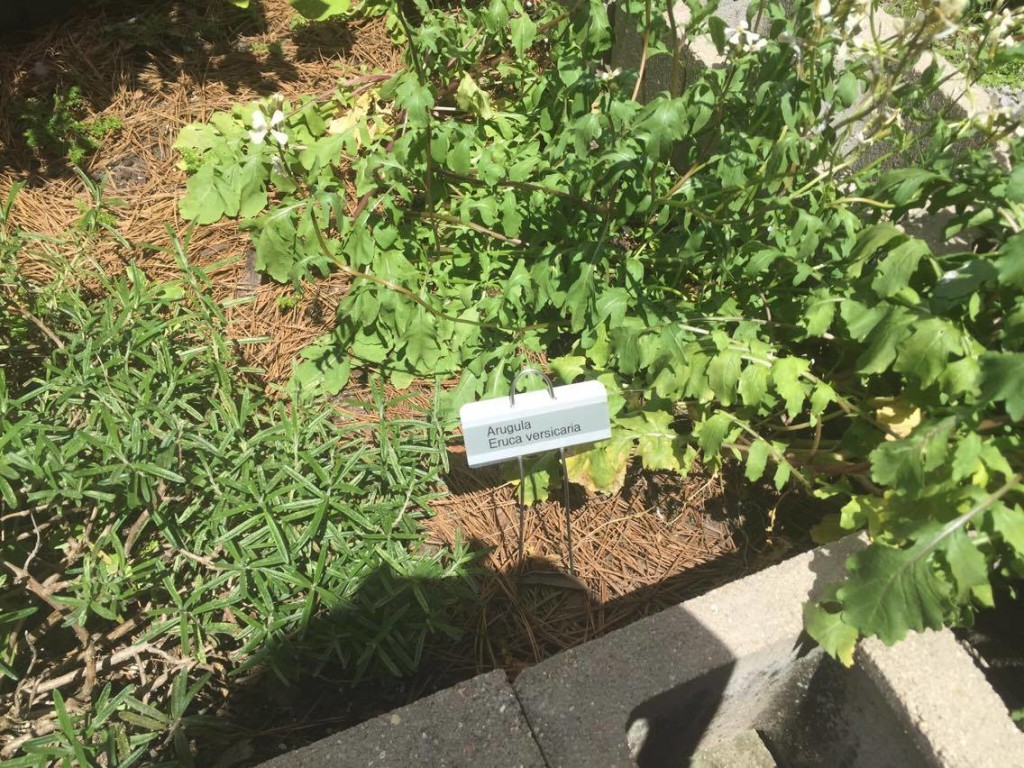
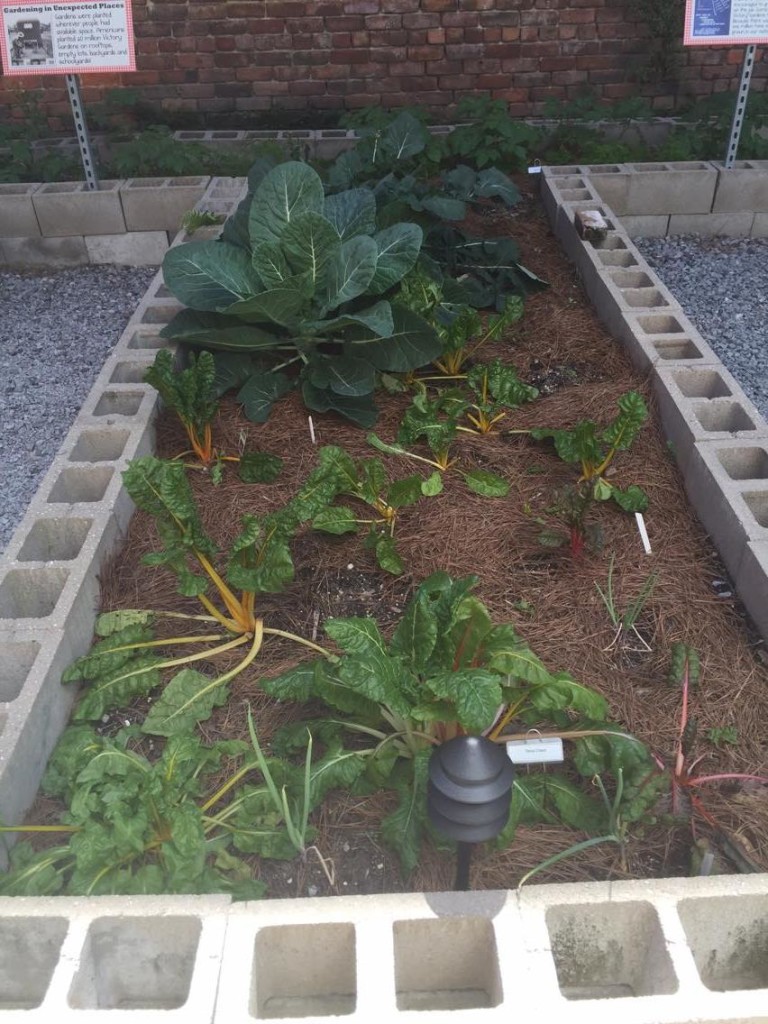
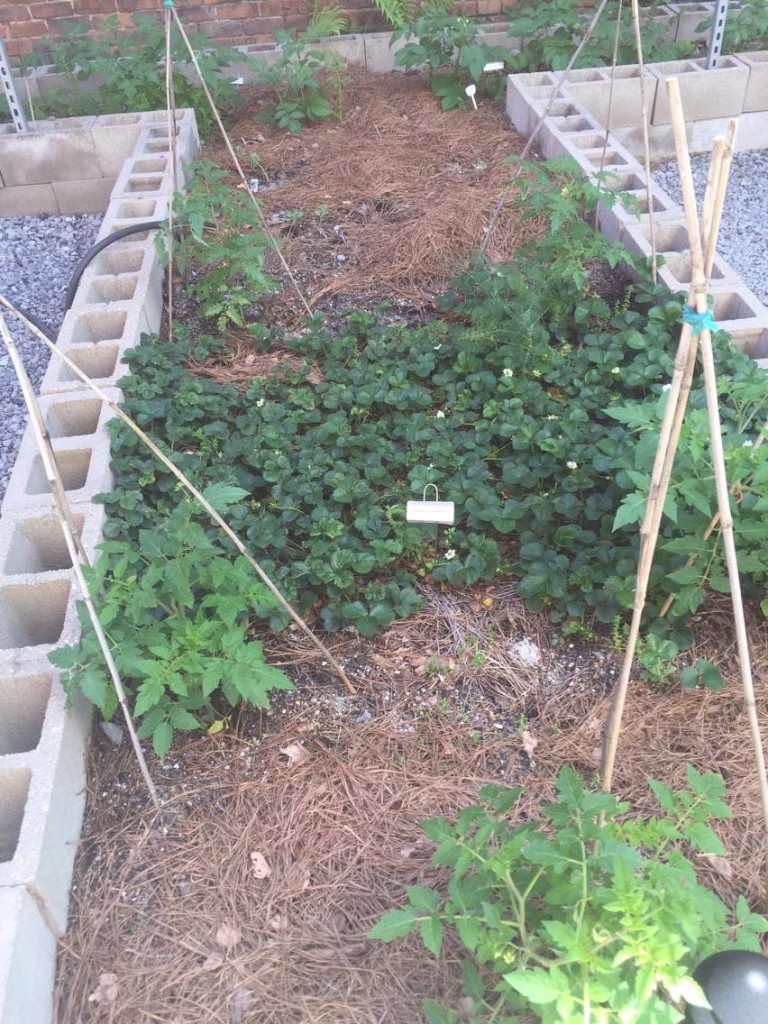
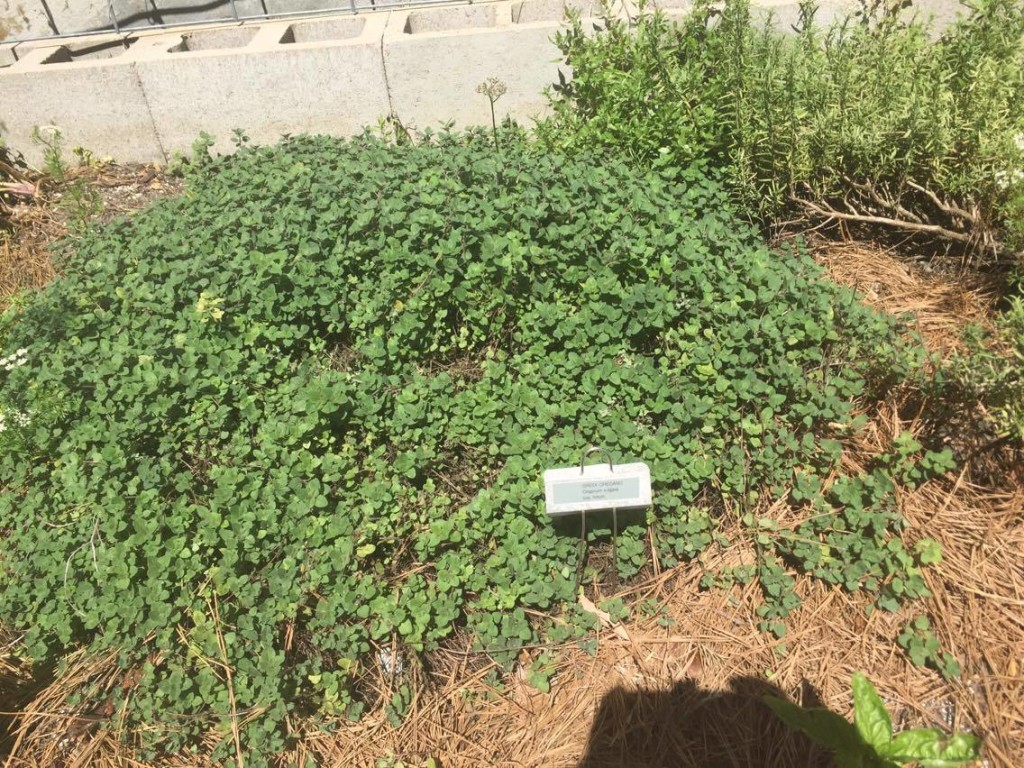
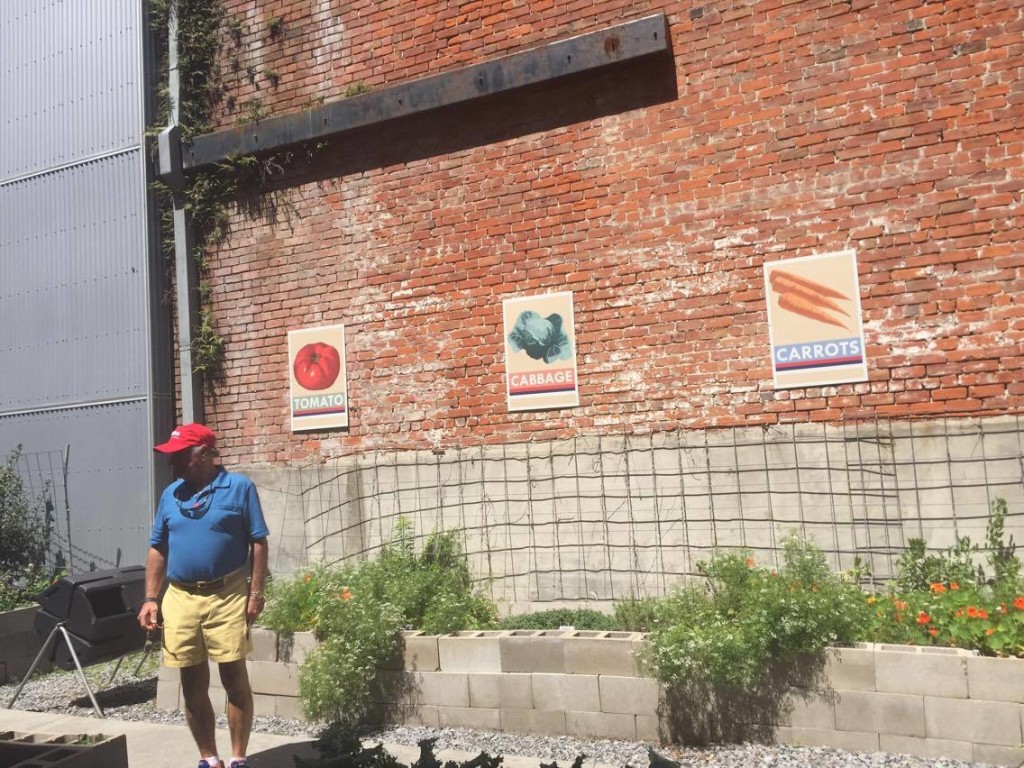
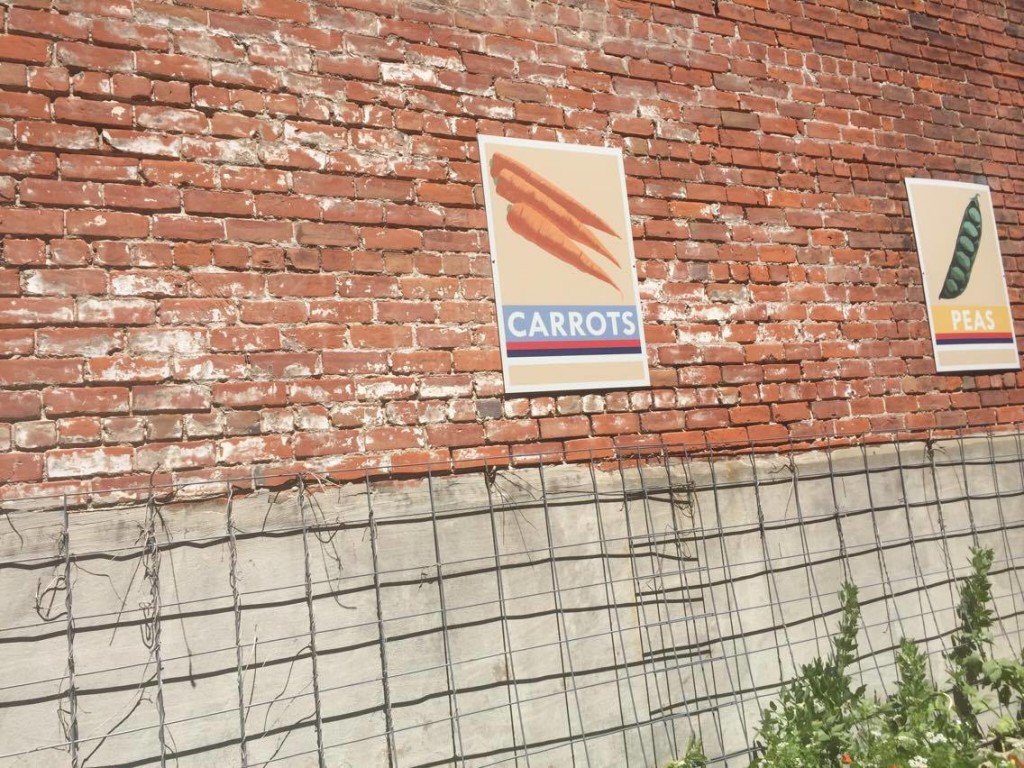
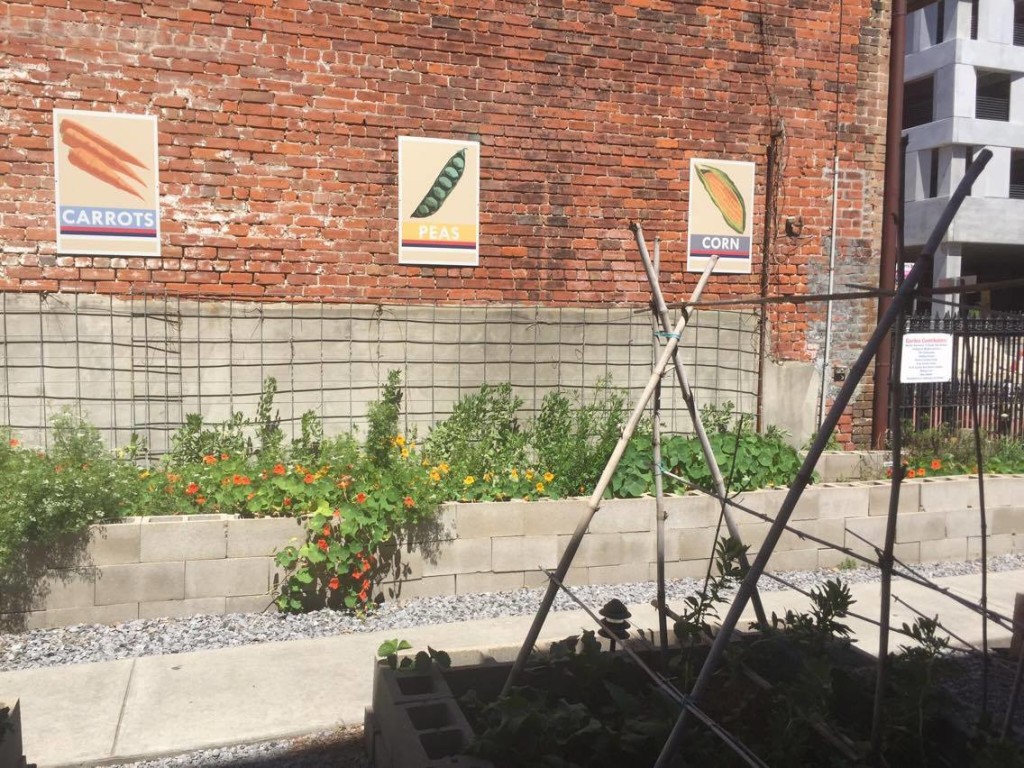
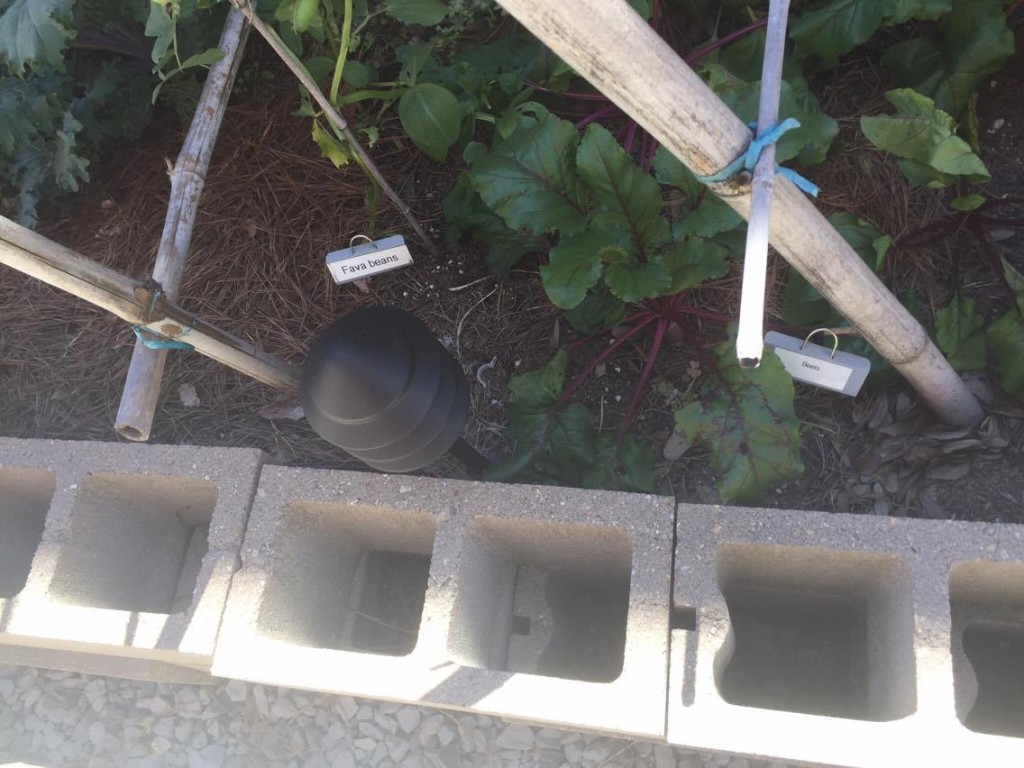
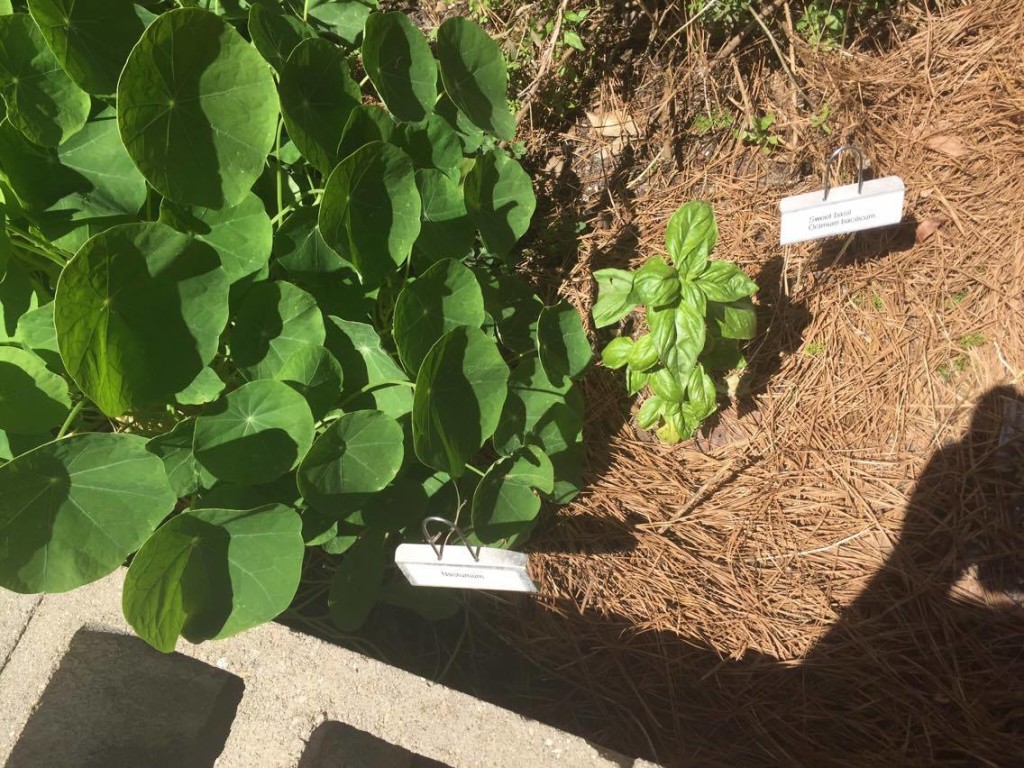
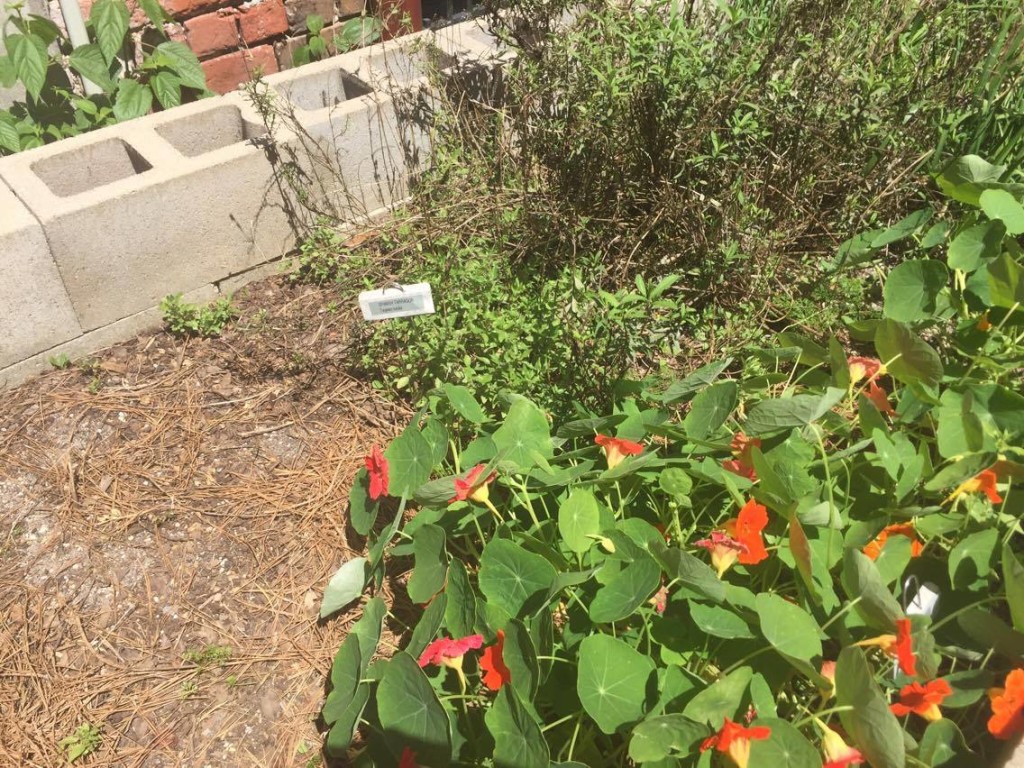
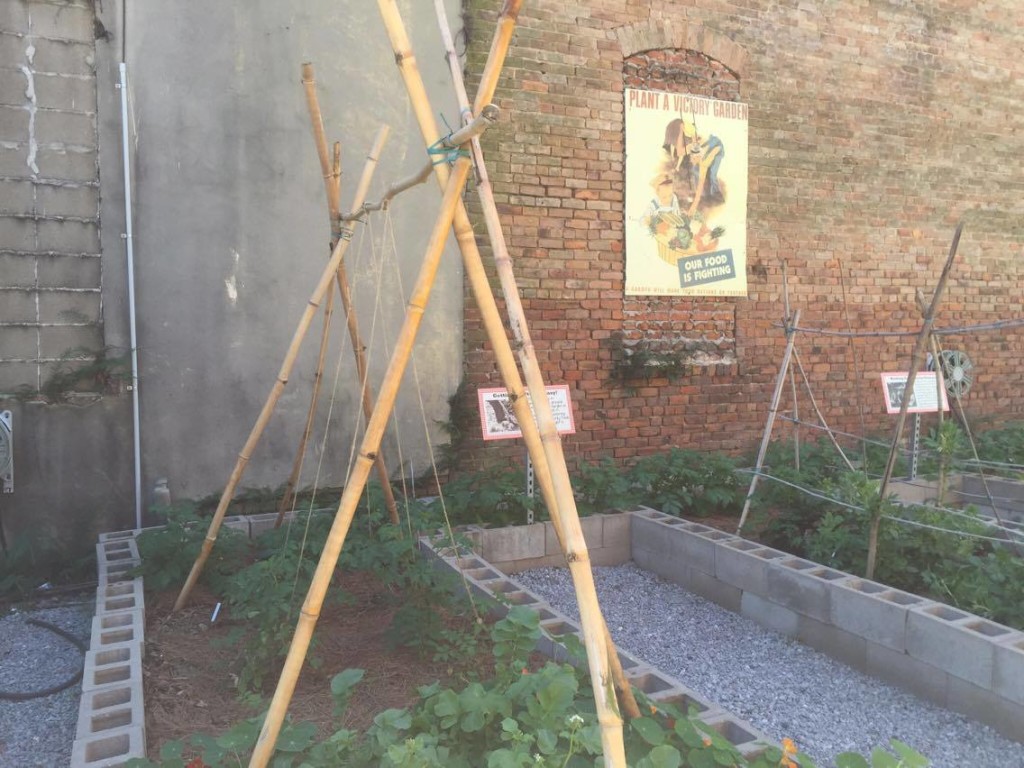
Did you know the National World War II Museum has its own Victory Garden? Check it out:
via the National Archives
via the National Archives
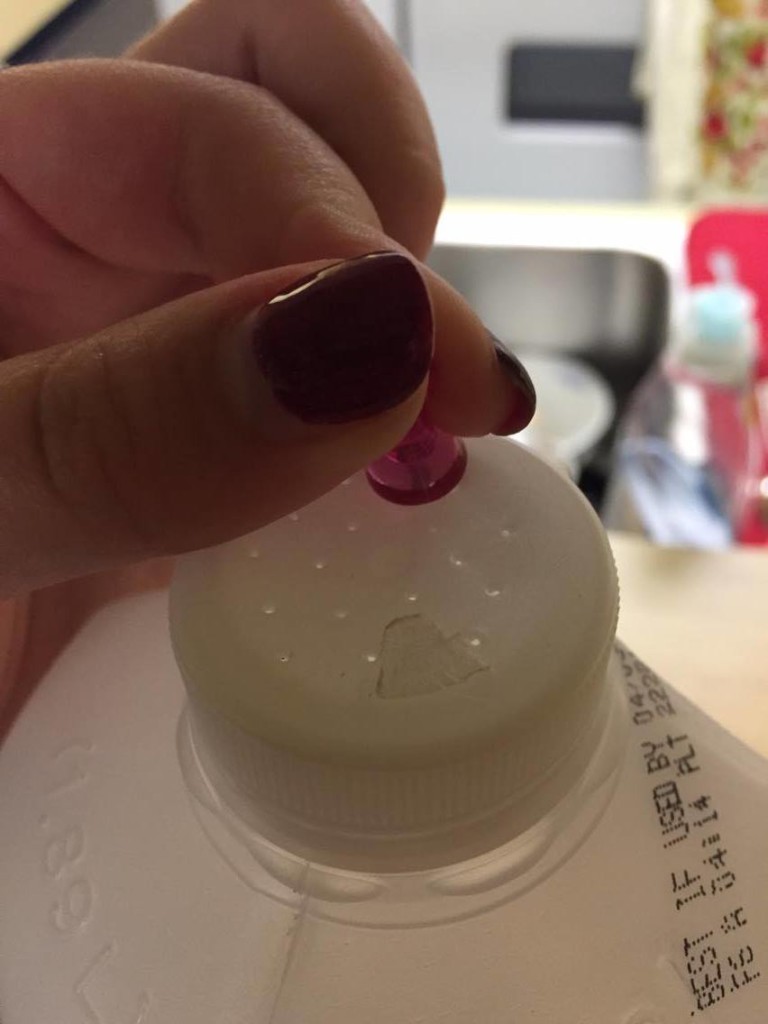
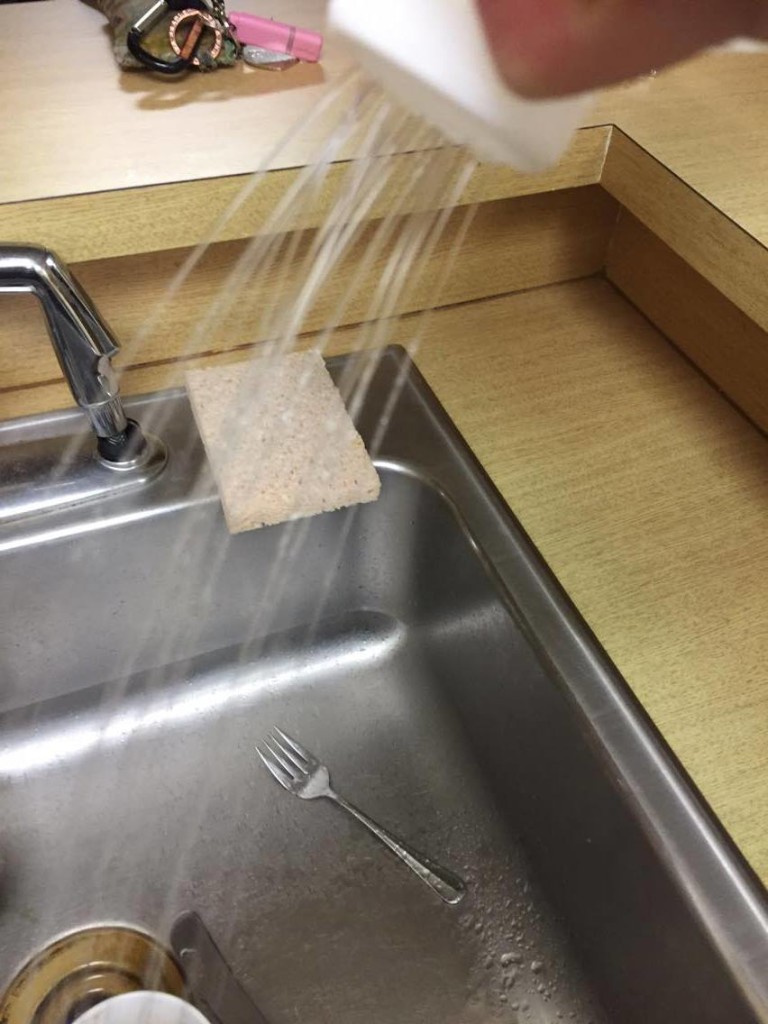
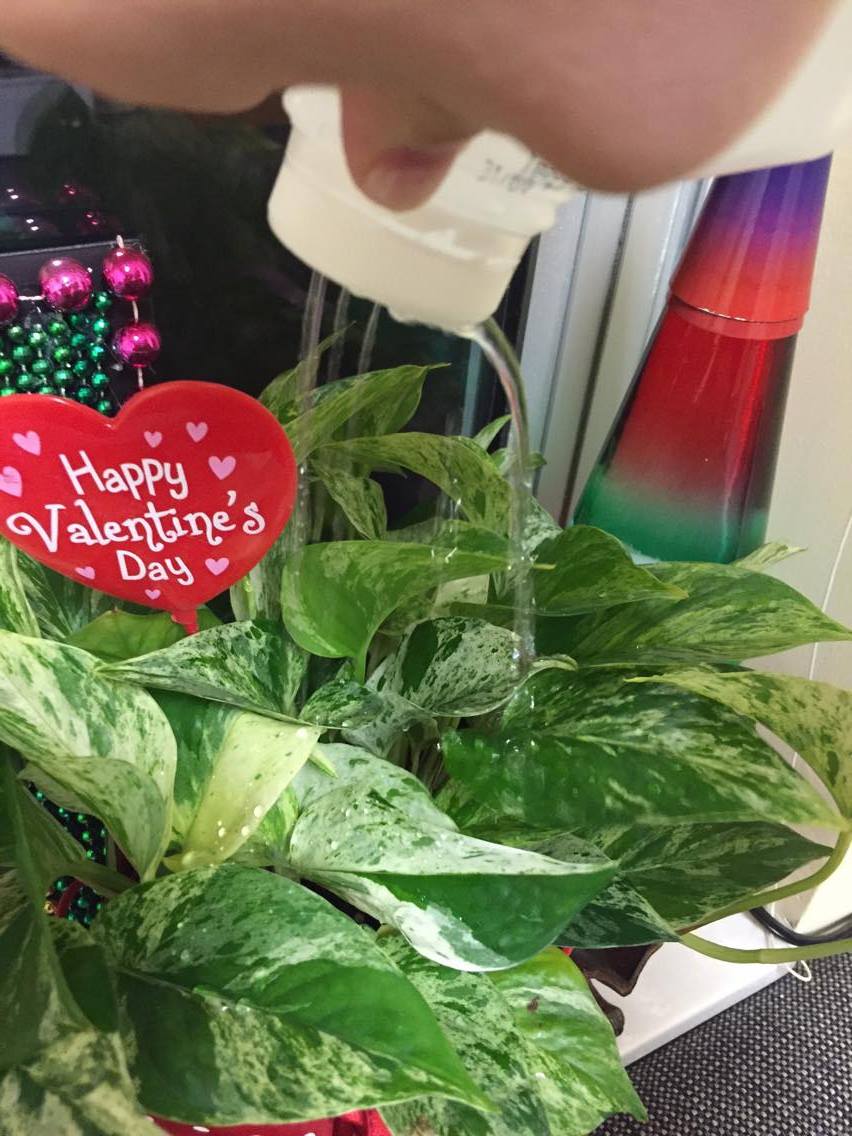
Everyone knows that the first step of gardening is to make sure that your plants get enough water. But have you seen how expensive watering cans are? Why spend $15 or more when you can make a watering can from objects you probably have lying around your house already? In this post, we’ll show you how to make one out of a milk jug in under five minutes!
STYLE ONE – WHAT YOU NEED:
Milk jug
Safety pin/thumbtack/nail
Steps:
1. Wash out and clean your milk jug.
2. Use a thumbtack to poke holes in the cap. Twist the thumbtack around to widen the holes.
3. Voila! You now have a watering can that cost you practically nothing to make!
Posted by Katie Atkins, Education Intern and Lauren Handley, Assistant Director of Education for Public Programs at The National WWII Museum.
Home Front Friday is a regular series that highlights the can do spirit on the Home Front during World War II and illustrates how that spirit is still alive today!
Did you know that April is National Welding Month? The secret ingredient that holds the world as we know it together, welding has sent us to the moon and back, produced monuments of steel where we work and live, and defended us in wartime!
The United States welding industry reached its peak in 1944. By then, it was producing twice the amount of war power than all of the Axis nations combined. Factories that had previously produced everyday products such as iceboxes and toasters were immediately converted to produce war machines. Auto manufacturers began producing tanks, trucks, guns, shells and parts for airplanes and ships. The aircraft industry had employed more than 2 million workers by 1944.
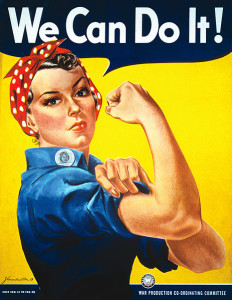
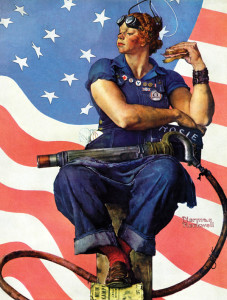
You may have seen the propaganda poster of the American cultural icon Rosie the Riveter gracing the walls of history classes or women’s studies classes. She has come to symbolize the can-do attitude of women left on the home front while their husbands were at war. Rosie most commonly appears on Howard J. Miller’s famous “We Can Do It!” poster for the Westinghouse Company. Another popular Rosie print is Norman Rockwell’s Saturday Evening Post depiction of Rosie, in which she is taking her lunch break while stamping on a copy of Mein Kampf.
The Westinghouse poster. (via the National Archives)
The Rockwell magazine cover. (via the Saturday Evening Post)
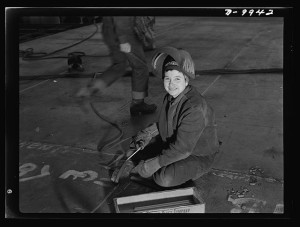
Did you know that Rosie has a friend? Her shipyard counterpart is Wendy the Welder, a similarly powerful woman based off of Janet Doyle, a worker at the Kaiser Richmond Liberty Shipyards. After the debut of the first all-welded ship in 1940, riveting ships fell out of style in favor of the quicker welding method.
A Wendy the Welder at the Richmond Shipyard in California. (via the Library of Congress)
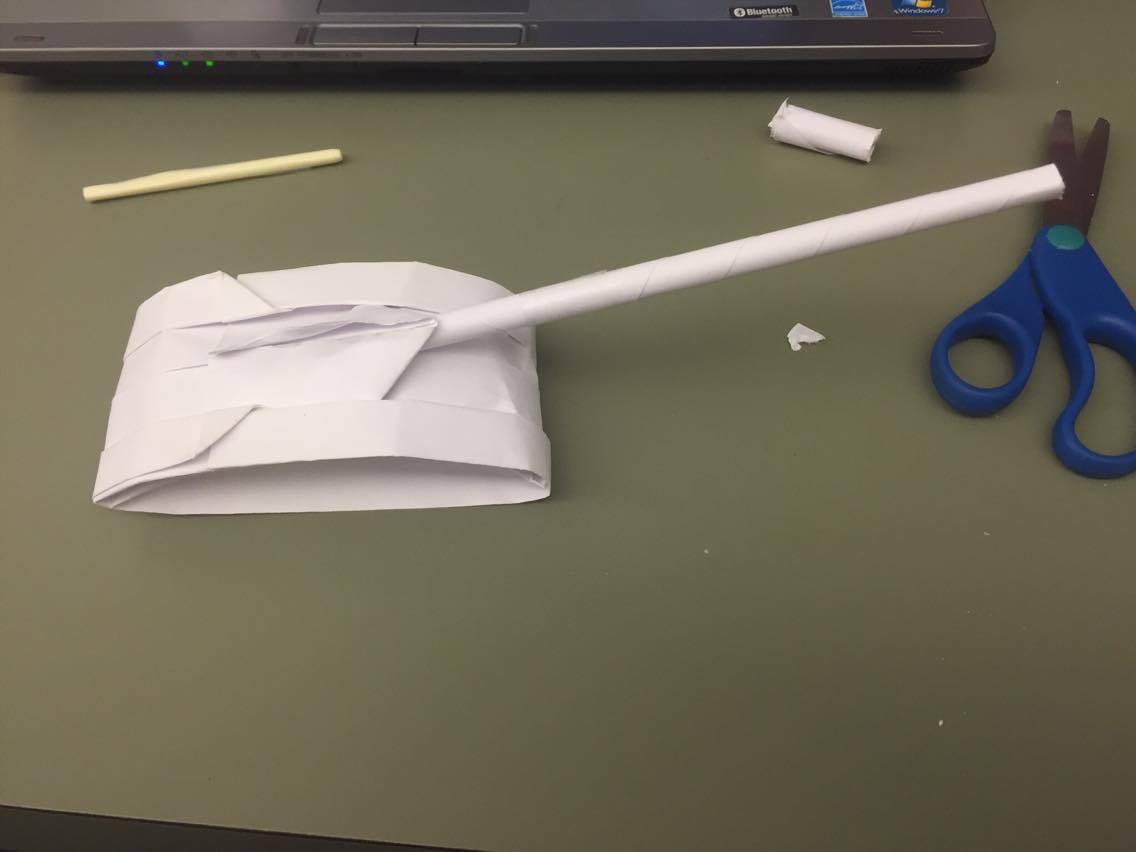
Unfortunately, we don’t know how to weld, and we don’t want to tell you to do anything where you might hurt yourself. But we can show you how to make this nifty paper tank instead:
What you need:
Two sheets of paper
Scissors
Dowel (optional)
Steps:
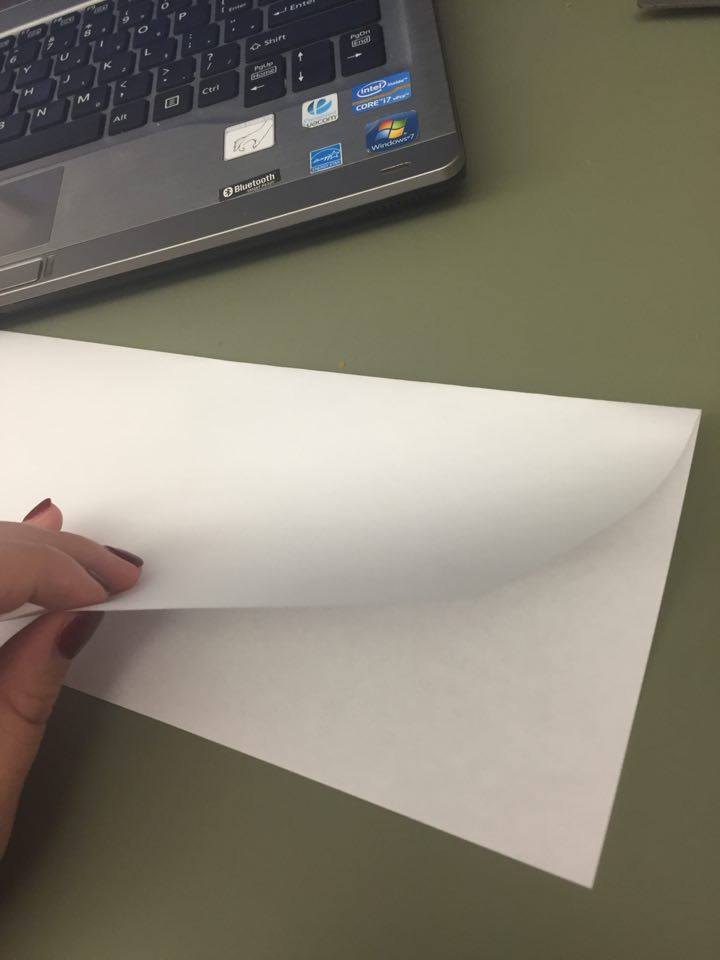
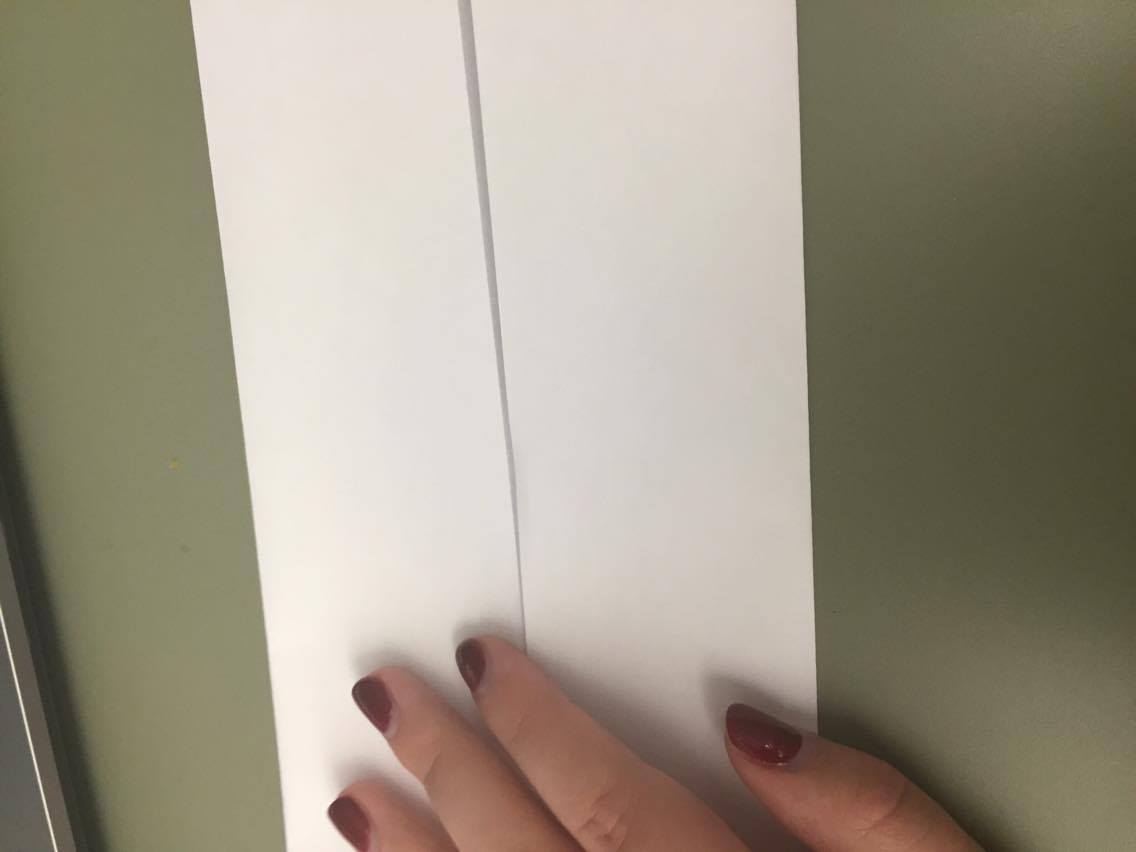
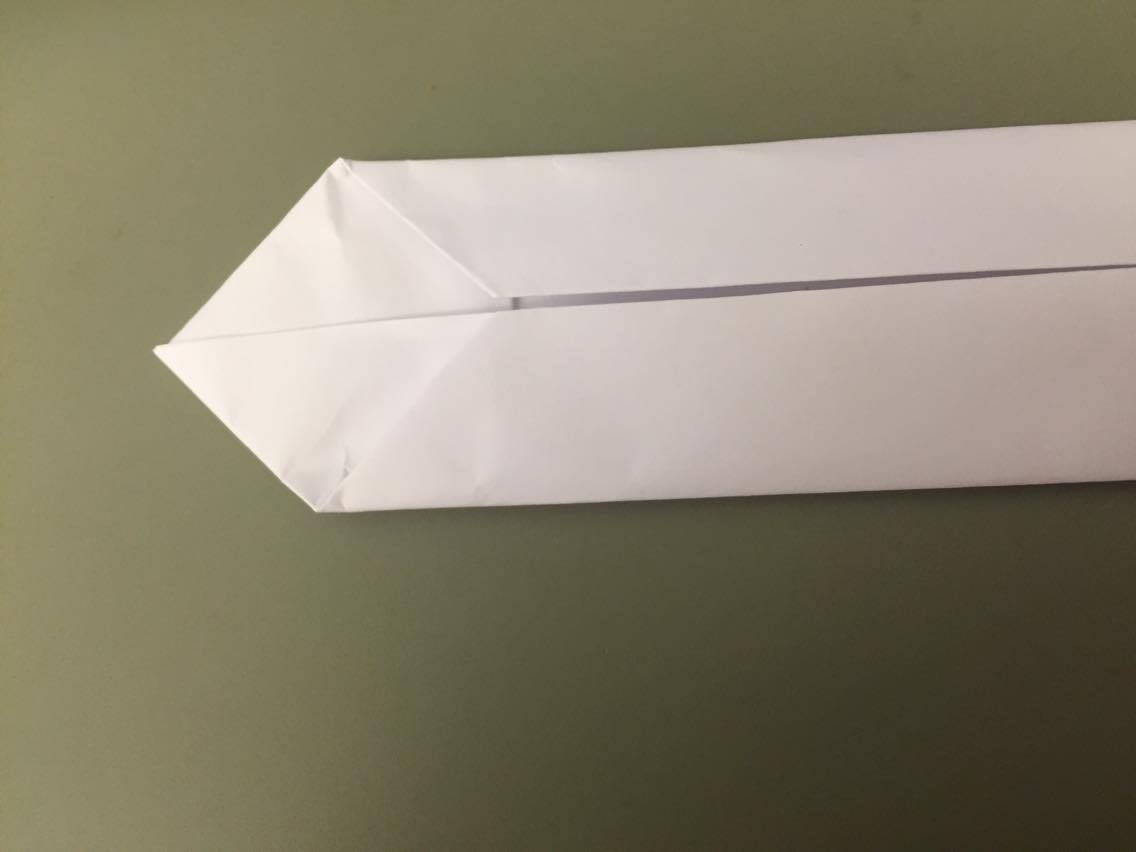
Start by folding your paper in half lengthwise.
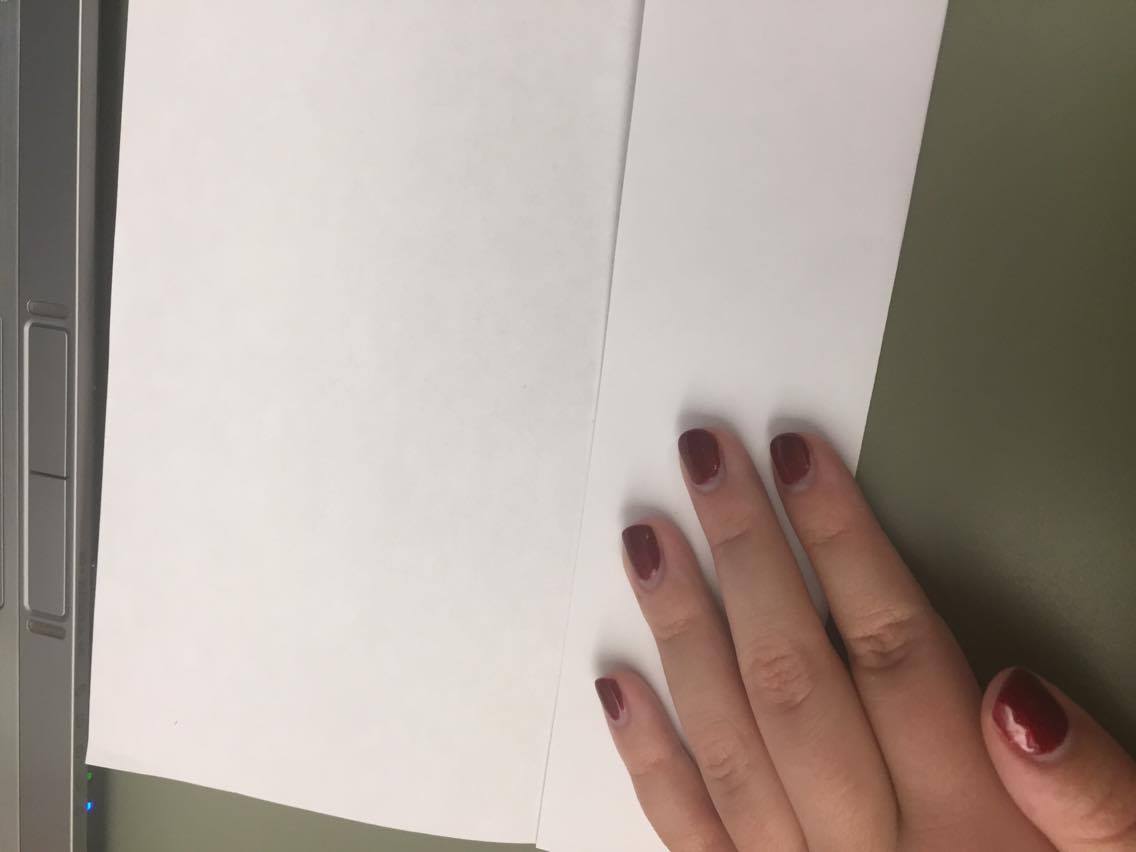
Next, unfold the paper. Then fold the outer sides of the paper inward, so that it is folded into fourths. Line the outer edges onto the middle line you made with the first fold.
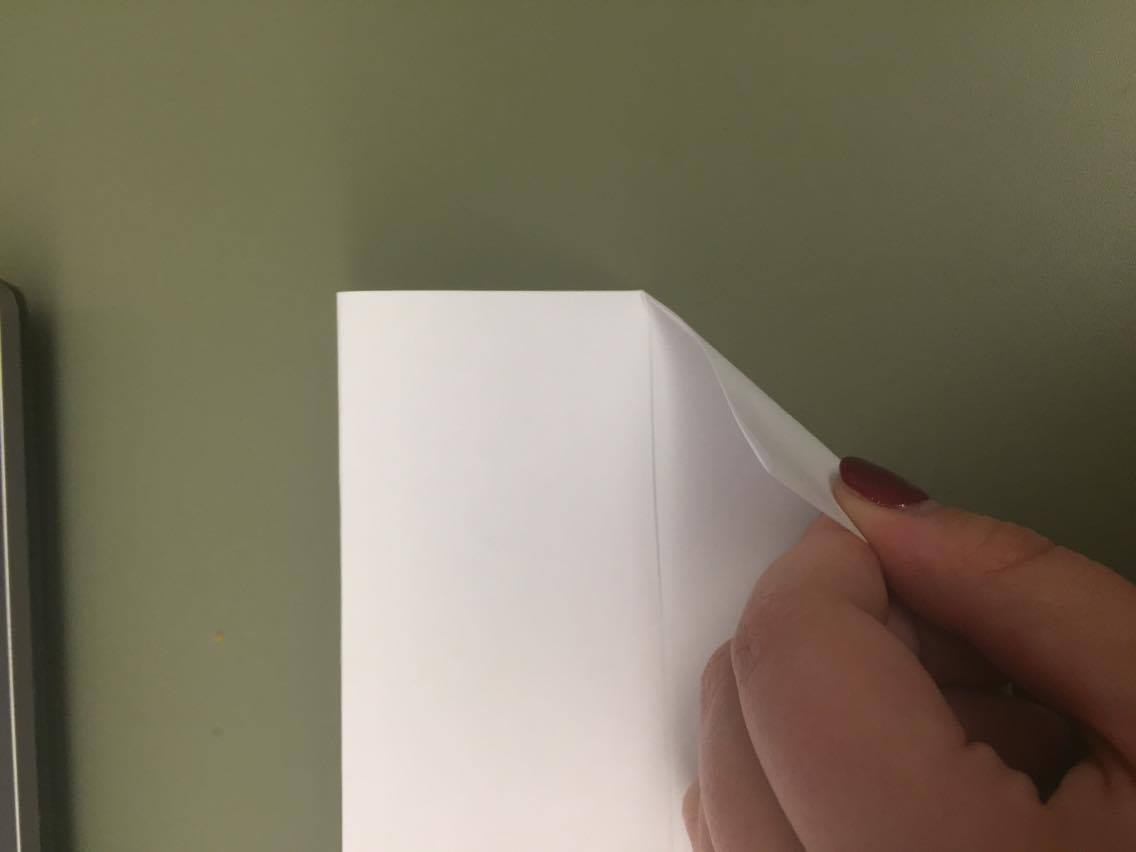
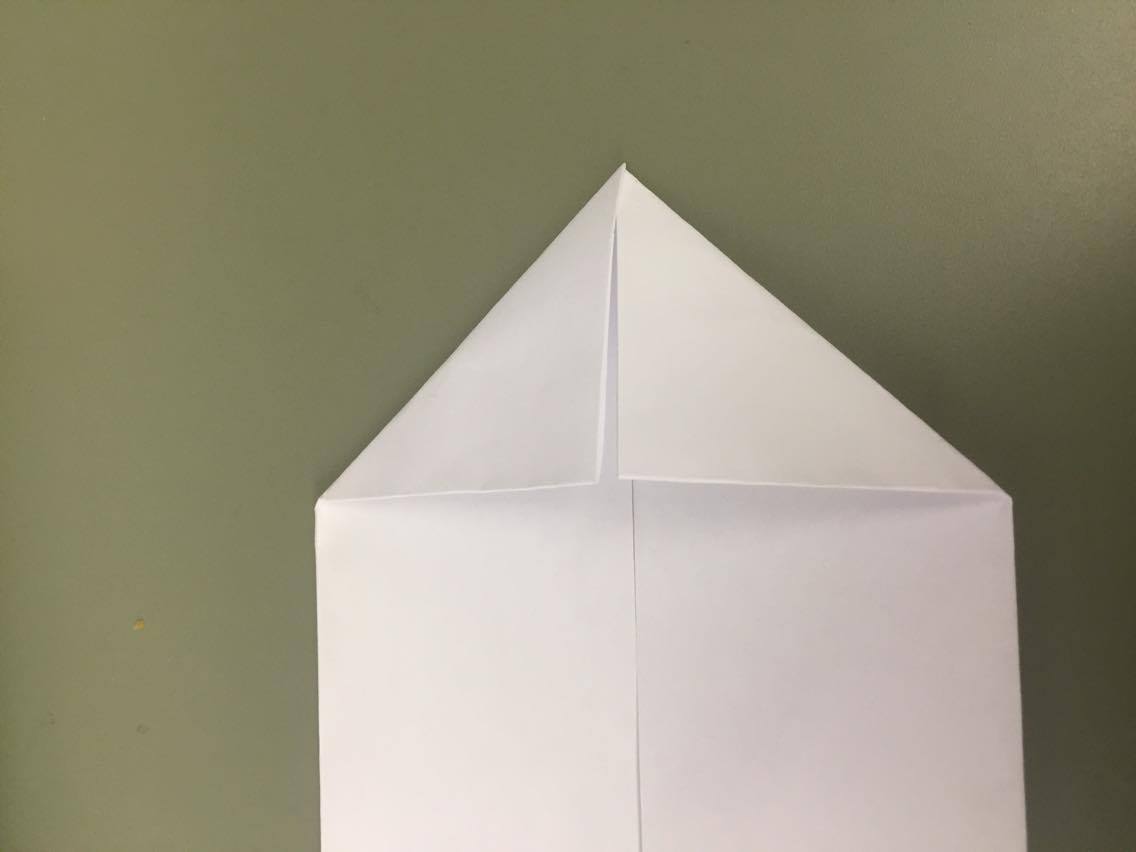
Next, take two corners of the paper (don’t unfold the two new sections!) and fold them inward, lining them up with the middle fold.
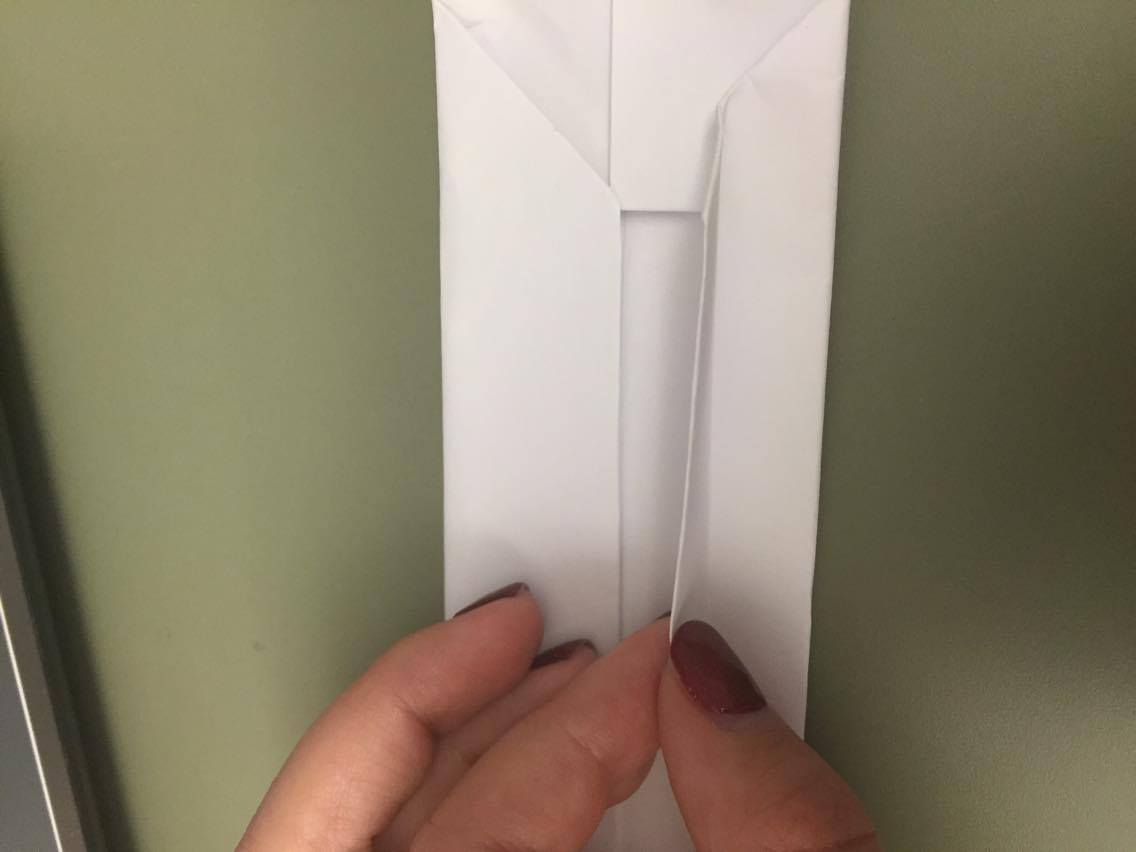
Once you have done that, take the outside edges and fold them in half again. Line up the outside edges with the middle fold. Some of the top triangle will get folded too – don’t worry, it’s normal!
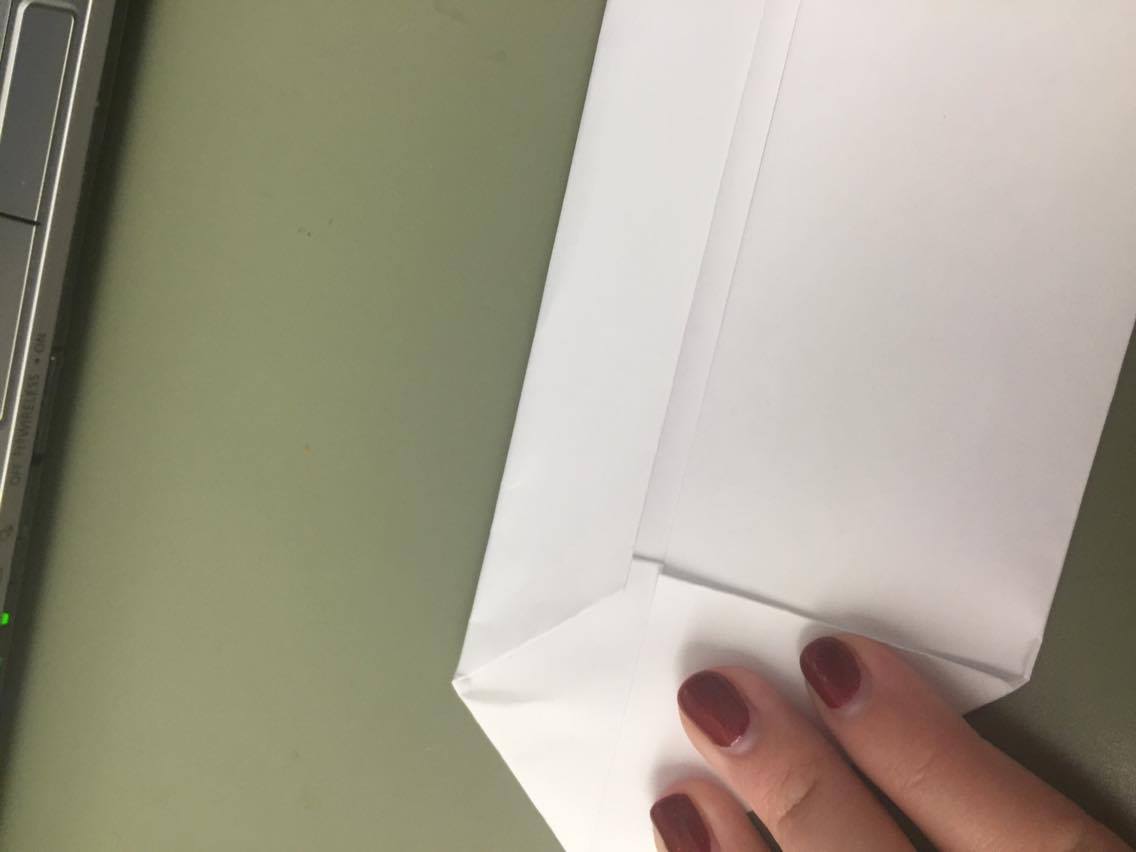
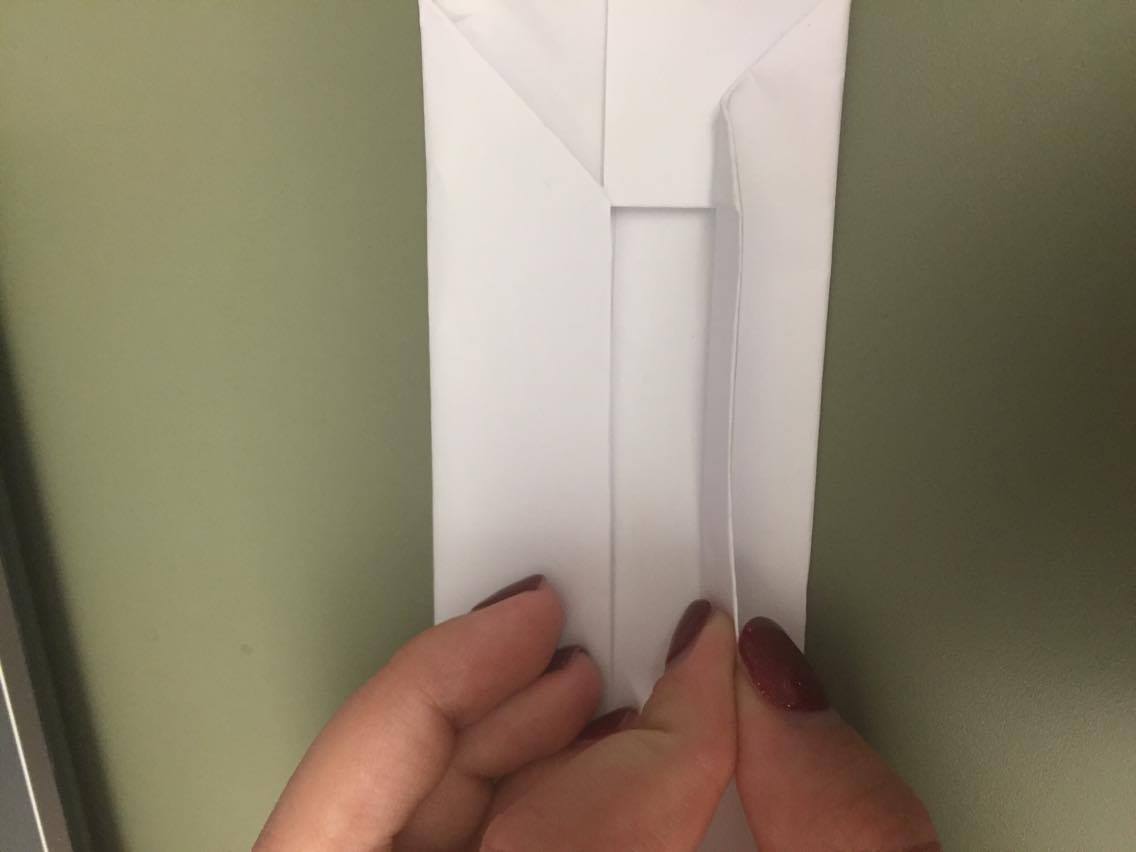
Once you have done that, take the two edges facing the middle and fold them out to the outer edges. Basically, take the flaps you have just folded and fold them again going outwards.
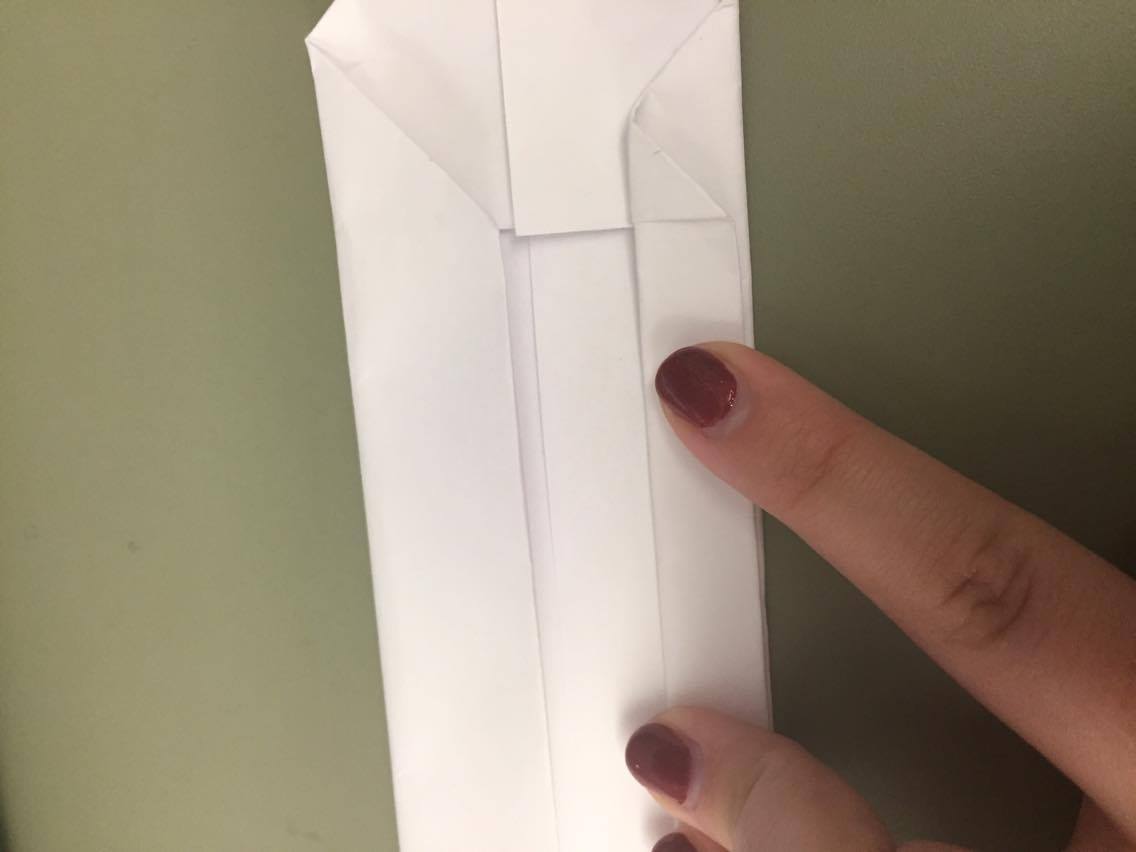
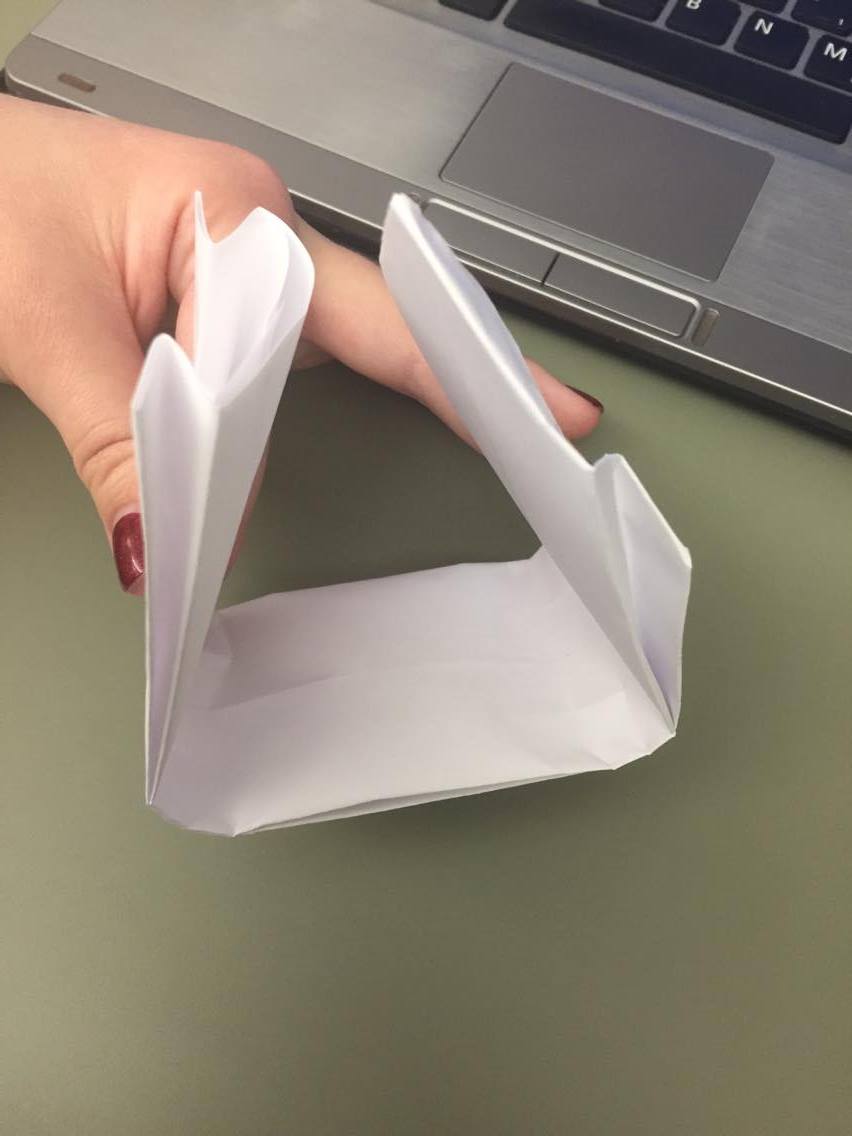
Now comes the tricky part. Flip the entire paper over so that the blank side is facing you. Now take the ends and bring them together, so that the structure is almost in thirds. Don’t fold, just curve!! The blank side should be facing inward.
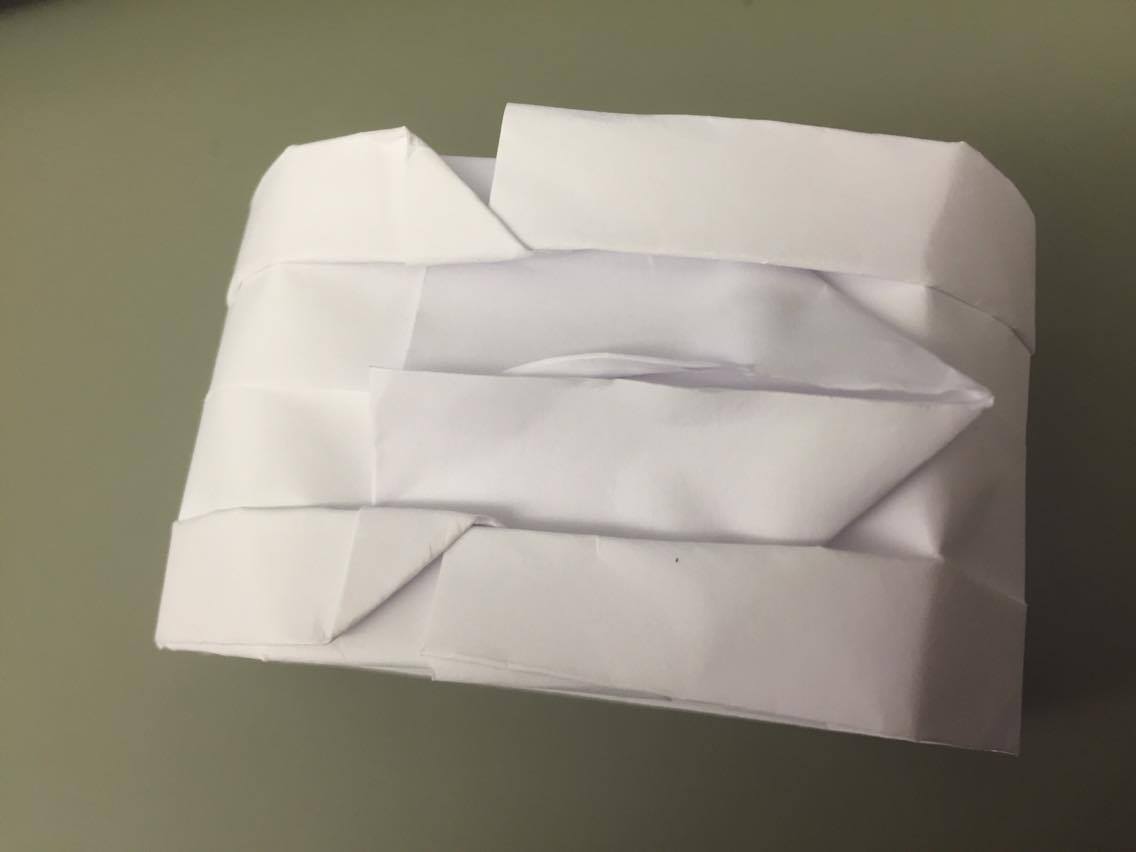
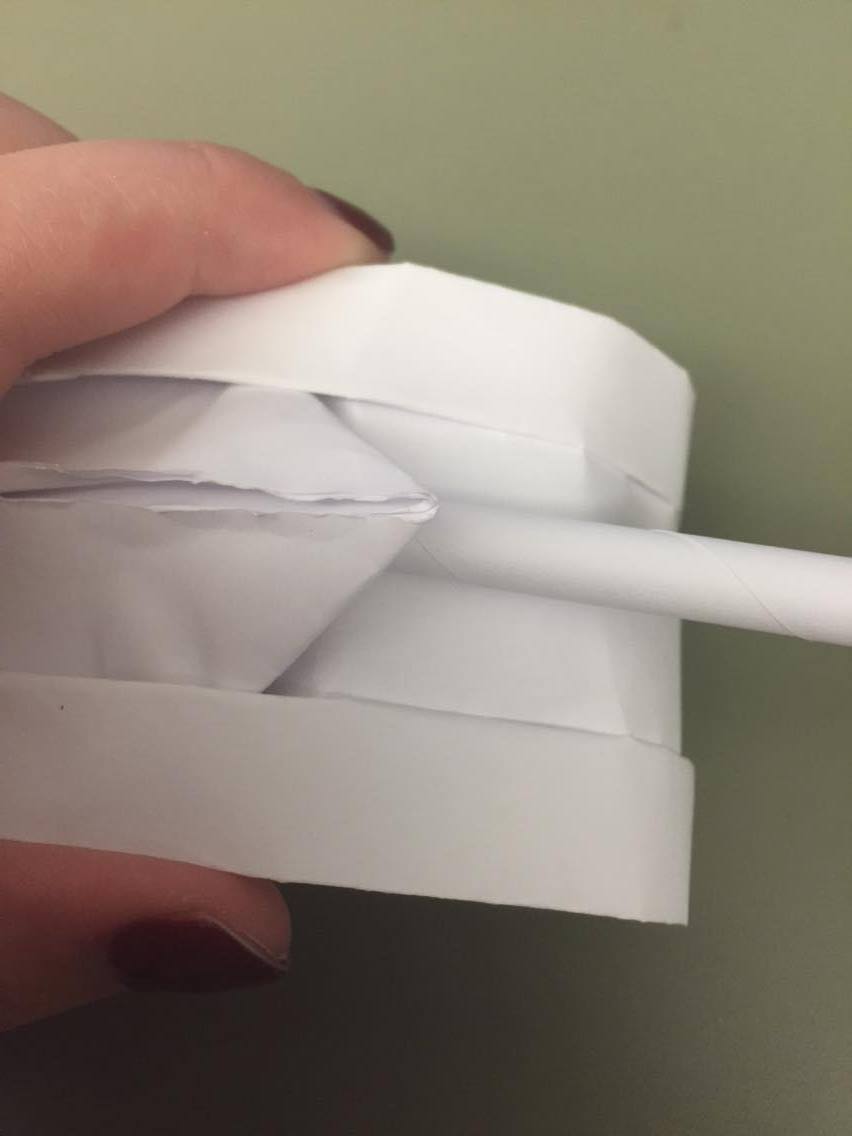
Now, slide the triangular part underneath the two outer tabs on the square part. The outer tabs should then slide into the tabs behind the triangle. This part takes time! You may have to mold the tank to fit.
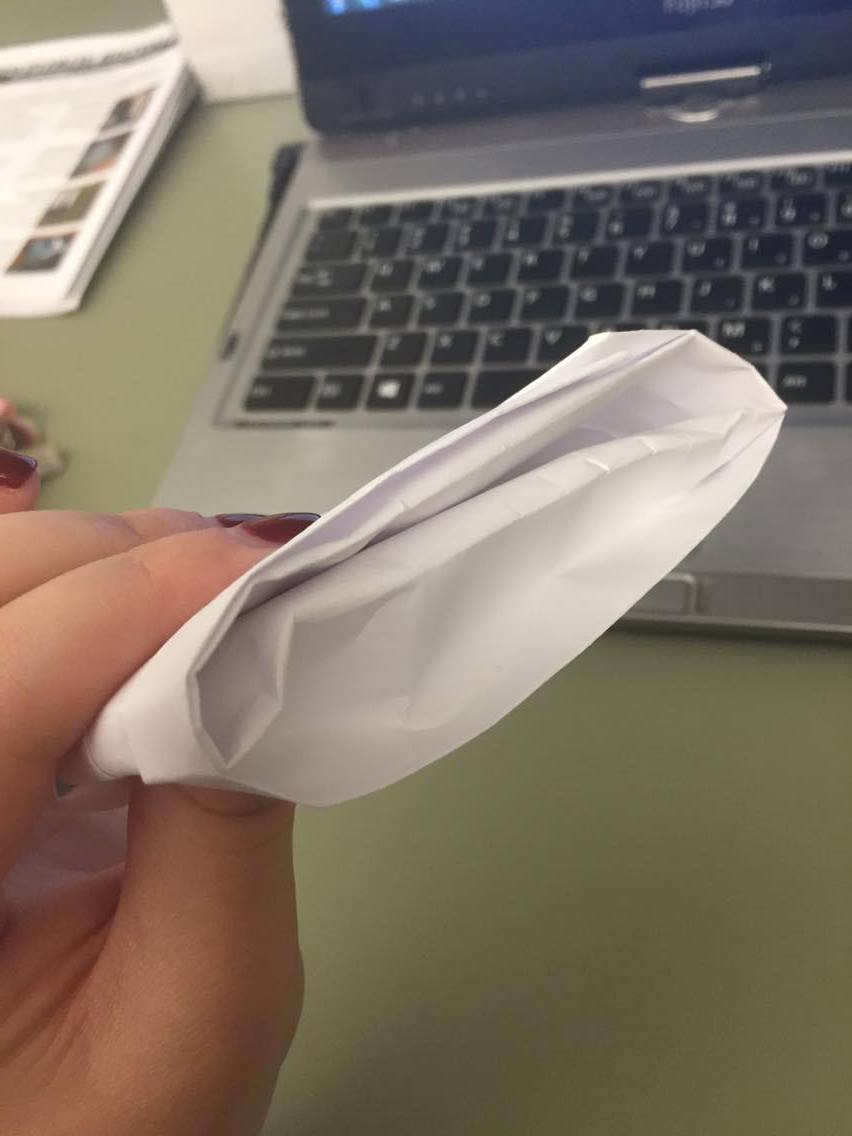
Now time to make the treads! Look at the bottom of the tank. There should be a fold. Gently push out the folded part so that it extends up to the top part of the tank. Again, this takes time!
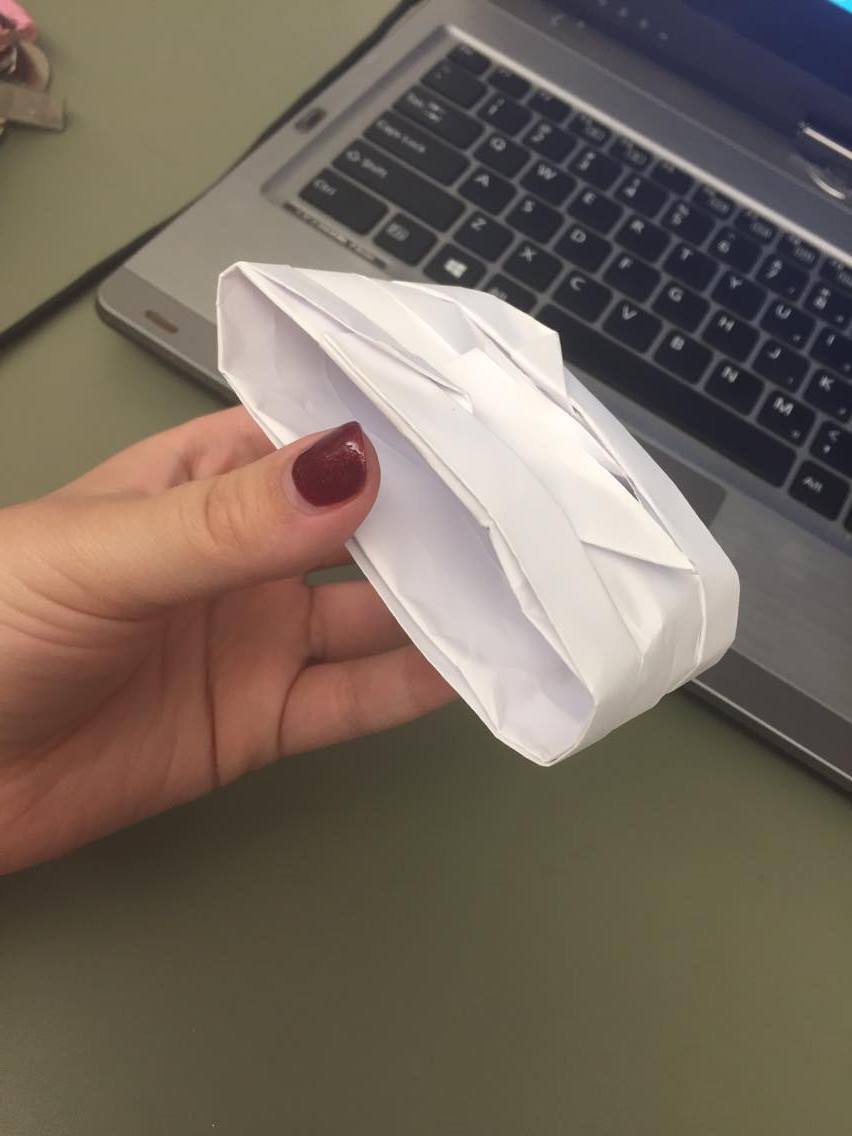
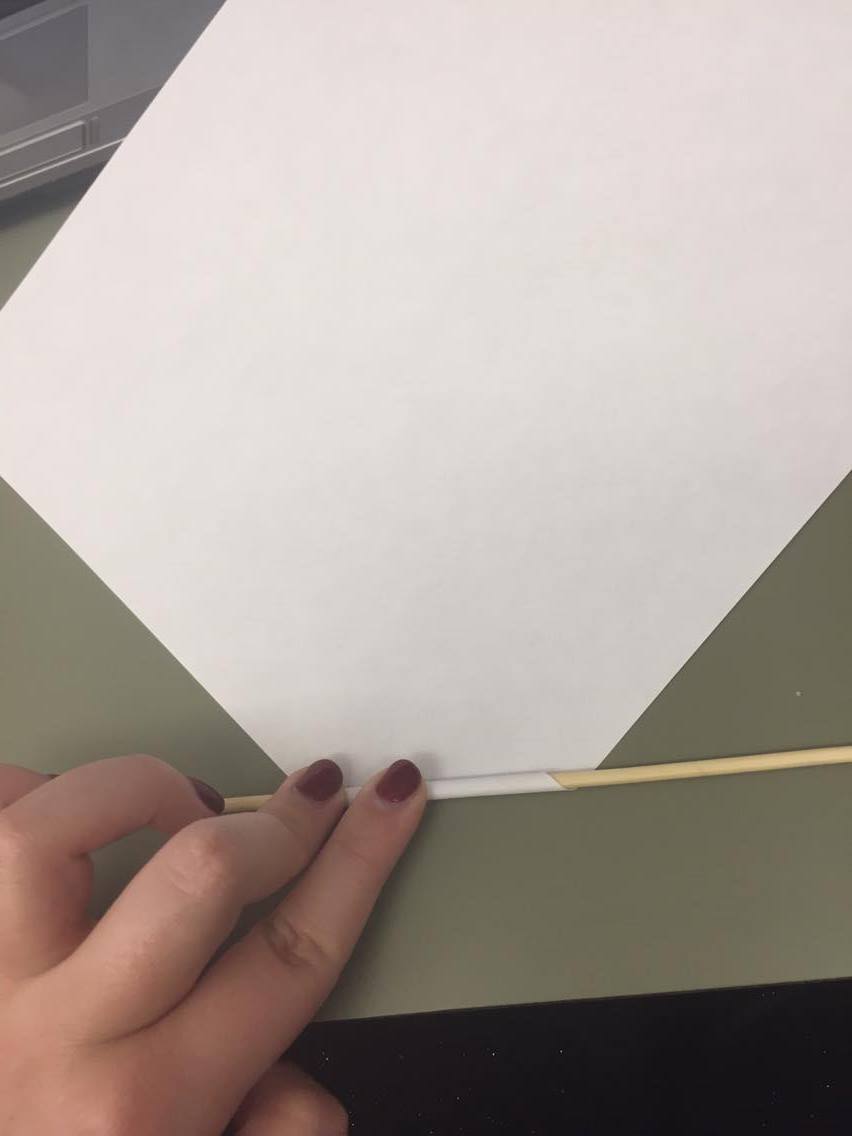
Now time for the gun. Take another piece of paper. We are going to be rolling it as tightly as we can, diagonally, from corner to corner. If you want to, you can take a dowel or other thin object to help you roll it tightly.
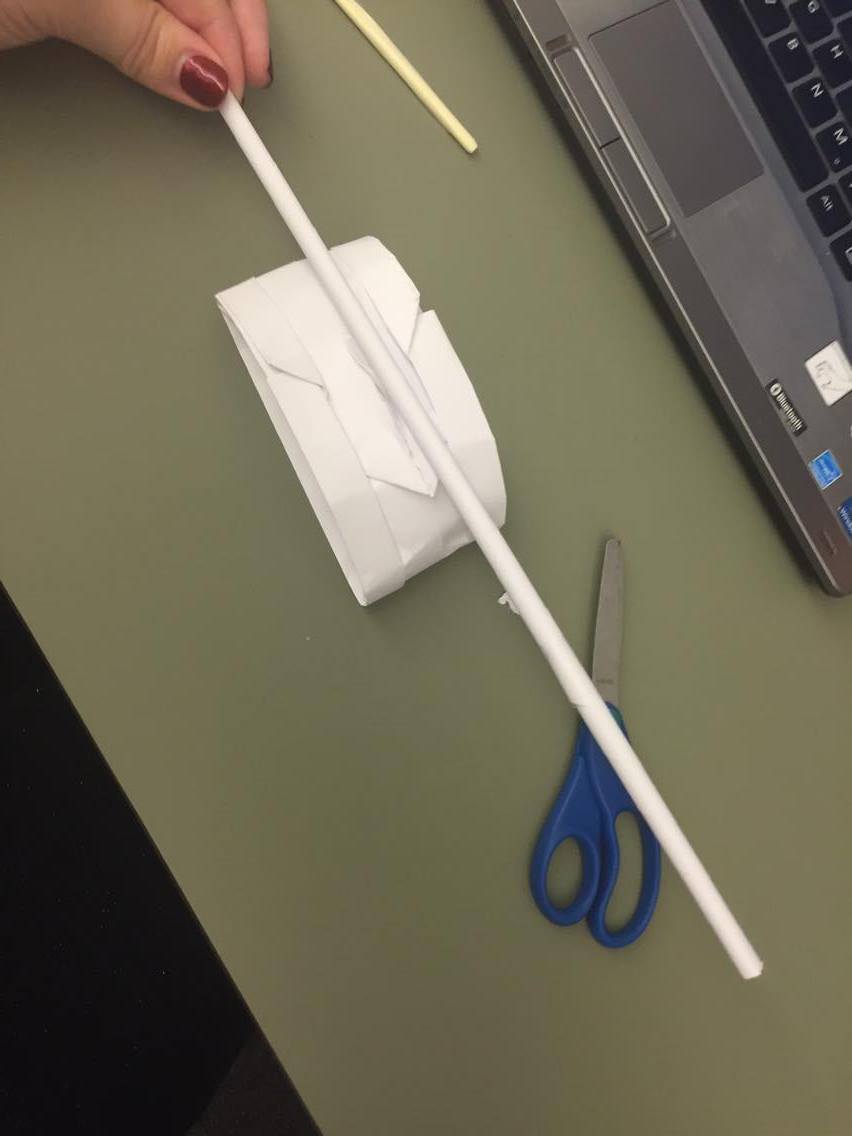
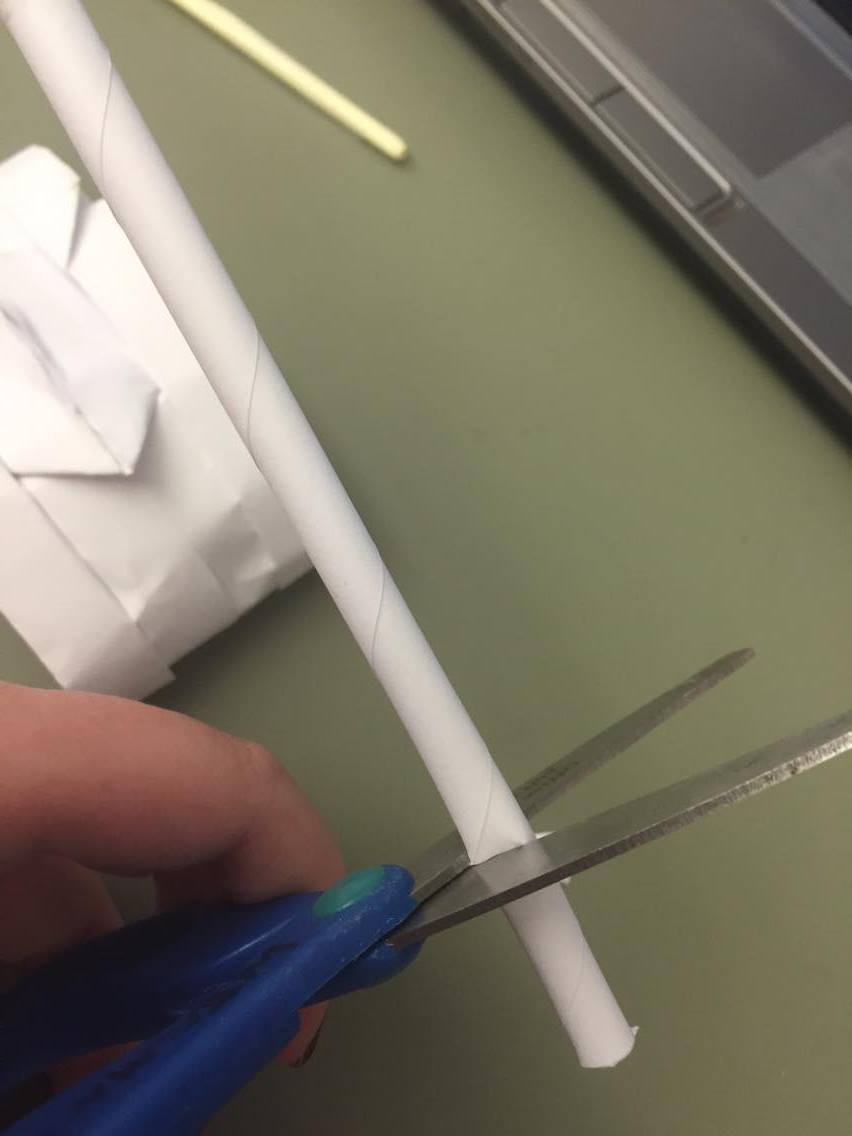
Once you have rolled the paper, it will likely be too long for your tank. Simply trim away the excess and slide it under the triangular flap on the top.
Home Front Friday is a regular series that highlights the can do spirit on the Home Front during World War II and illustrates how that spirit is still alive today!
Remember when everyone was up in arms about the SOPA and PIPA bills that were being considered a few years ago? If you don’t, the basic story is that the bills (the Stop Online Piracy Act and the Protect IP Act) were designed to limit freedom of expression on the Internet, which sent U.S. citizens into a frenzy. Famous websites like Wikipedia, Reddit, Tumblr, Twitter, Flickr, Craigslist, and even Google staged blackout campaigns in protest of the censorship the bills would bring about. Ultimately, the bills were rejected and Americans were and still are able to retain the same freedom of information as before!
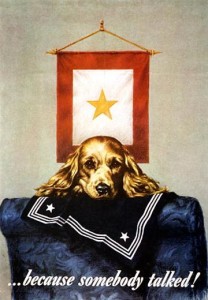
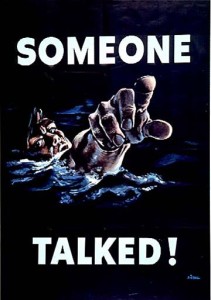
During World War II, however, a different story unfolded. Censorship was extremely prevalent during the war years, both on the home front and abroad, designed to keep sensitive information out of enemy hands and to keep spirits high by hiding the true costs of battle. The United States waged a vicious war on the home front against careless talk, which could easily slip into the hands of spies. Information such as ship departures, unit names, and even simple rumors could be picked up by spies and sold to the Axis.
From the National Archives
From the National Archives
From the National Archives
From Wikimedia Commons
Letters home from the front were especially delicate, as the troops had access to information that was critical to keep secret. V-Mail (short for Victory Mail) was the main method of correspondence between soldiers abroad and their loved ones back in America. Every letter had to pass through a censor before being delivered! If secret information was encountered, the censors may not deliver the letter or would black out the offending lines. Could you imagine if someone read and edited every text message you sent?
An example of a censored letter. 2009.105.004. Letter from M.C. Phillips, Germany, to his wife in Clinton, Louisiana on 6 December 1944. Document From the service of M.C. “Mac” Phillips, 420th Armored Field Artillery Battalion Personal correspondence. M.C. Phillips, Germany, to wife, Clinton, Louisiana. Censored letter. Still off the front line; will be a changed man when he returns home from war. 6 December 1944
Thankfully, we don’t have to worry about censors going through everything we write. Instead, we can use censorship techniques to make something new! Keep reading to learn how to make poetry by using the blackout method:
What you need:
An article of text. It can be a page from an old book, a magazine or newspaper article, something you print out…the possibilities are really endless!
A black permanent marker
A pencil (optional)
Steps:
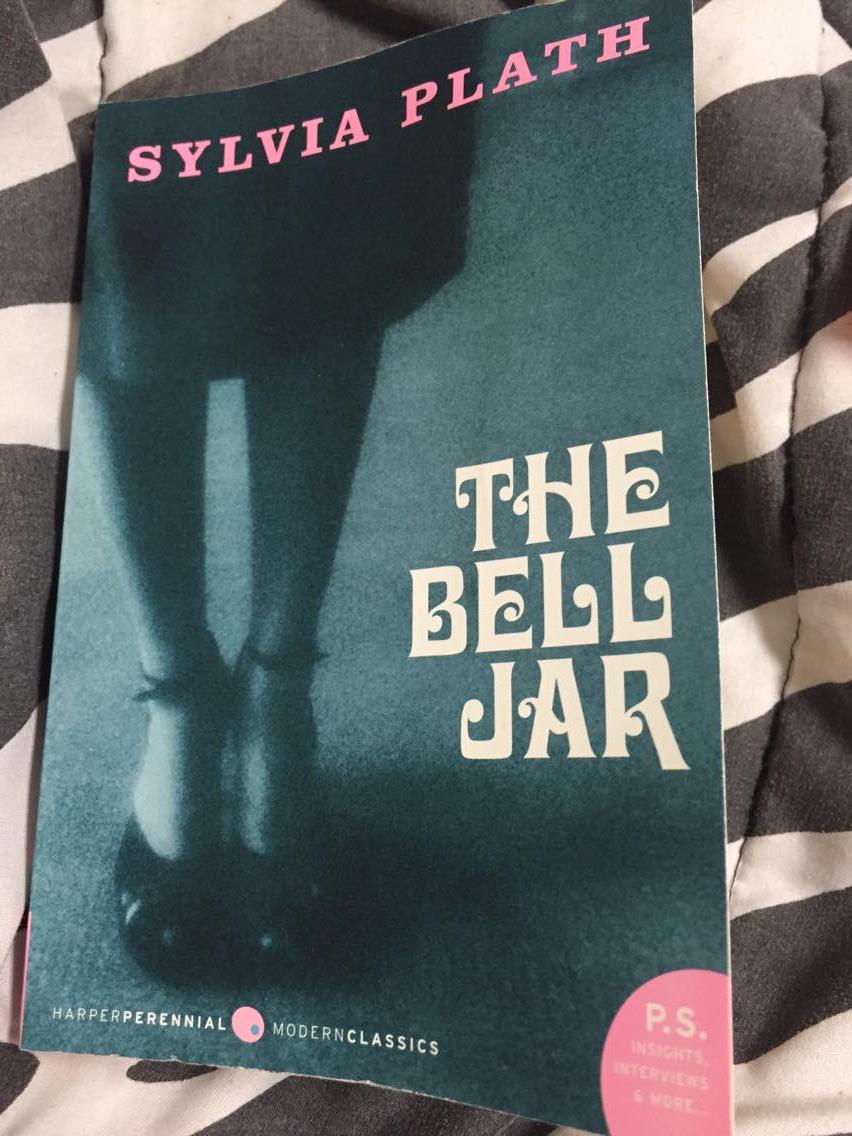
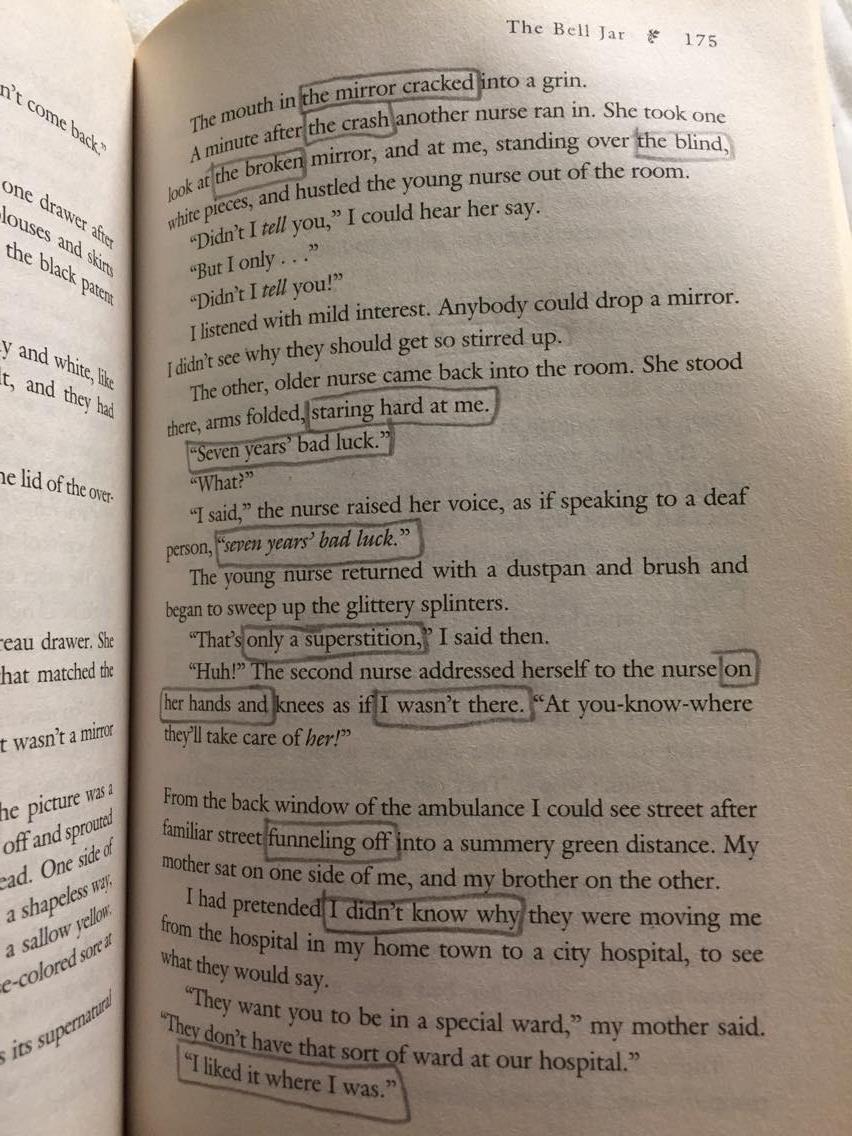
1. First, pick an article of text. I used this old, water-damaged copy of The Bell Jar by Sylvia Plath.
2. Pick out a section of your text to make poetry out of by marking off words or phrases here and there. The goal is to only take a few words out of the longer text to convey a simpler idea. This step might take time as you look for the smaller sections you would like to use!
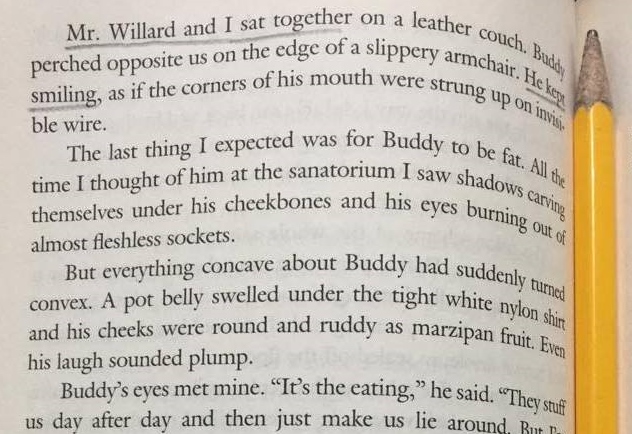
When you are deciding on what to narrow down, it helps to use a pencil to box off the words you would like to keep.
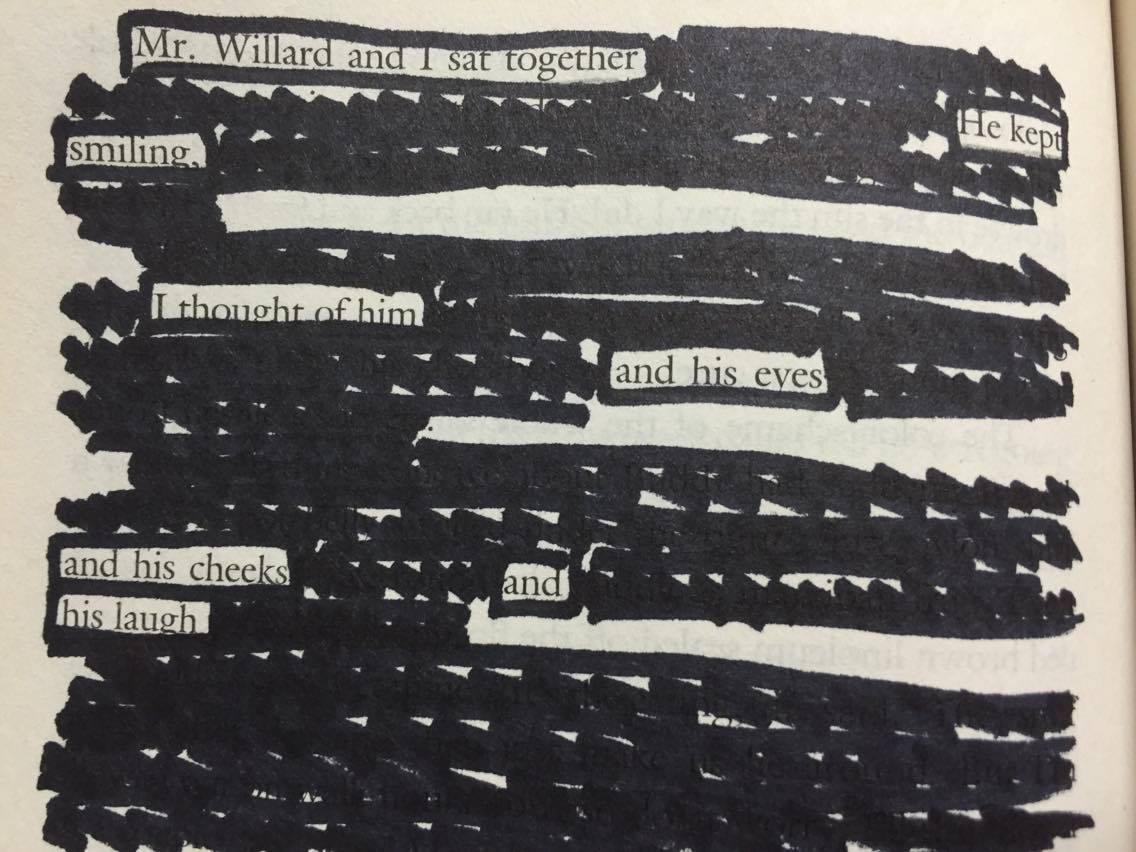
3. Once you have decided what to keep, use the marker to black everything else out, leaving just the words you chose:
Voila! You now have your own personalized poetry created from censorship! Feel free to do this with any article of text you come across – you never know when inspiration might strike!
Posted by Katie Atkins, Education Intern and Lauren Handley, Assistant Director of Education for Public Programs at The National WWII Museum.
Home Front Friday is a regular series that highlights the can do spirit on the Home Front during World War II and illustrates how that spirit is still alive today!
In addition to St. Patrick’s Day, yesterday was National Submarine Day, commemorating the day that Irish engineer John Philip Holland first successfully demonstrated his sub to the United States Navy. The holiday is sometimes also celebrated on April 11, which was the day that the government formally purchased Holland’s submarine, making it the first commissioned sub for the U.S. Navy!
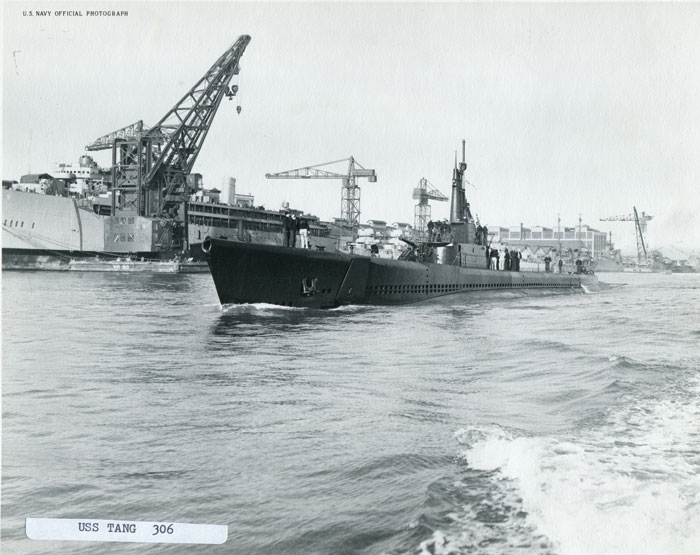
Of course, during World War II, submarines played a major role in both Axis and Allied combat. Submarine warfare was terrifying and deadly, and veterans of the “Silent Service,” as the submarine force was sometimes called, emerged with harrowing stories of near-death experiences. The National WWII Museum honors these brave men who risked their lives in such dangerous battle with its exclusive exhibit on the U.S.S. Tang, the highest scoring submarine in the United States Navy with an impressive record of taking down 33 enemy ships.
Life aboard a U.S. Navy submarine. American submarines are powered by diesel engines when operating on the surface. Here machinist mates check the mammoth twin Diesels in the engine room of a U.S. sub.
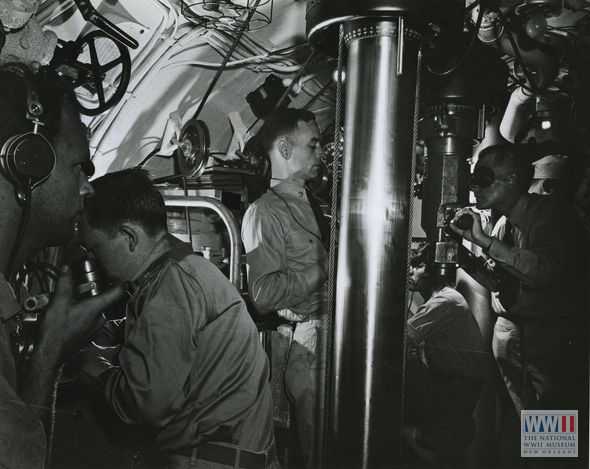
Torpedo Attack – A commanding officer at the periscope of a U.S. submarine, ready to loose torpedoes on the enemy.
Launched in 1943 under Captain Richard “Dick” H. O’Kane, the Tang only served for five patrols over the course of nine months. On her first four missions, the Tang managed to sink 20 enemy ships. On her fifth and final mission, the Tang downed a remarkable 13 ships. However, tragedy struck when her last torpedo broached and boomeranged back towards the Tang. It collided with the port side, sweeping O’Kane and part of his crew out into the water. Only nine men survived the sinking of the Tang, and all were quickly taken prisoner by a Japanese patrol craft and spent the rest of the war in a POW camp. O’Kane was one of the survivors of the disaster and went on to become not only one of the most decorated American sub skippers of the Navy, but one of the most decorated servicemen of the entire war. He was awarded was awarded the Medal of Honor for his actions aboard Tang, three Navy Crosses, three Silver Stars, the Legion of Merit with a “V” device for Valor, the Purple Heart, three Presidential Unit Citations and numerous other service medals.
The U.S.S. Tang
Want to have a submarine experience without going underwater? Follow these instructions to make your own paper periscope!
What you need:
Cardstock or construction paper
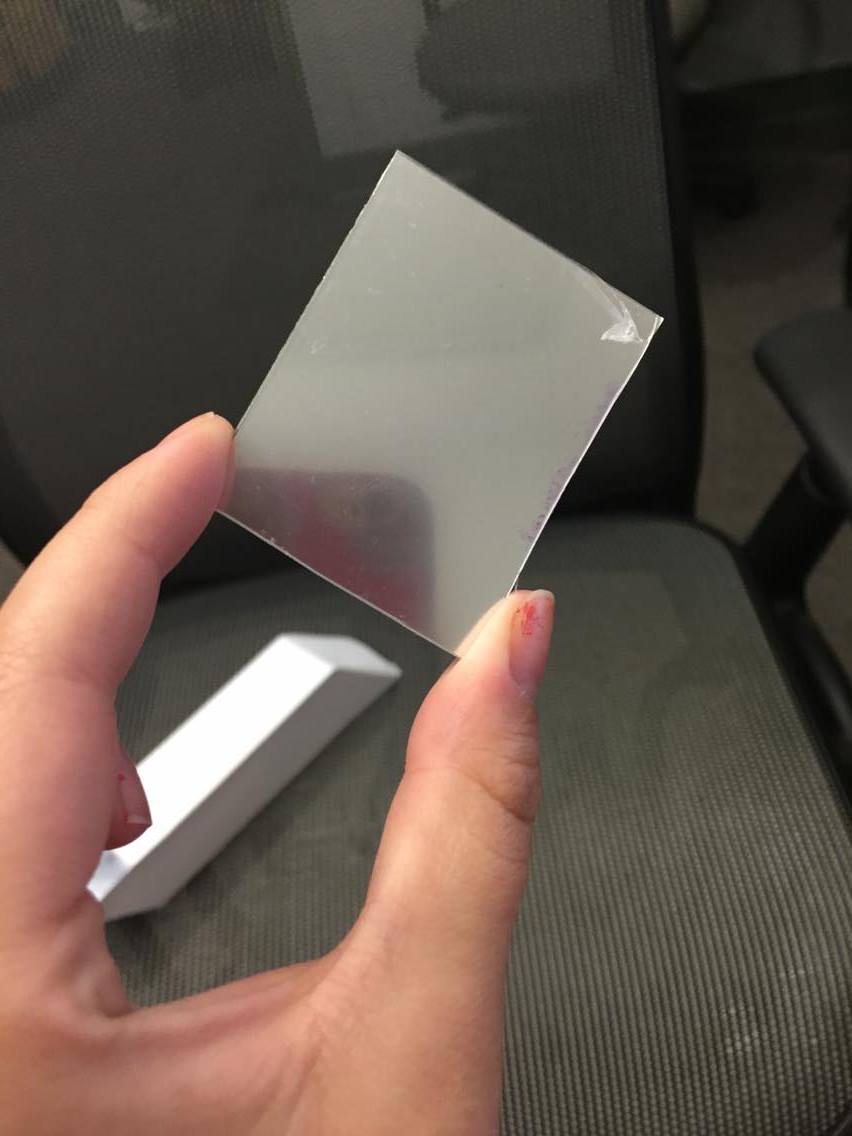
Small mirrors (we used reflective adhesive sheets)
Scissors
Tape or glue
Steps:
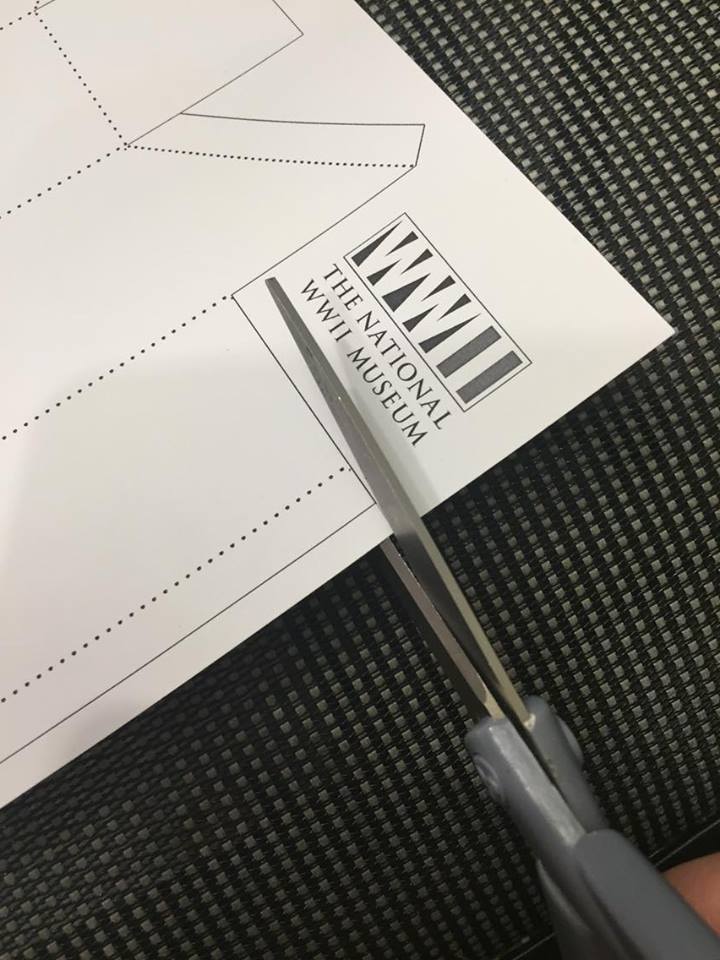
Print out this template on cardstock paper:
Click to enlarge
You can also print it out on regular paper and glue it to cardboard or foam board if you prefer!
Cut along the solid lines. Be sure to cut along lines that touch as well!If you would like to color your periscope, it’s best to do it now while it’s still flat!
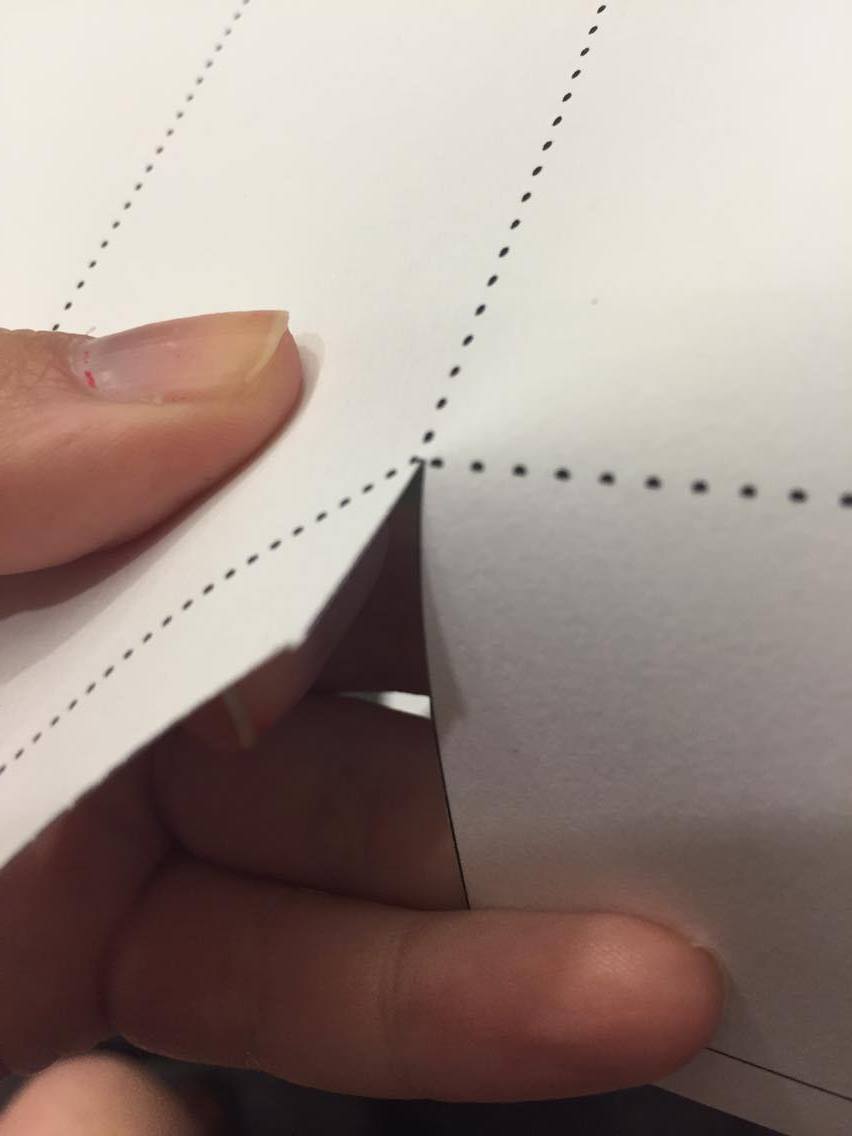
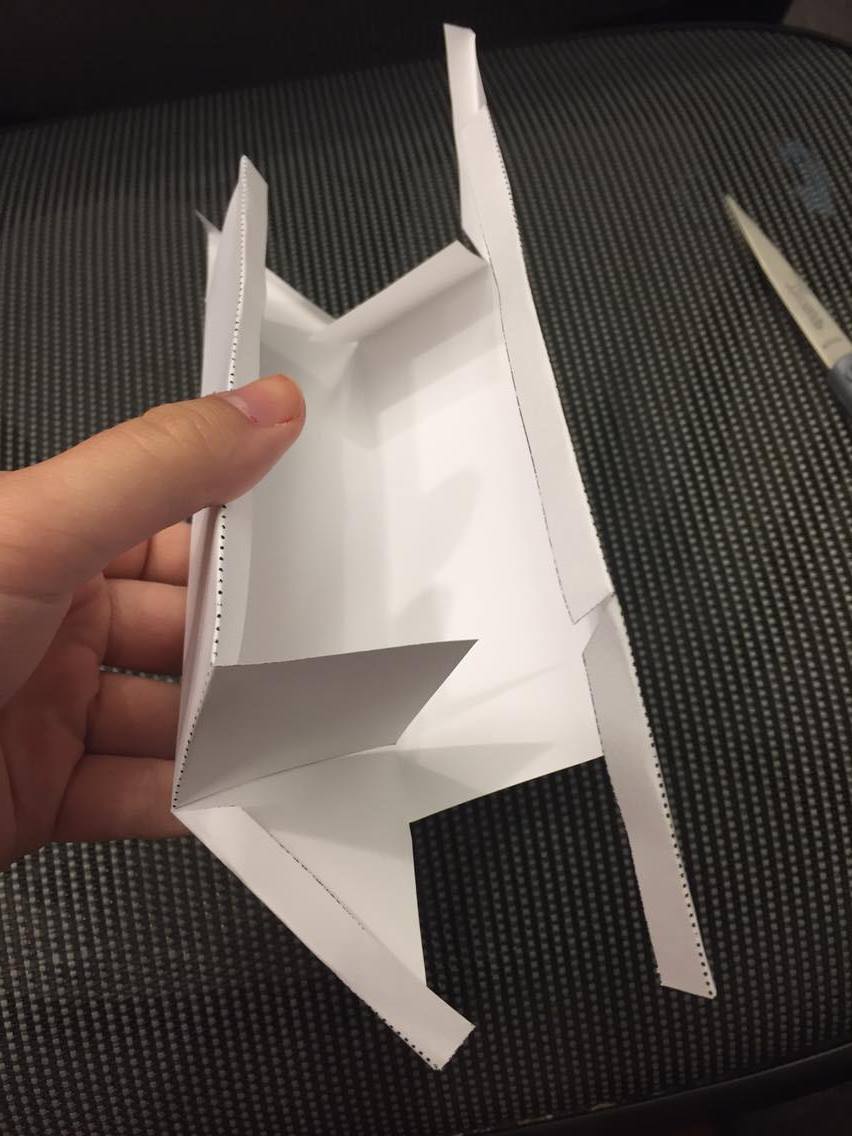
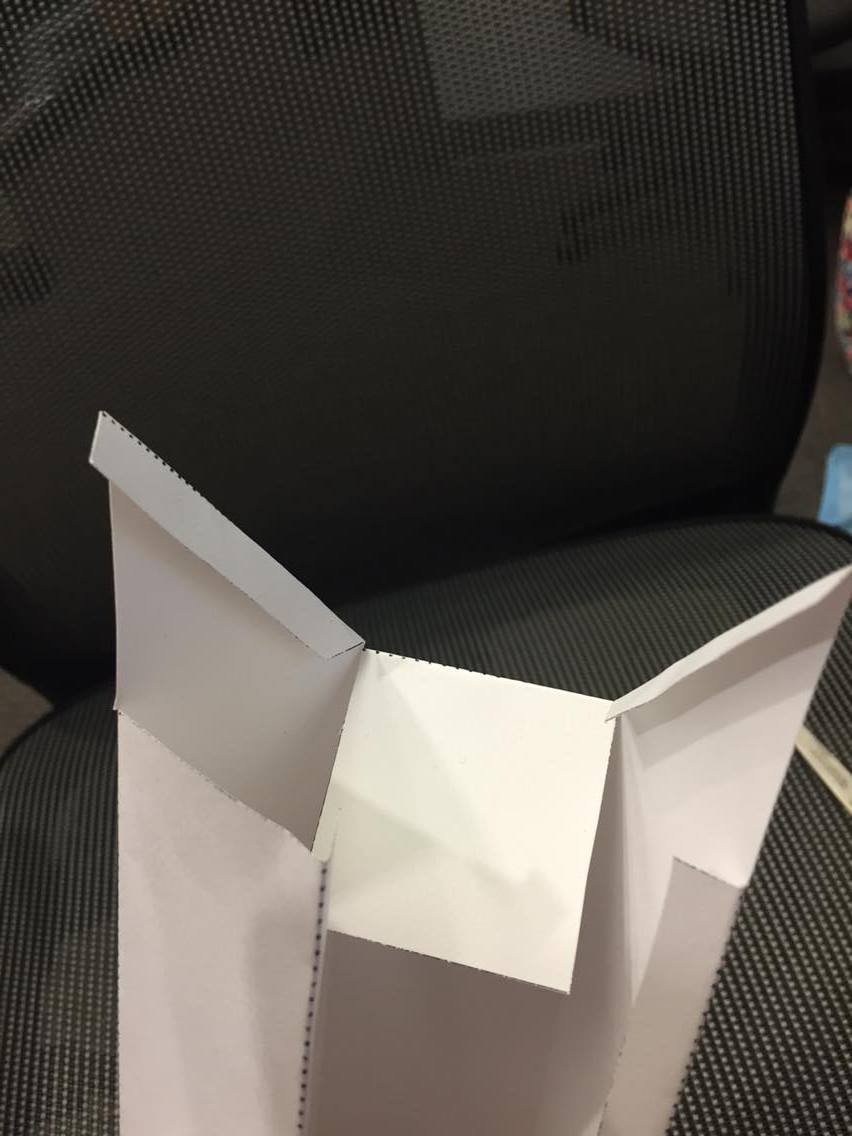
Once you have cut your periscope out, it’s time to start folding! Fold your template along all of the dotted lines. It should look something like this:
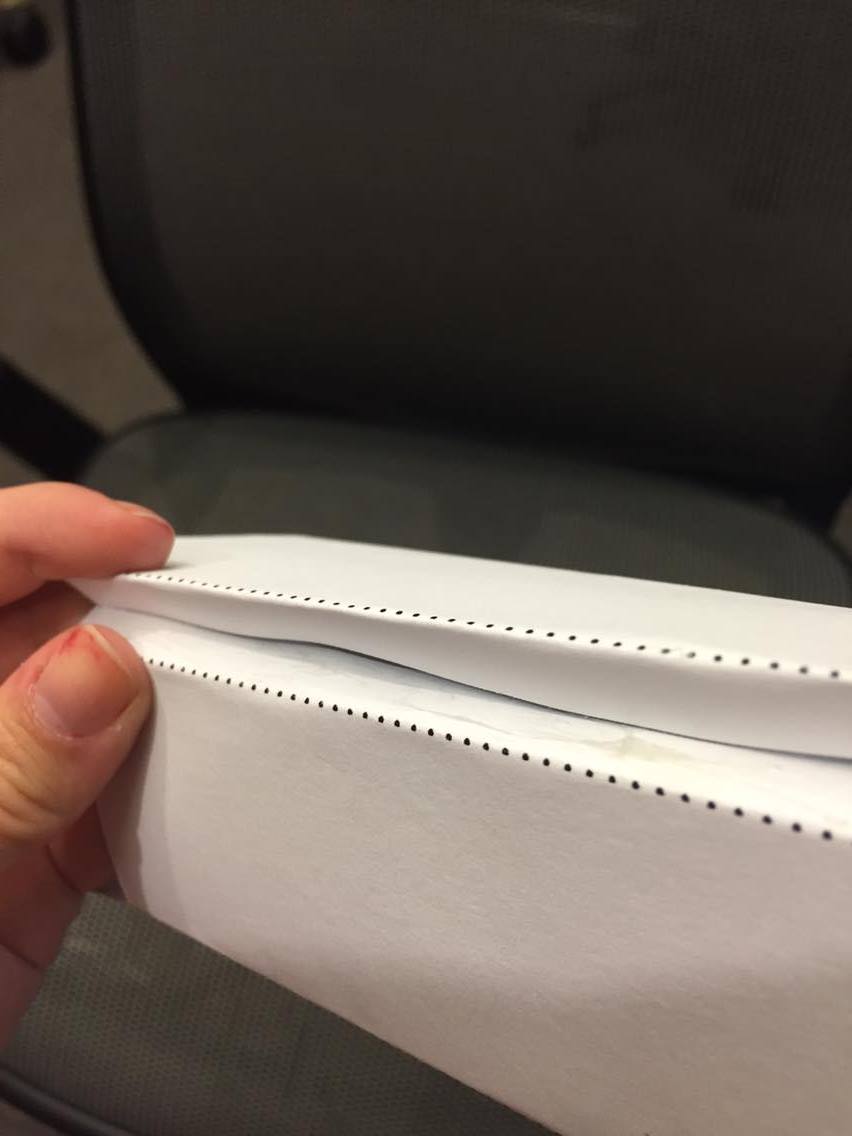
Now, begin gluing! Use the tabs to connect all of the loose edges of your periscope together.
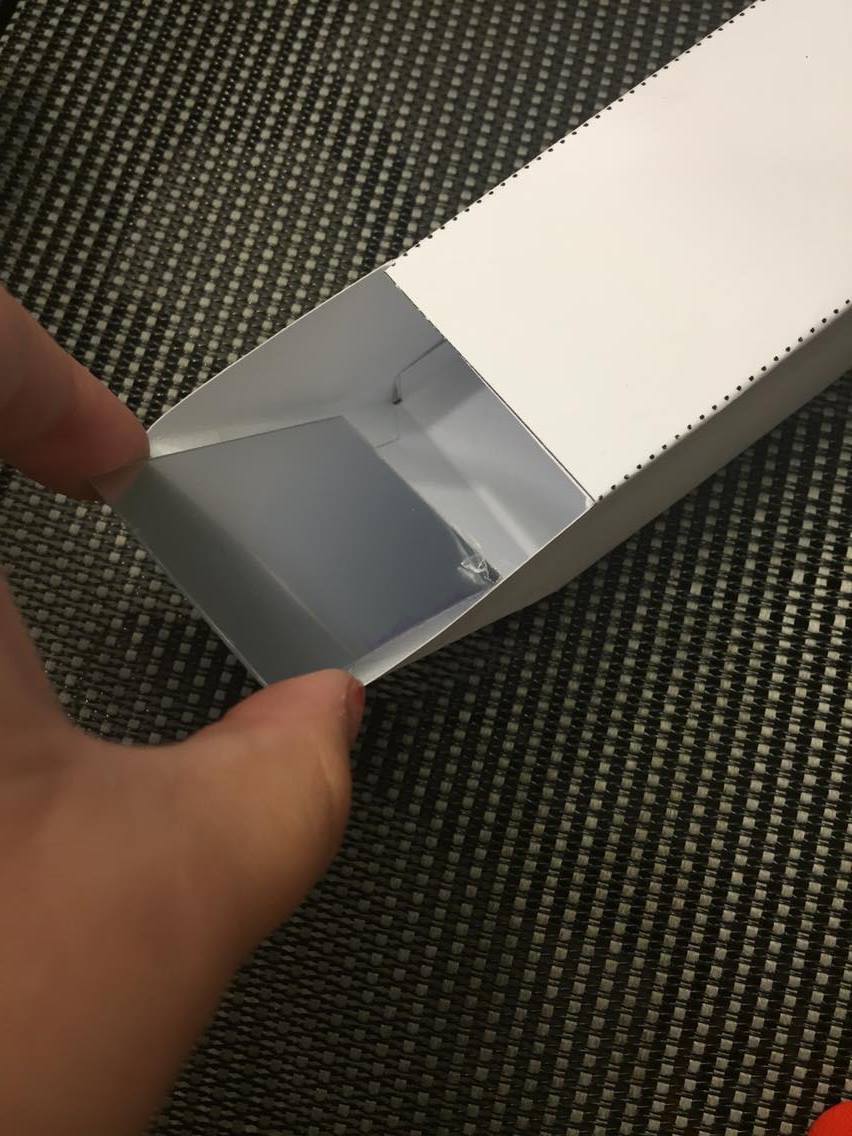
Once you have made the body of your periscope, it’s time to place the mirrors! Place a mirror on each angled side of your periscope, one on top and one on bottom. This is the most important part!
All done! You can now see far and wide with your new periscope!
There are many different ways to make periscopes! You can also use cereal boxes or PVC pipes, as long as you have the angled mirrors and peepholes. Remember, the longer your periscope, the smaller your image will be.
Happy sailing!
Posted by Katie Atkins, Education Intern and Lauren Handley, Assistant Director of Education for Public Programs at The National WWII Museum.
Home Front Friday is a regular series that highlights the can do spirit on the Home Front during World War II and illustrates how that spirit is still alive today!
Last Sunday was the 88th Academy Awards, honoring some of Hollywood’s most talented denizens. Everyone recognizes the gleaming golden Oscar statuette, but during World War II, a metal shortage meant that the statuettes had to be made out of painted plaster instead of the usual gold plated Britannia metal. Once the war ended, winners were able to exchange their plaster Oscars for metal ones.
Countless movies have been made focusing on World War II, and some of them were even made before the war ended! There are several famous examples of war films made while the fighting was still raging on. Here are some wartime war films to consider watching on a rainy evening:
The Great Dictator (1940): In this classic comedy, Charlie Chaplin plays Adenoid Hynkel, a scathing parody of Adolf Hitler, who is seeking to expand his empire at the expense of the Jews of his nation. Chaplin also plays a Jewish barber in the film, who is seeking to escape Hynkel’s persecution. The film was nominated for five Oscars, including best picture, and was included as #37 in AFI’s list of 100 Funniest Movies of All Time.
Casablanca (1942): This classic movie tells the story of Rick Blaine (Humphrey Bogart), who owns a nightclub in Casablanca, Morocco, where he encounters his former lover (Ingrid Bergman) and her new husband (Paul Henreid), who are trying to escape from the Nazis. It was nominated for 8 Oscars and won 3 of them, scooping up best picture and best director, and is widely considered to be one of the greatest movies ever made.
Mrs. Miniver (1942): This British film depicts a middle class family struggling to survive the first months of the war. It was nominated for a whopping 15 Oscars, and took away 6 of them, including best picture, director, and actress in a leading role.
Bataan (1943): This film dramatizes one of the most intense phases of the Pacific Theater: the Japanese invasion of the Philippines. In this movie, thirteen men are chosen to blow up a bridge on the Bataan peninsula and keep the Japanese from rebuilding it. The film wasn’t nominated for any Oscars, but is still considered to be a classic war movie.
Thirty Seconds Over Tokyo (1944): This film depicts the story of the Doolittle Raid, which occurred only four months after the bombing of Pearl Harbor. Based on a book by Captain Ted W. Lawson, a pilot who participated in the raid, the film has been praised for its historical accuracy, use of real wartime footage integrated with Hollywood film, and its commendation by actual participants in the raid. It took home the Oscar for best special effects and was also nominated for best cinematography.
Of course, if none of these suit your fancy, there are hundreds of other World War II related movies to choose from, ranging from the very beginnings of conflict in 1939 to as recently as last year!
Posted by Katie Atkins, Education Intern and Lauren Handley, Assistant Director of Education for Public Programs at The National WWII Museum.
Home Front Friday is a regular series that highlights the can do spirit on the Home Front during World War II and illustrates how that spirit is still alive today!
Living in New Orleans, it’s difficult to imagine a Mardi Gras without parades. However, for New Orleanians living during World War II, that nightmare became a reality! The first Mardi Gras Day after the attack on Pearl Harbor came on Tuesday, February 17, 1942. Though many of the floats had been built and the parades had been planned, the festivities were cancelled in the wake of the war declaration. The resources needed to put on the parades were simply too costly for the war effort.
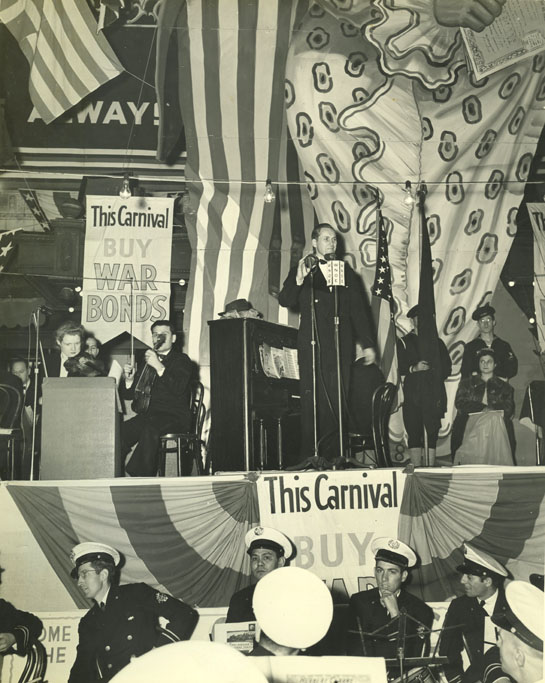
Instead, New Orleanians had to find other ways to celebrate. On March 9, 1943, the Retailers for Victory Committee, chaired by Leon Godchaux, Jr., decided to hold a carnival for war bonds. Operating at the 800 block of Canal Street, the Carnival Day Bond Drive raised $1,192,000 in bonds.
During the war years of 1942-1945, official Mardi Gras parades and celebrations in New Orleans were canceled. For March 9th, 1943, the Retailers for Victory Committee, chaired by Leon Godchaux, Jr. , organized a special Carnival Day Bond Drive and celebration in the 800 block of Canal Street. The block was roped off and admission was sold in the form of war bonds. More than 25,000 people were on hand to hear the headlining Higgins Industries’ Band perform along with nationally known singer, Lanny Ross. The event raised $1,192,000 in bonds. From the Collection of The National WWII Museum.
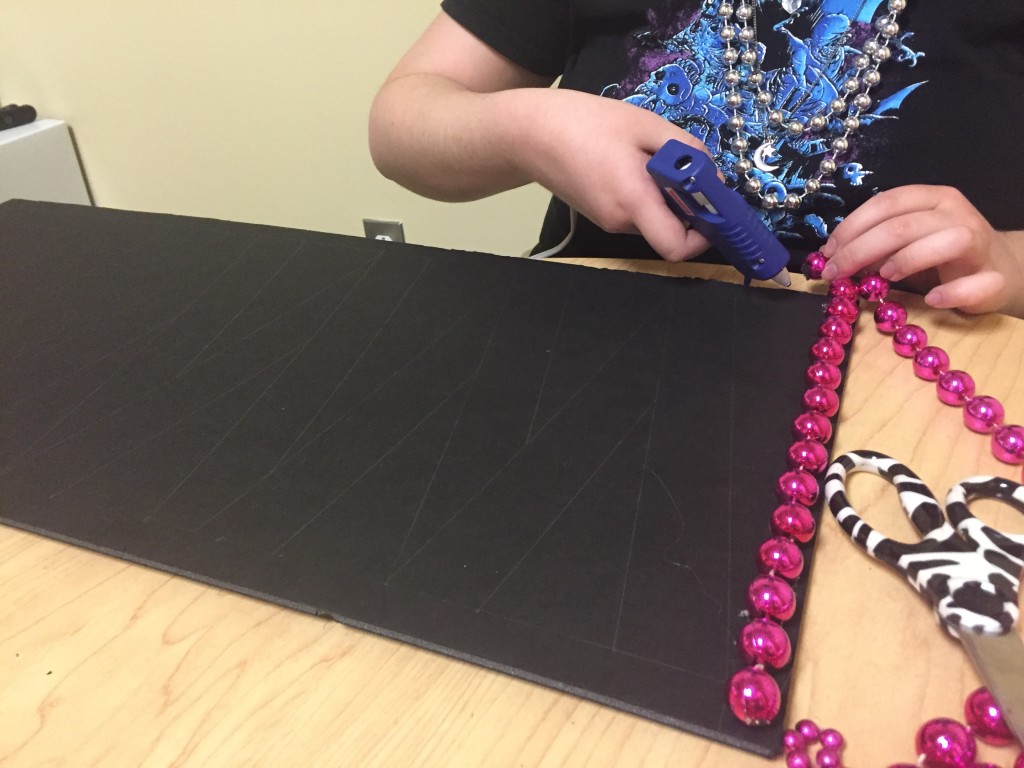
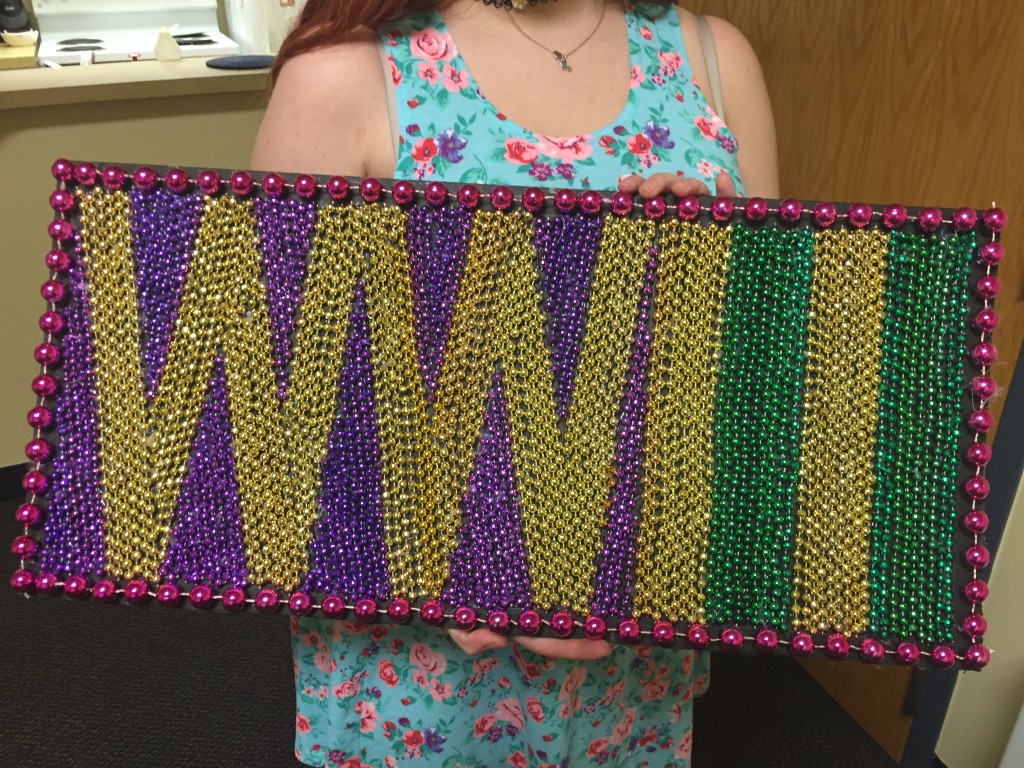
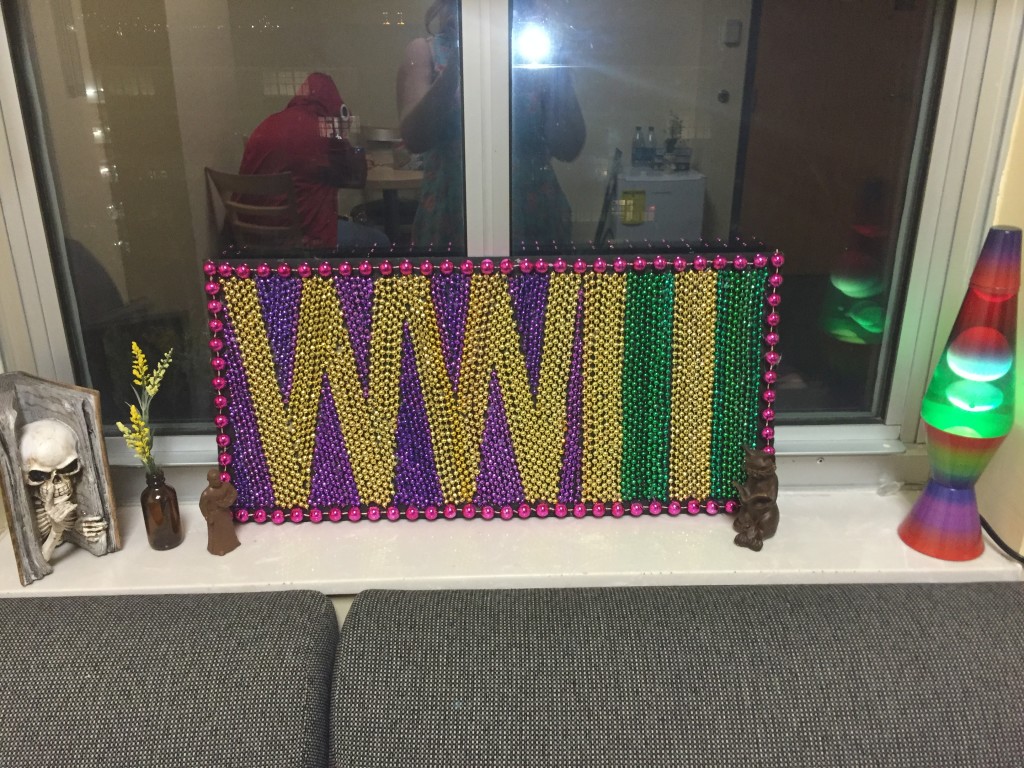
Luckily, the parades have resumed! But Mardi Gras in New Orleans can leave you with tons of leftover beads. So why not turn them into an art project? There are thousands of ways that you can re-purpose your old beads – you can glue them to anything! – but for today, we would like to show you how to make a simple, beautiful bead mosaic.
What you’ll need:
A cardboard backing for your project
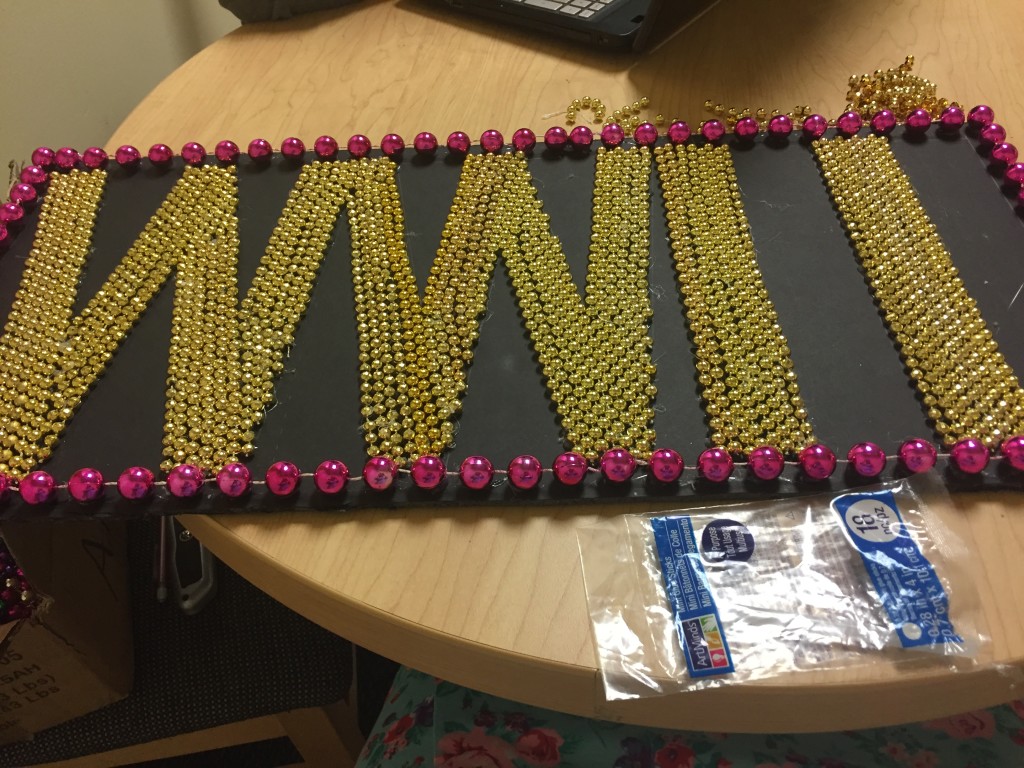
A design (we used our logo)
Hot glue gun
Pencil
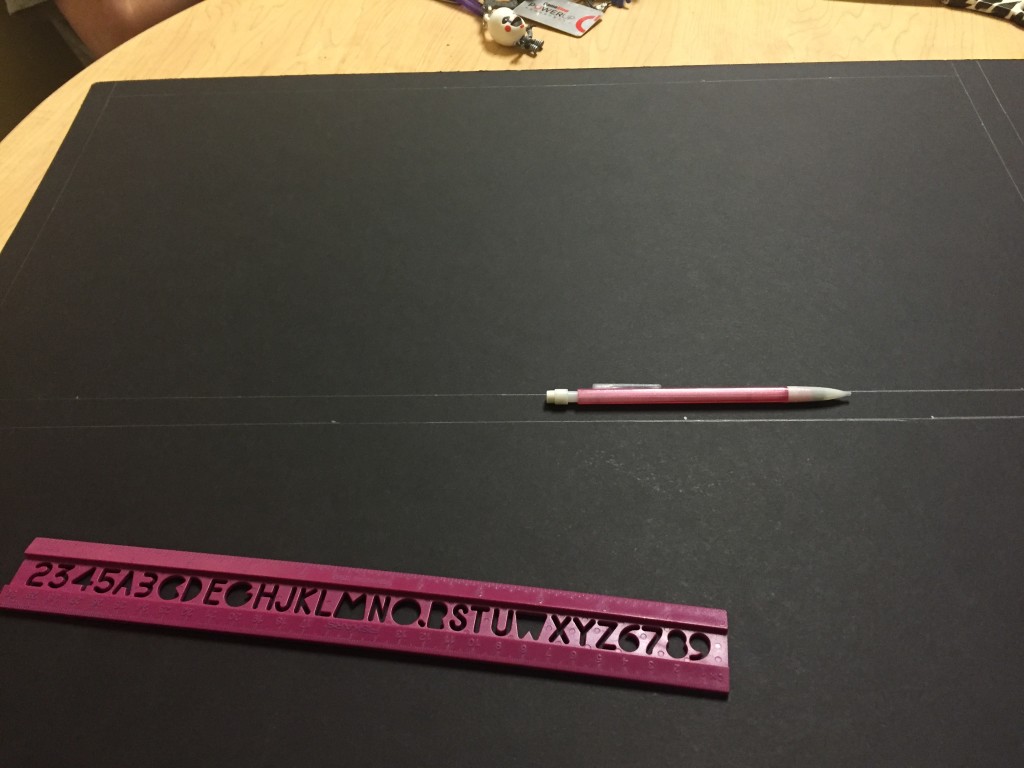
Ruler
Beads!
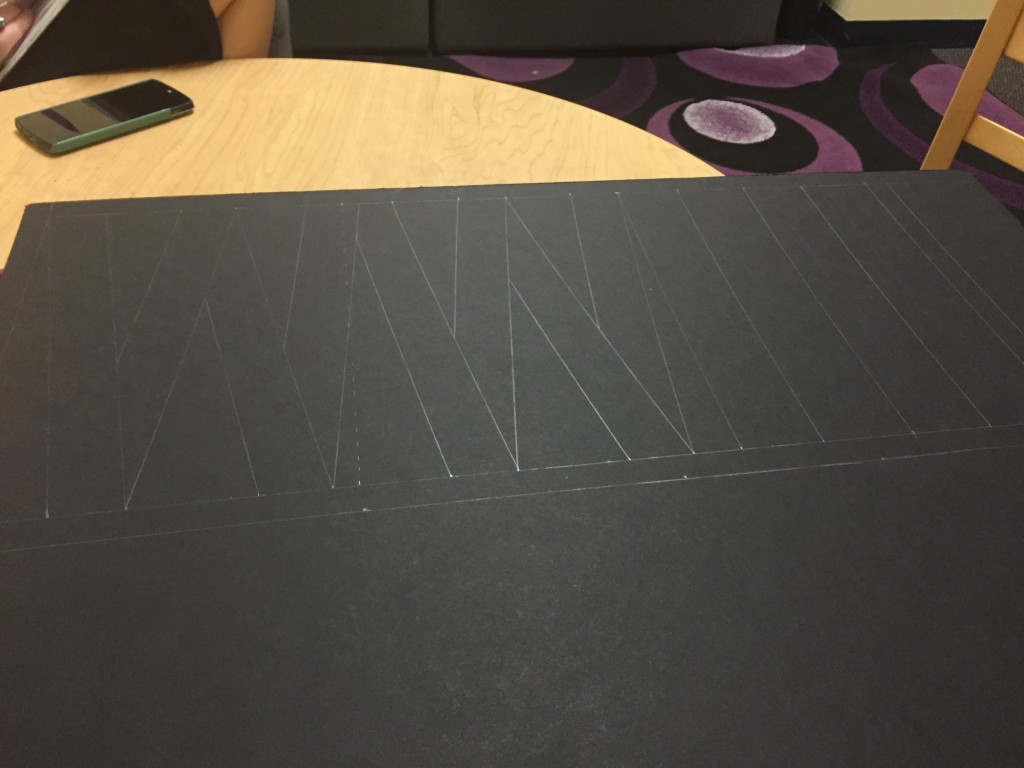
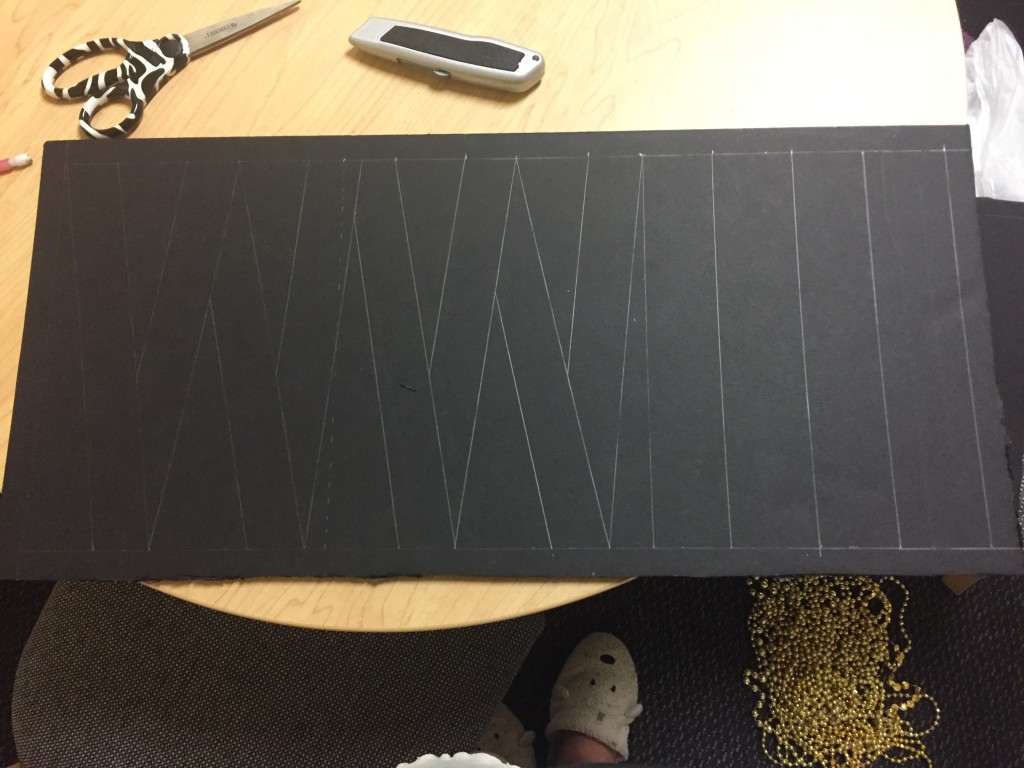
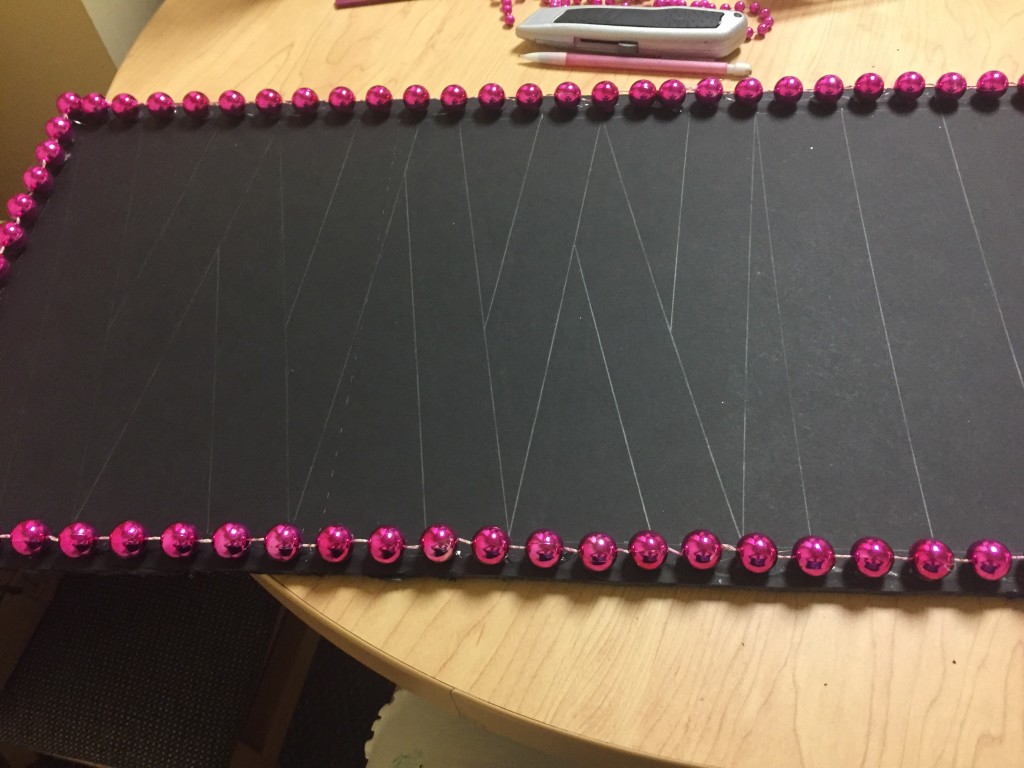
1. Draw your design on a foam board or cardboard. We chose our Museum’s logo!
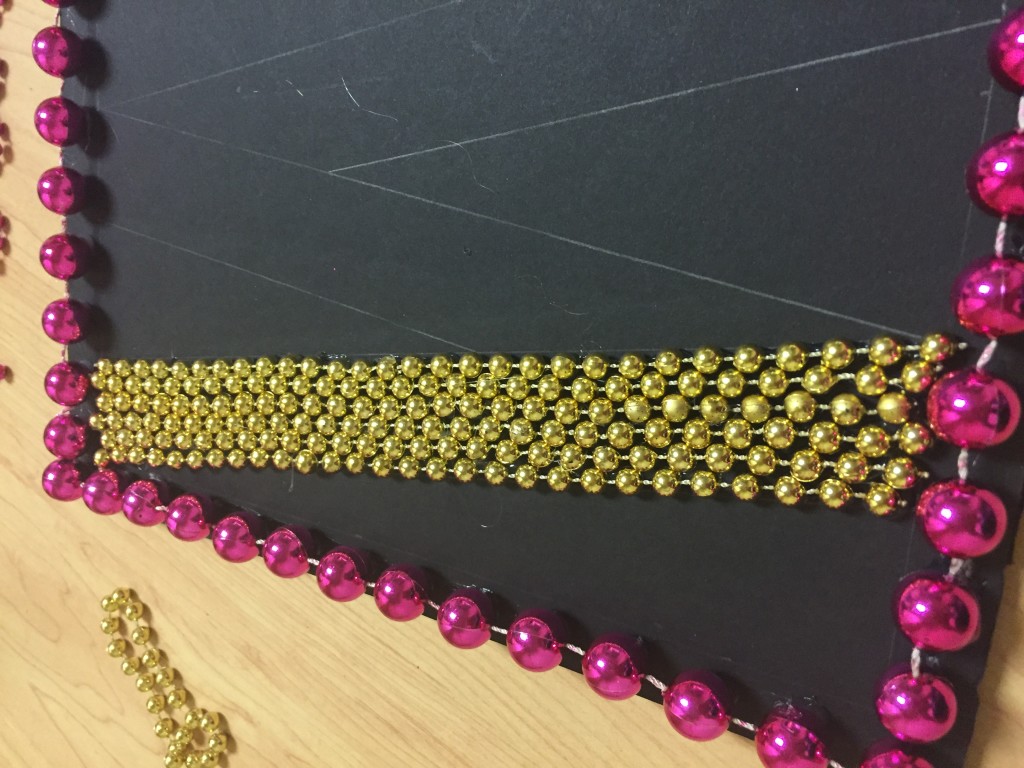
2. Begin gluing your beads down! Beads come in all shapes and sizes, so don’t be afraid to experiment with different ones. Be careful not to burn yourself!
3. Once you are all finished, you can display your masterpiece anywhere!
Posted by Katie Atkins, Education Intern and Lauren Handley, Assistant Director of Education for Public Programs at The National WWII Museum.
Home Front Friday is a regular series that highlights the can do spirit on the Home Front during World War II and illustrates how that spirit is still alive today!
With America’s entrance into World War II, the United States’ market and industry transformed—most industries, from General Motors to General Mills, became about supporting the War effort and the troops overseas. For the textile industry, this meant making uniforms for troops in incredibly diverse climates; the beaches of France, the cold climates of rural Germany, and the vast, tropical Pacific, to be specific.
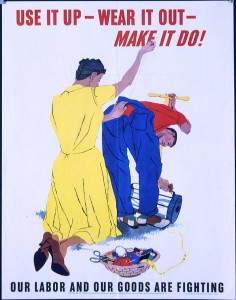
Propaganda Poster Courtesy of the New Hampshire State Library.
For civilian wear, the War Production Board set up mandates that restricted the use of excess fabric for clothing that clothing manufactures could produce. Additionally, there were restrictions on civilians at home; e.g. civilians were restricted from owning more than three pairs of leather shoes per year. Both the industry and the people at home were forced to “wear out” their clothing, so to speak.
In fact, one bride, Joyce Adney, actually had her mother sew her wedding dress from scratch. Because of the continued rationing, Joyce’s mother hand sewed the Japanese parachute silk that her husband, Adrien, had sent home. The Utah couple met at Utah State University, and their wedding photos and her dress can be seen here: Love and War.
Knowing how to sew was incredibly important because it meant less waste and more textiles for the troops abroad. Civilians aided in the war effort tremendously throughout the course of the War, whether it was by rationing food, rubber, or, in this case, fabric.
While no one on staff here at The National WWII Museum is a cobbler, we do know how to sew. Here is a few easy steps on how to sew the hem of your pants, without the machine:
What You’ll Need:
A pair of pants that are too long
Shoes that match your pants
A seam ripper/sharp knife
Straight pins
Ruler
Iron
Chalk
Pinking shears
Needle
Thread that matches your pants’ color
Steps 1 – 5, Measuring & Preparing
Step 1: Carefully cut the old hem out of your pants. To do this, there is a seam ripper tool, but a small and sharp knife will do the trick just as well. Just be sure not to tear the fabric while doing so.
Step 2: Put on your pants with appropriate shoes. If you do this barefoot, you might make the hem too short. So be sure to wear shoes!
Step 3: Cuff your pants to the appropriate length. You want to cuff the excess fabric under your pants, rather than over.
Step 4: Place several straight pins around the cuffs to make sure that the leg stays in place. Make adjustments as necessary, only after walking around the room and looking at yourself in a mirror.
Step 5: Slowly and carefully take off your pants and turn them inside out. It is critical that the pins stay in place so when you’re sewing, you know how long the pants will be hemmed.
Steps 6 – 11, Sewing & Hemming
Step 6: Measure the distance from the edge of the pant legs to the cuff using a ruler. Make sure both pant legs are cuffed to the same length all around, and use straight pins to hold the cuffs in place.
Step 7: Use an iron to make a crease where the pants are cuffed. Make sure the crease is straight!
Step 7.5: You can try the pants on again to make sure that this is where you want them to fall, but that’s completely up to you. If you decide to try them on again, be careful not to stick yourself with the pins!
Step 8: Measure one and a half inches from hemline and mark it with some chalk around the entire leg. Repeat on the other side and with the other leg. This is where the pants will be cut before sewing up the hem.
Step 9: Remove the pins.
Step 10: Slowly cut the fabric along the chalked line, making sure to not come too closely to the hem. When you’re done trimming, use straight pins to pin the fabric back in place about an inch from the hemline. It doesn’t have to be exact, but you could use a ruler to make sure.
Step 11: Sew the hems using a blind stitch technique. What you want to do is sew around the pant leg about a ½ inch from the hem, continuing until you return to where you started. Knot the thread and use scissors to cut. Repeat with the other pants leg. (You can also use a sewing machine for this, but you do not necessarily have to.) When you’re sewing, be sure to space out the thread while sewing so that the hem is not noticeable from the outside!
Step 12: Turn the pants right-side out and iron the hemline again. When you try them one, wear them with the shoes that you expect to usually wear with the pants. If the cuffs need adjustments, rip out the seams and start over! (It’s okay, we messed up the first time too.)
Posted by Catherine Perrone, Education Intern and Lauren Handley, Assistant Director of Education for Public Programs at The National WWII Museum.