Home Front Friday: We Salute You!
Home Front Friday is a regular series that highlights the can do spirit on the Home Front during World War II and illustrates how that spirit is still alive today!
Last Saturday was National Armed Forces Day! You may be able to imagine why this special day is so near and dear to the Museum.
Before World War II, the United States had more horses than people in its military. It ranked 18th in army size, just behind Romania. That all changed after the attack on Pearl Harbor. People began registering in droves, and before long, the United States military had swollen massively for the war effort. At its peak, 12,364,000 Americans came under the jurisdiction of the United States military – the second largest military in the entire war, with only the Soviet Union beating it out.
After Pearl Harbor, America launched a massive campaign to recruit new soldiers into the military. Artists, filmmakers, and intellectuals were hired by the government to encourage enlistment.
-
- via the National Archives
-
- via the National Archives
-
- via the National Archives
-
- via the National Archives

-
- via the National Archives.


This very famous image of Uncle Sam was actually created during the First World War. However, the poster was brought back with a vengeance when the United States entered into World War II. (via the National Archives)
The recruitment process was not for the faint of heart. Not long after being accepted, new recruits would be shaved, given a new uniform, and hauled into barracks. They were then put through very rigorous training to get them in peak physical condition so that they may have a better chance of survival at the front. Training was also designed to teach the new recruits how to follow orders and work together as a team. They were taught how to operate weapons swiftly and without hurting themselves, to fly planes and to launch ships. Of course, just about everything had to be done with pounds and pounds of heavy equipment on their backs!

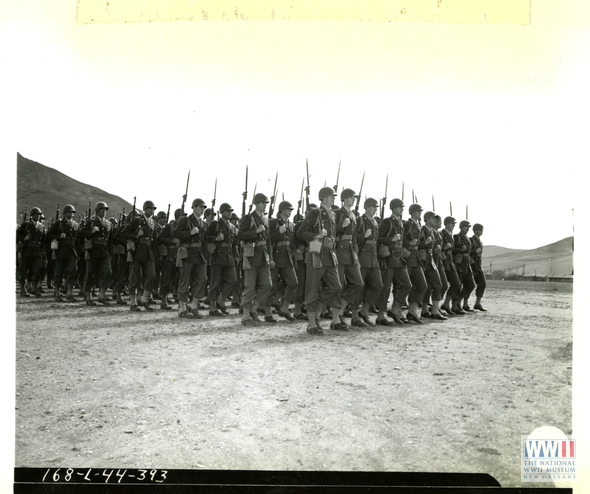
81st Infantry Division soldiers during review at the Camp San Luis Obispo parade grounds on 5 February 1944.
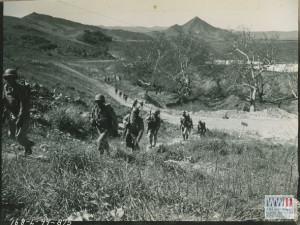
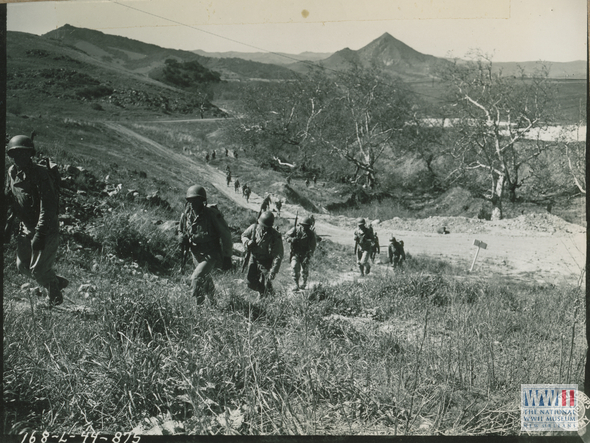
81st Infantry Division servicemen marching throughout California landscape during training exercises at San Luis Obispo, California on 14 March 1944.

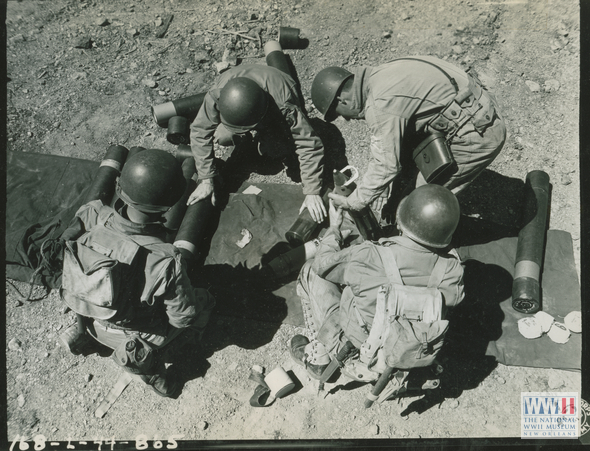
81st Infantry Division 105 mm Howitzer Motor Carriage/ Priest troops preparing 105mm shells to use during training exercises at San Luis Obispo, California on 14 March 1944.
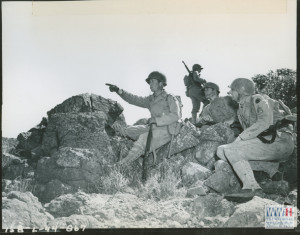
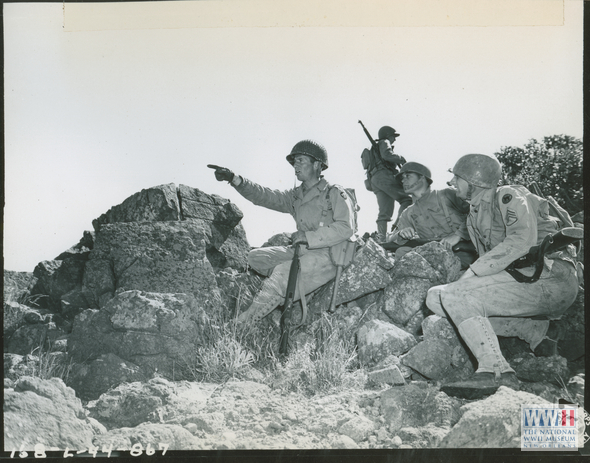
81st Infantry Division soldiers during training exercises at San Luis Obispo, California on 14 March 1944.
Our hats go off to all of the young men and women who dedicated their time, services, and even lives to the United States Armed Forces. In honor of this very special day, we are going to teach you how to make your very own paracord survival bracelet:
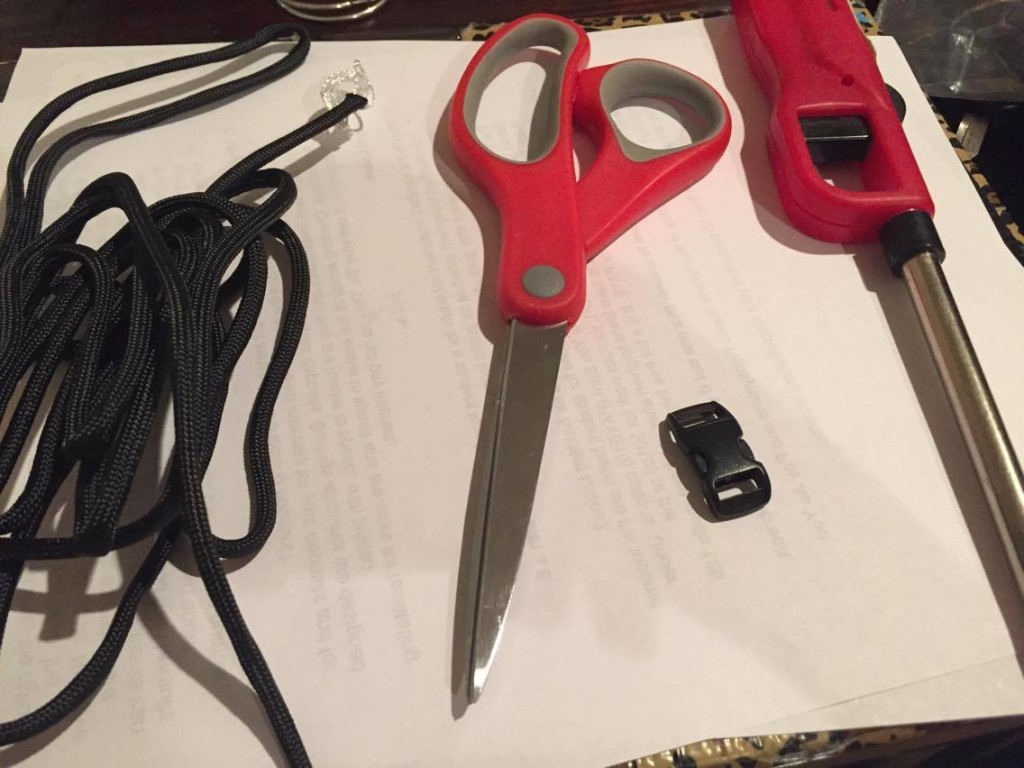
WHAT YOU NEED:
- Paracord
- Plastic buckle
- Scissors
- Lighter

STEPS:
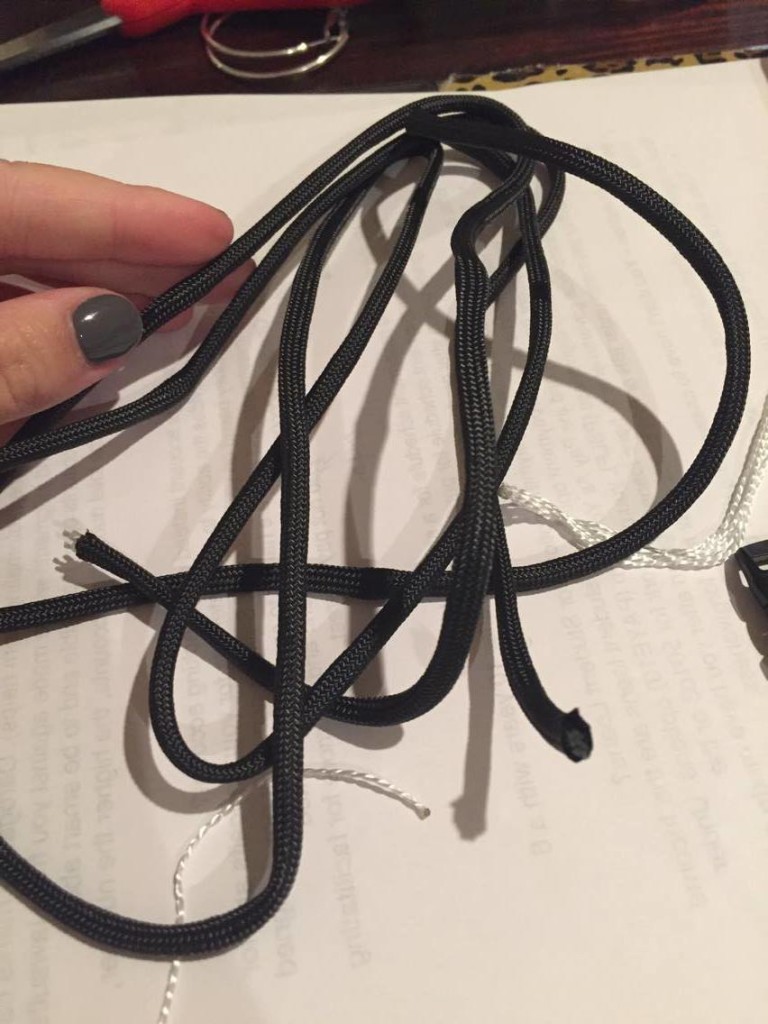
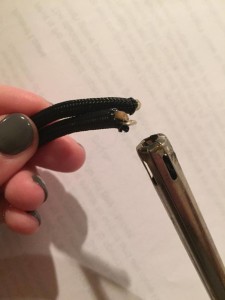
- Measure out between 7-10 feet of paracord. It is better to have too much than too little to work with!

- Use your lighter to burn the ends so they don’t fray.
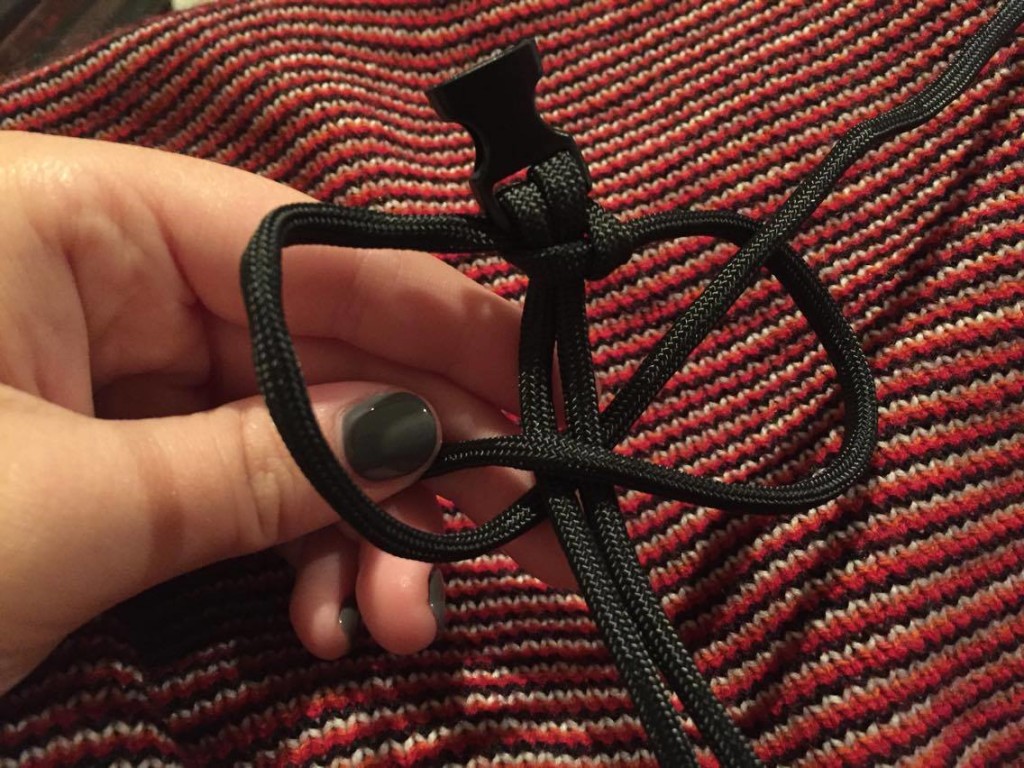
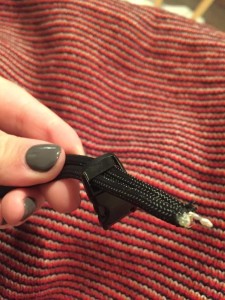
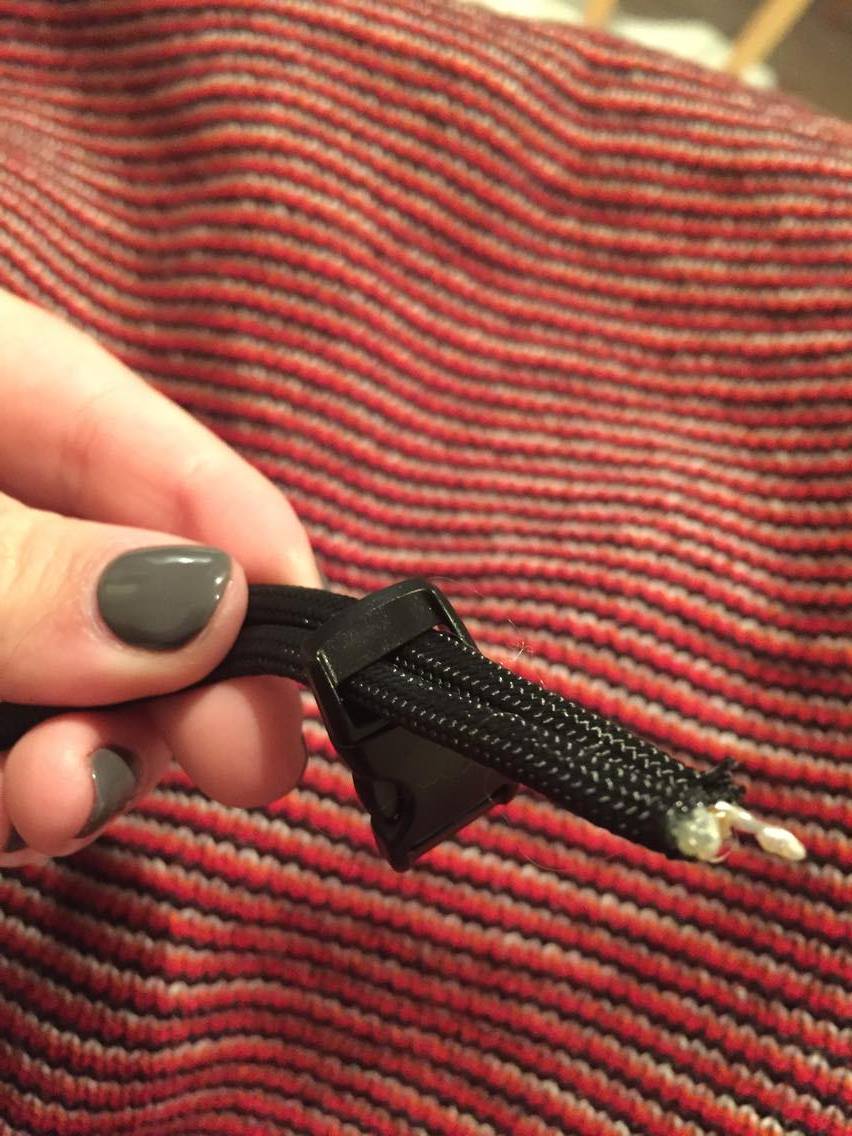
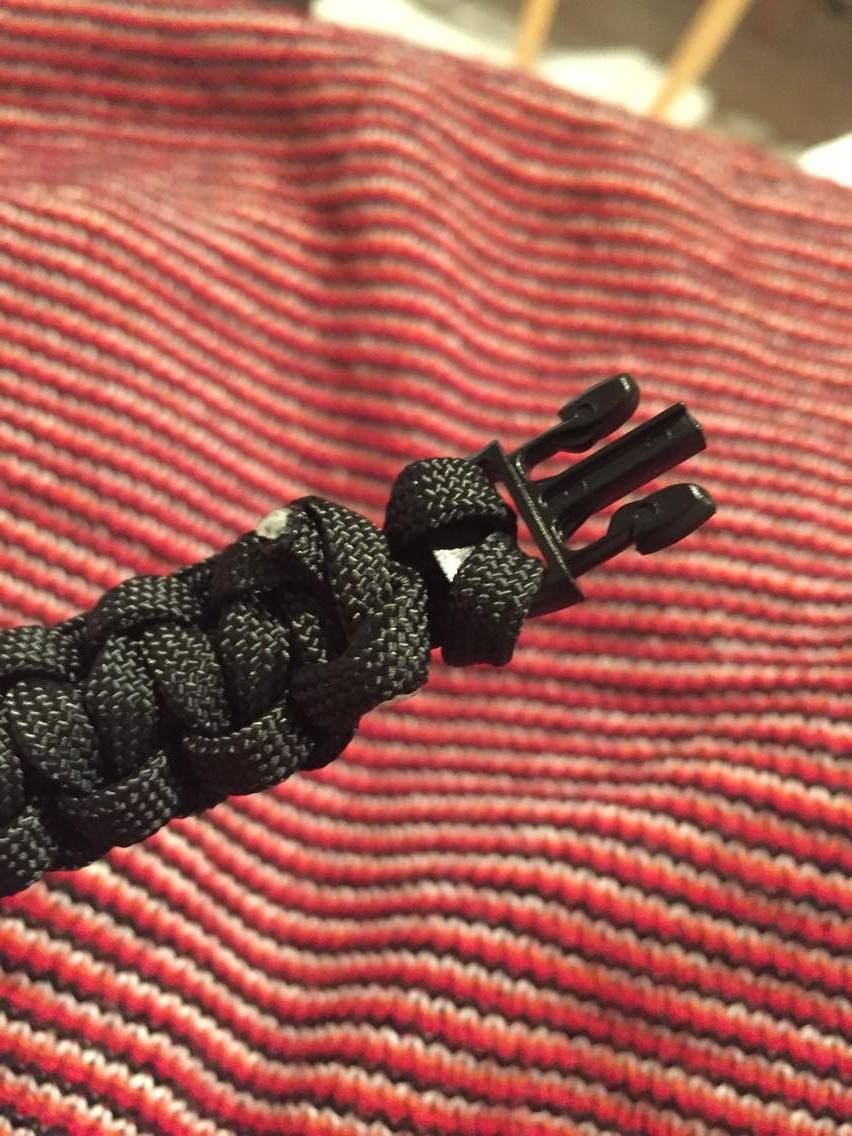
- Fold your paracord in half so that the ends meet. Slip both ends of the paracord through one end of the buckle. Bring them back around and put them through the loop created at the other end and tighten.
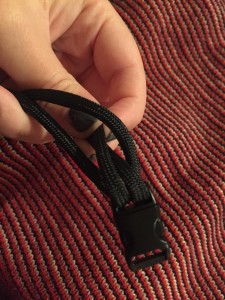

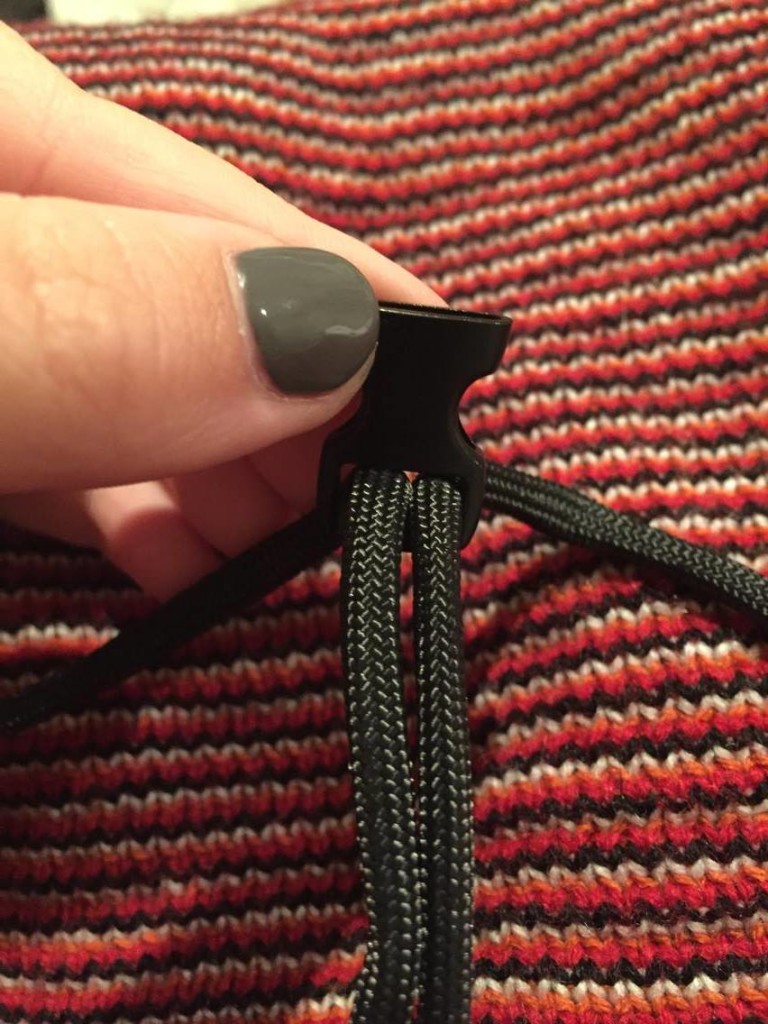
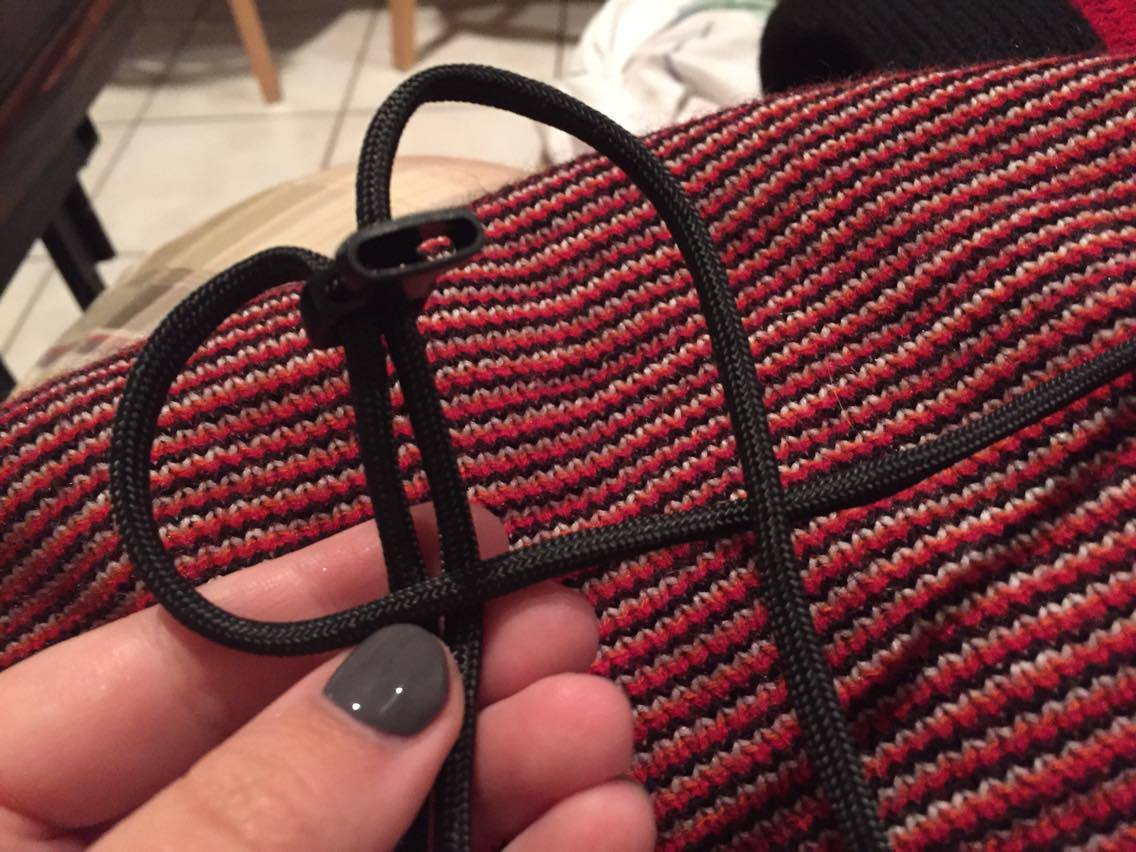
- Slip both ends of the paracord through the other side of the buckle. Pull until the length between the two buckles is your desired wrist size. Don’t pull too tightly!

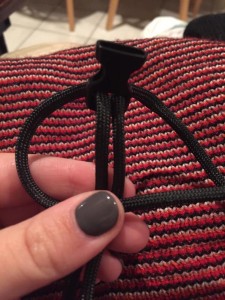
- Unbuckle the buckle. Be careful to keep the wrist measurement you just took – don’t let the loose side of the buckle slide around! Separate the two strands of paracord that are not part of the measurement.

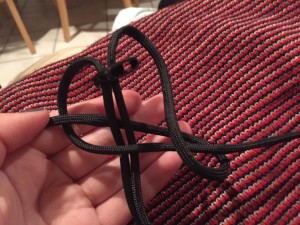
- Start with the left strand. Lay it over the measurement section. Then, take the right strand and lay it on top of the left one.

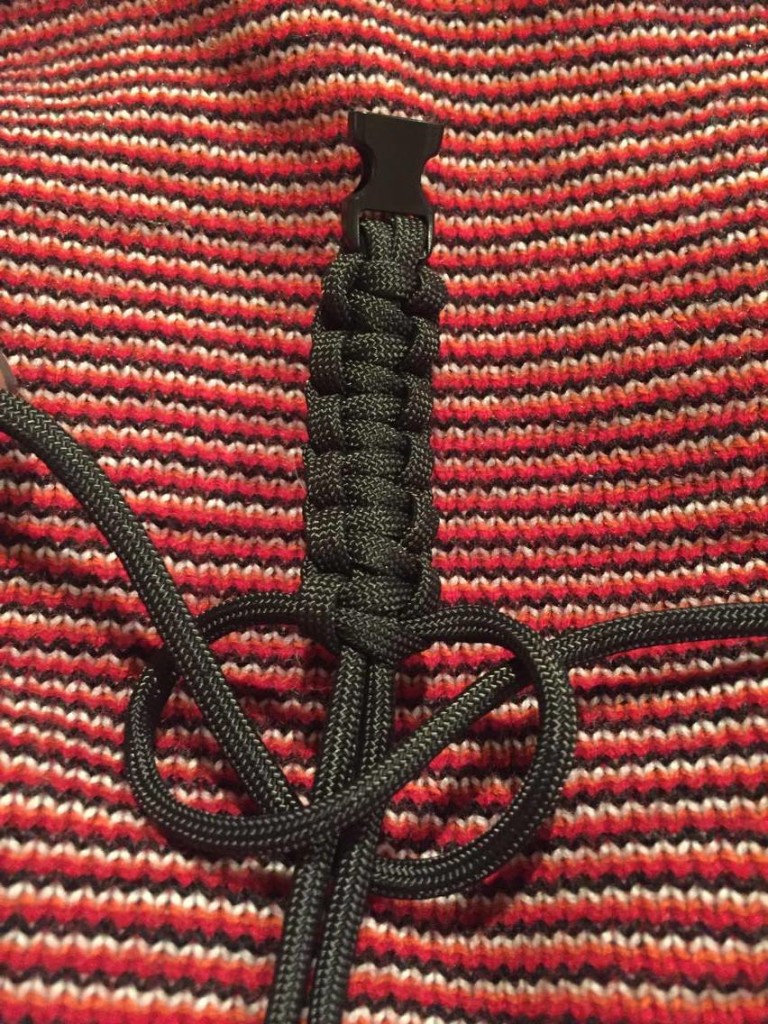
- Wrap the right strand around backward and thread it through the loop made by the left strand. Pull both strands and tighten. This is your first weave.
- Next, do the same thing on the right side. Lay the right strand on top of the measurement section, and then lay the left strand on top of the right strand. Wrap the left strand backward and thread it through the loop made by the right strand. Pull and tighten. This is your second weave.

- Repeat these steps, alternating sides, until you get to the end!

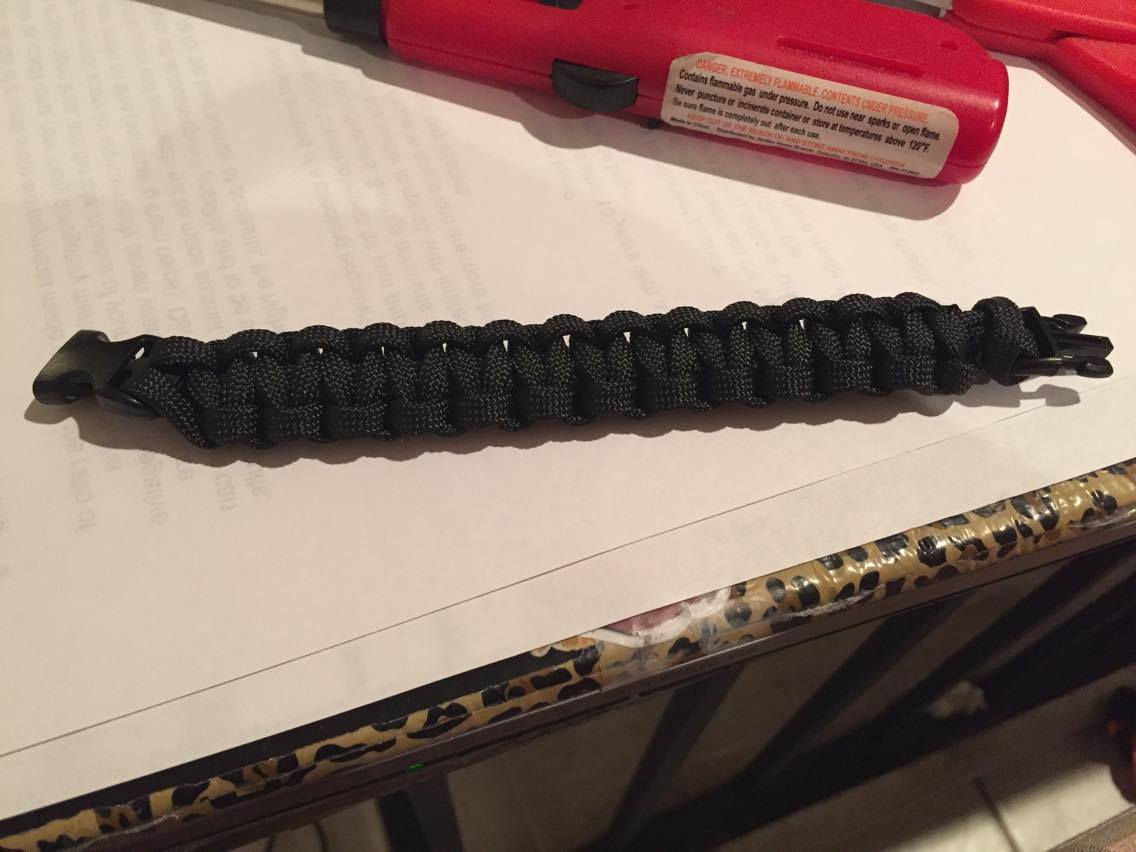
- Once you get to the end, make a final weave closest to your buckle. Then, take your scissors and clip the excess paracord. Use your lighter again to singe the edges so they don’t fray. If you like, you can mold the singed edges while they are still warm to flatten them out and make them less likely to come undone. Be careful – the cord will be hot!

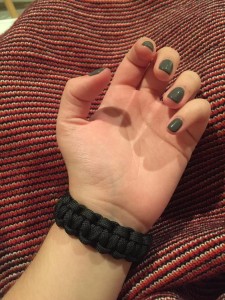
- All done!


Posted by Katie Atkins, Education Intern and Lauren Handley, Assistant Director of Education for Public Programs at The National WWII Museum.
- Posted :
- Post Category :
- Tags :
- Follow responses to this entry through the RSS 2.0 feed. You can skip to the end and leave a response. Pinging is currently not allowed.

Leave a Reply