Home Front Friday: Getting It Together
Home Front Friday is a regular series that highlights the can do spirit on the Home Front during World War II and illustrates how that spirit is still alive today!
Did you know that April is National Welding Month? The secret ingredient that holds the world as we know it together, welding has sent us to the moon and back, produced monuments of steel where we work and live, and defended us in wartime!
The United States welding industry reached its peak in 1944. By then, it was producing twice the amount of war power than all of the Axis nations combined. Factories that had previously produced everyday products such as iceboxes and toasters were immediately converted to produce war machines. Auto manufacturers began producing tanks, trucks, guns, shells and parts for airplanes and ships. The aircraft industry had employed more than 2 million workers by 1944.
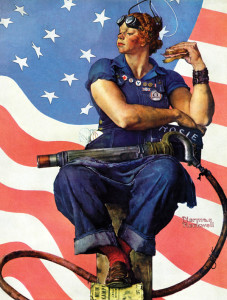
You may have seen the propaganda poster of the American cultural icon Rosie the Riveter gracing the walls of history classes or women’s studies classes. She has come to symbolize the can-do attitude of women left on the home front while their husbands were at war. Rosie most commonly appears on Howard J. Miller’s famous “We Can Do It!” poster for the Westinghouse Company. Another popular Rosie print is Norman Rockwell’s Saturday Evening Post depiction of Rosie, in which she is taking her lunch break while stamping on a copy of Mein Kampf.

The Westinghouse poster. (via the National Archives)
The Rockwell magazine cover. (via the Saturday Evening Post)
Did you know that Rosie has a friend? Her shipyard counterpart is Wendy the Welder, a similarly powerful woman based off of Janet Doyle, a worker at the Kaiser Richmond Liberty Shipyards. After the debut of the first all-welded ship in 1940, riveting ships fell out of style in favor of the quicker welding method.
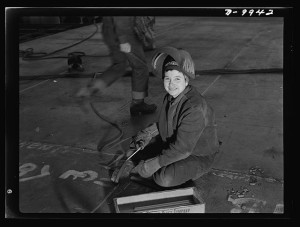
A Wendy the Welder at the Richmond Shipyard in California. (via the Library of Congress)
Want to know more about welding during the war? Click here to find out all about the industry!
Unfortunately, we don’t know how to weld, and we don’t want to tell you to do anything where you might hurt yourself. But we can show you how to make this nifty paper tank instead:
What you need:
- Two sheets of paper
- Scissors
- Dowel (optional)
Steps:
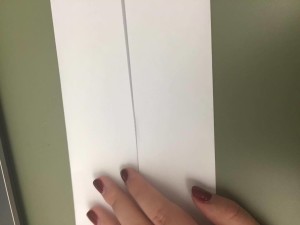
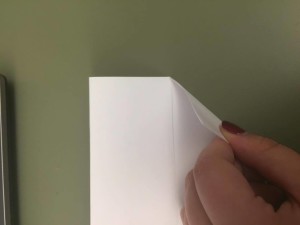
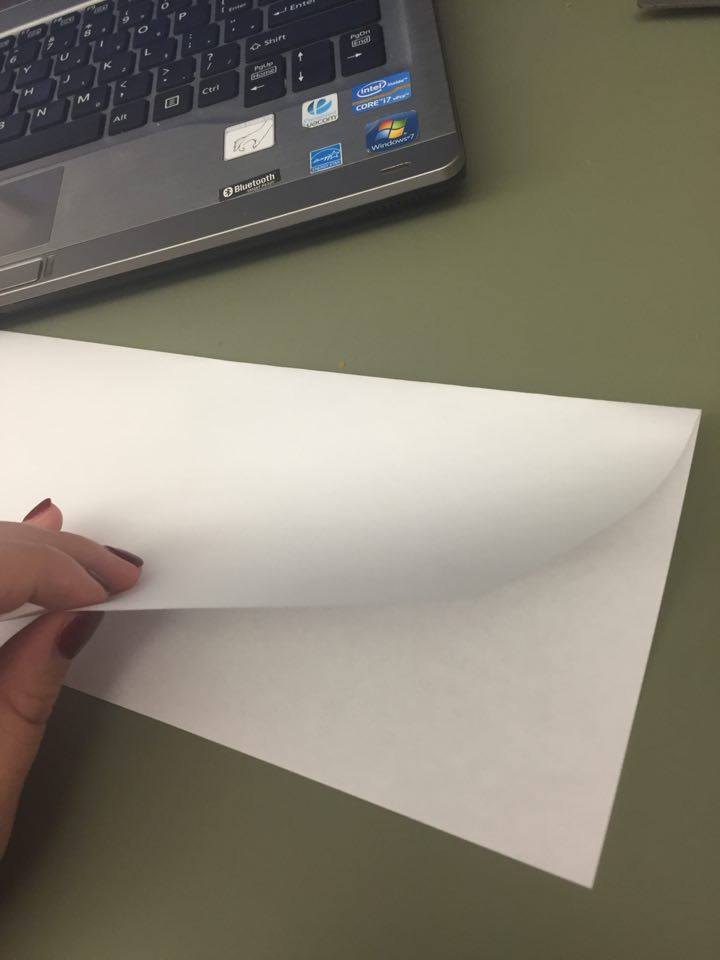
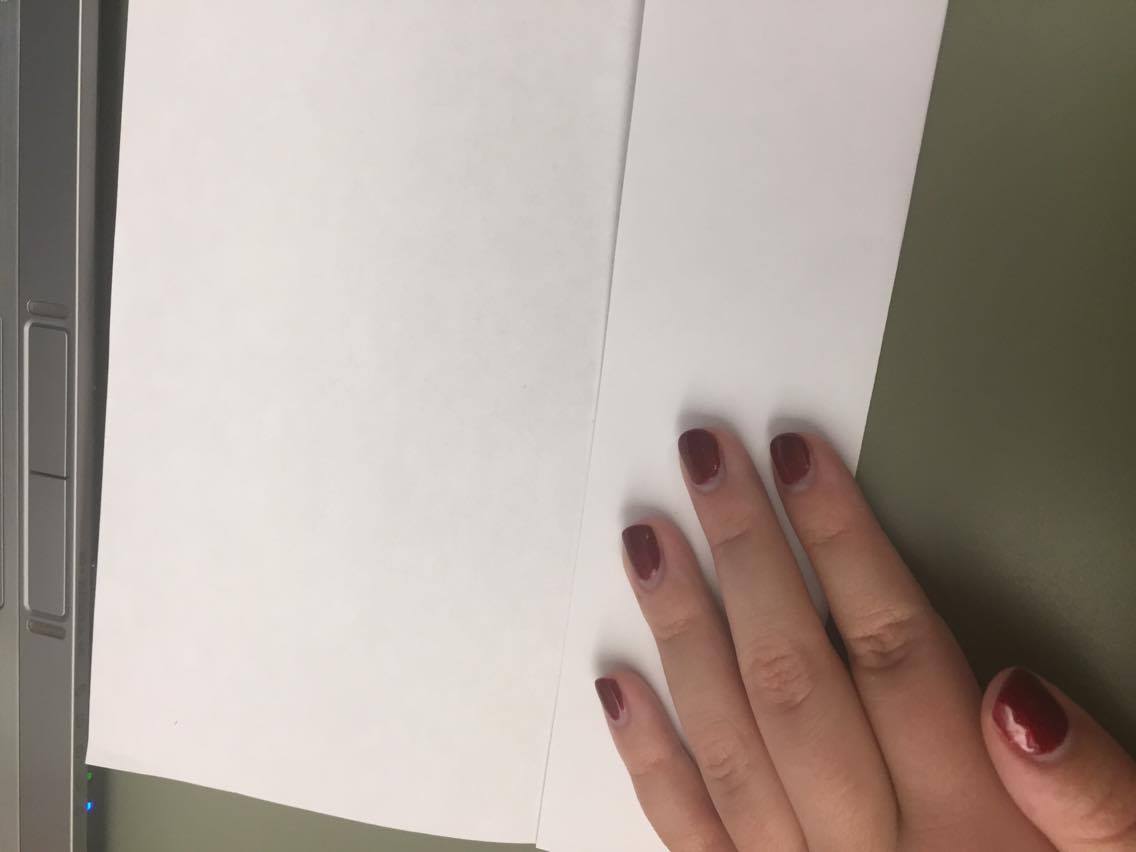
- Start by folding your paper in half lengthwise.


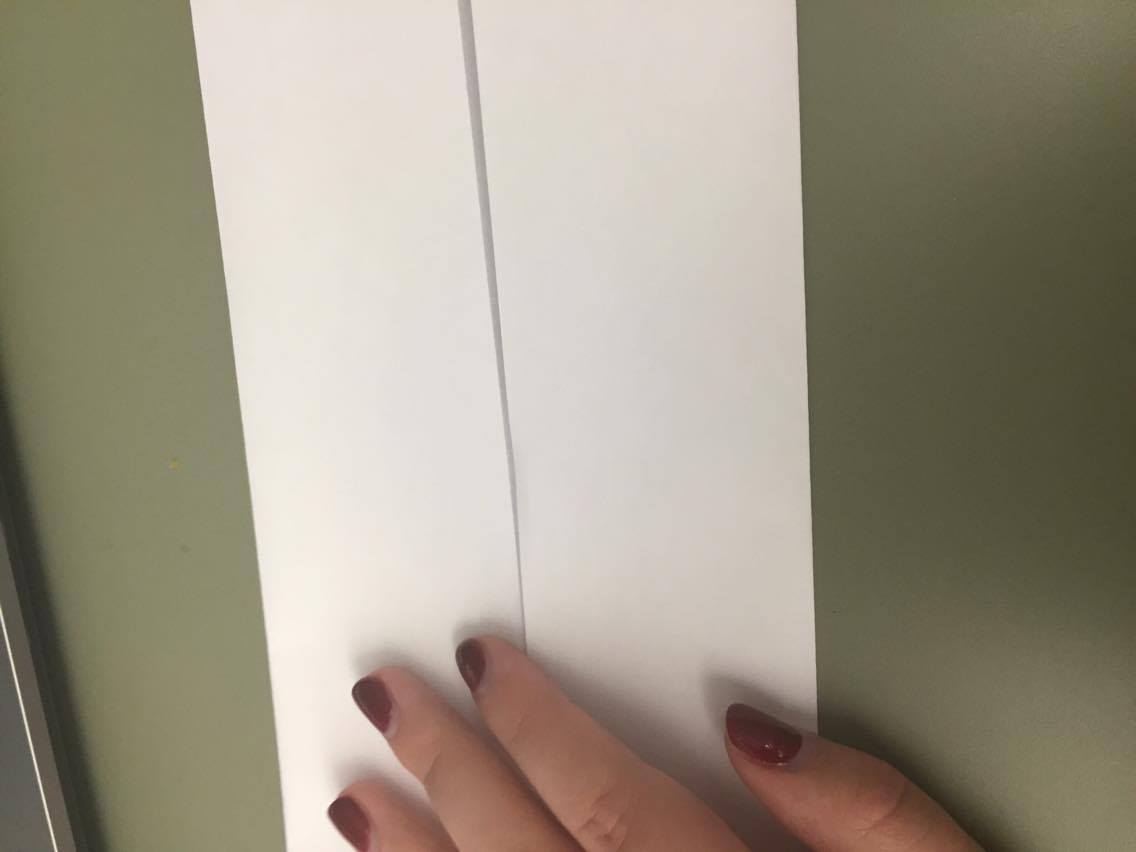
- Next, unfold the paper. Then fold the outer sides of the paper inward, so that it is folded into fourths. Line the outer edges onto the middle line you made with the first fold.

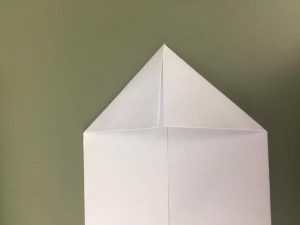
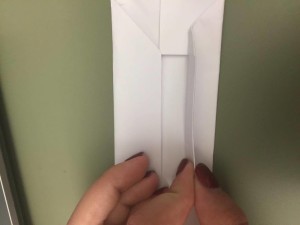
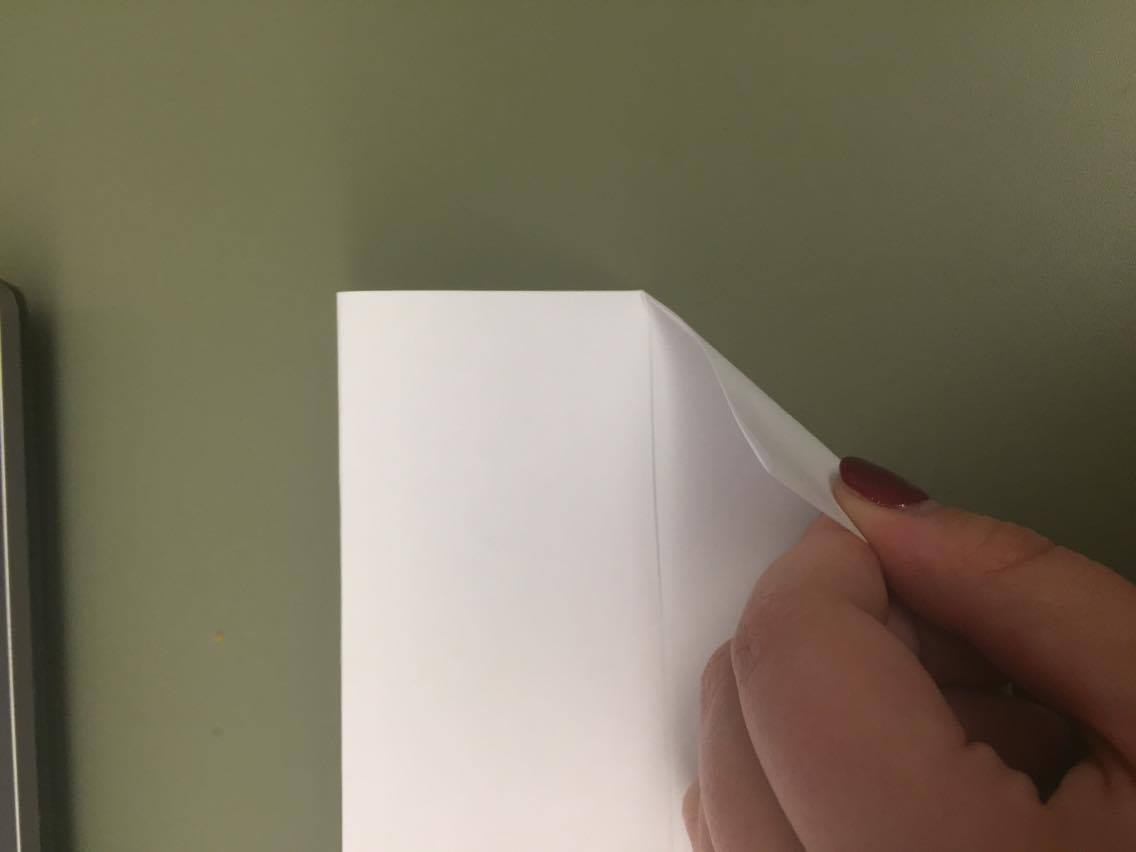
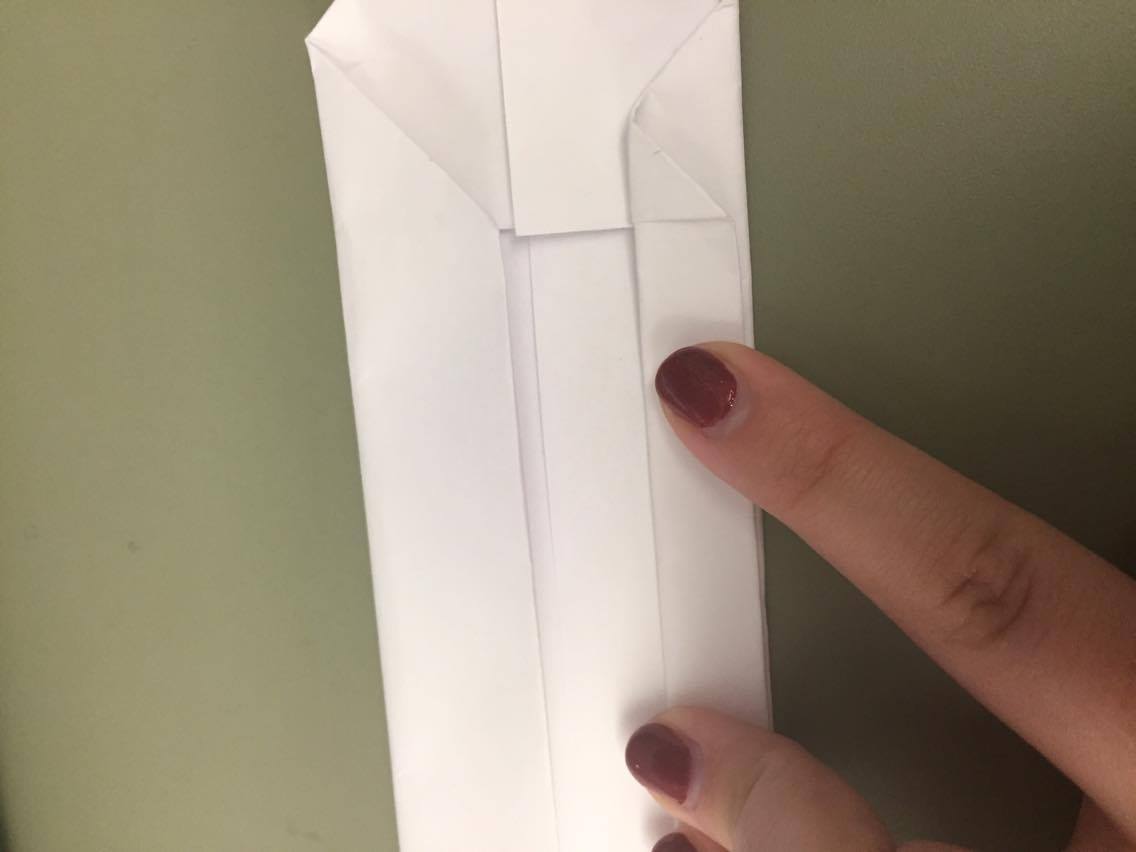
- Next, take two corners of the paper (don’t unfold the two new sections!) and fold them inward, lining them up with the middle fold.
- Once you have done that, take the outside edges and fold them in half again. Line up the outside edges with the middle fold. Some of the top triangle will get folded too – don’t worry, it’s normal!

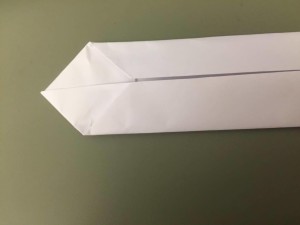
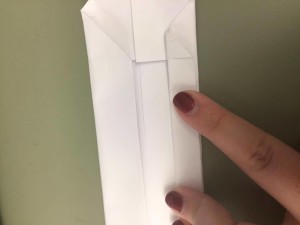
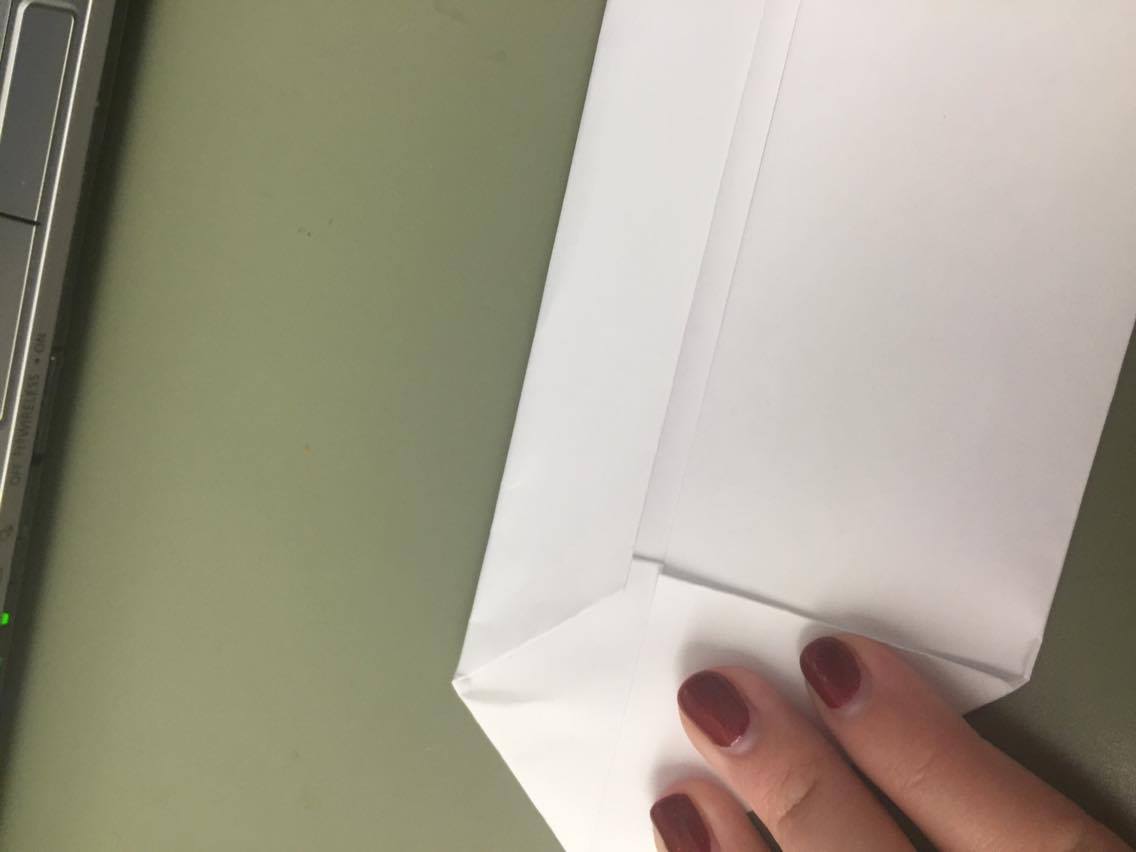
- Once you have done that, take the two edges facing the middle and fold them out to the outer edges. Basically, take the flaps you have just folded and fold them again going outwards.
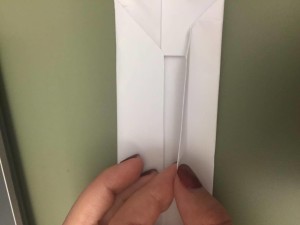

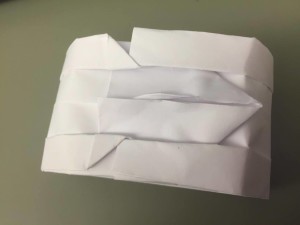
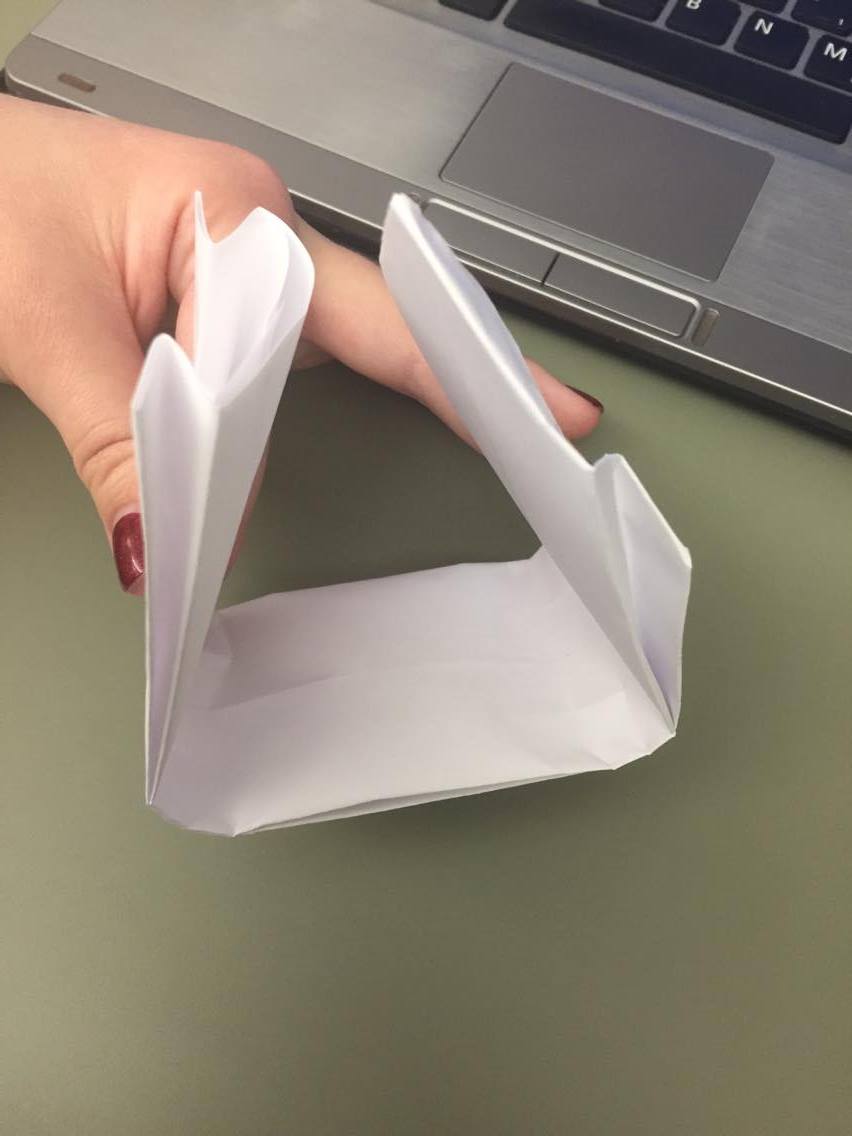
- Now comes the tricky part. Flip the entire paper over so that the blank side is facing you. Now take the ends and bring them together, so that the structure is almost in thirds. Don’t fold, just curve!! The blank side should be facing inward.

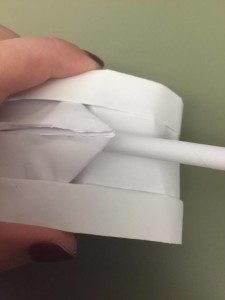
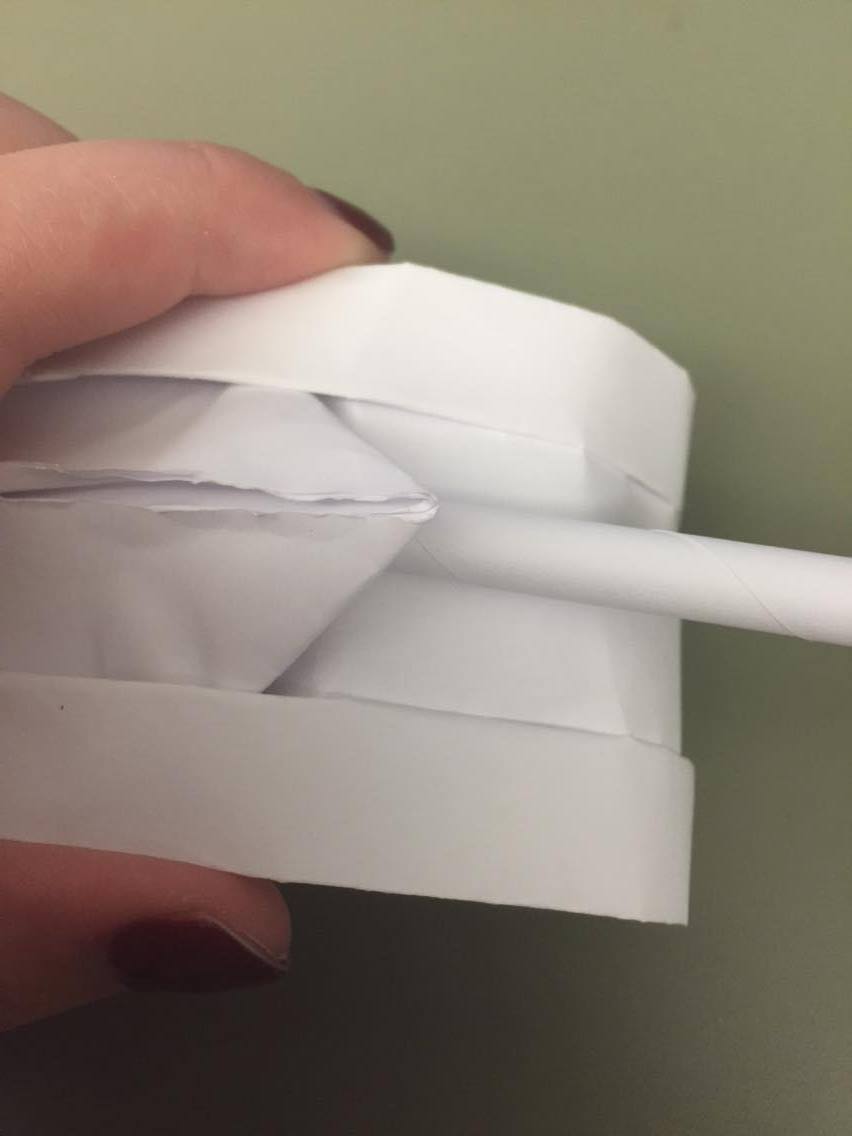
- Now, slide the triangular part underneath the two outer tabs on the square part. The outer tabs should then slide into the tabs behind the triangle. This part takes time! You may have to mold the tank to fit.
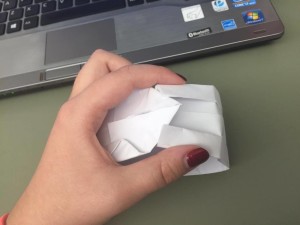
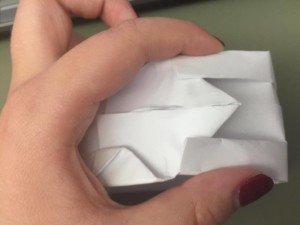
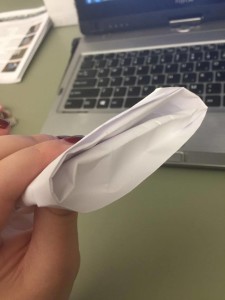
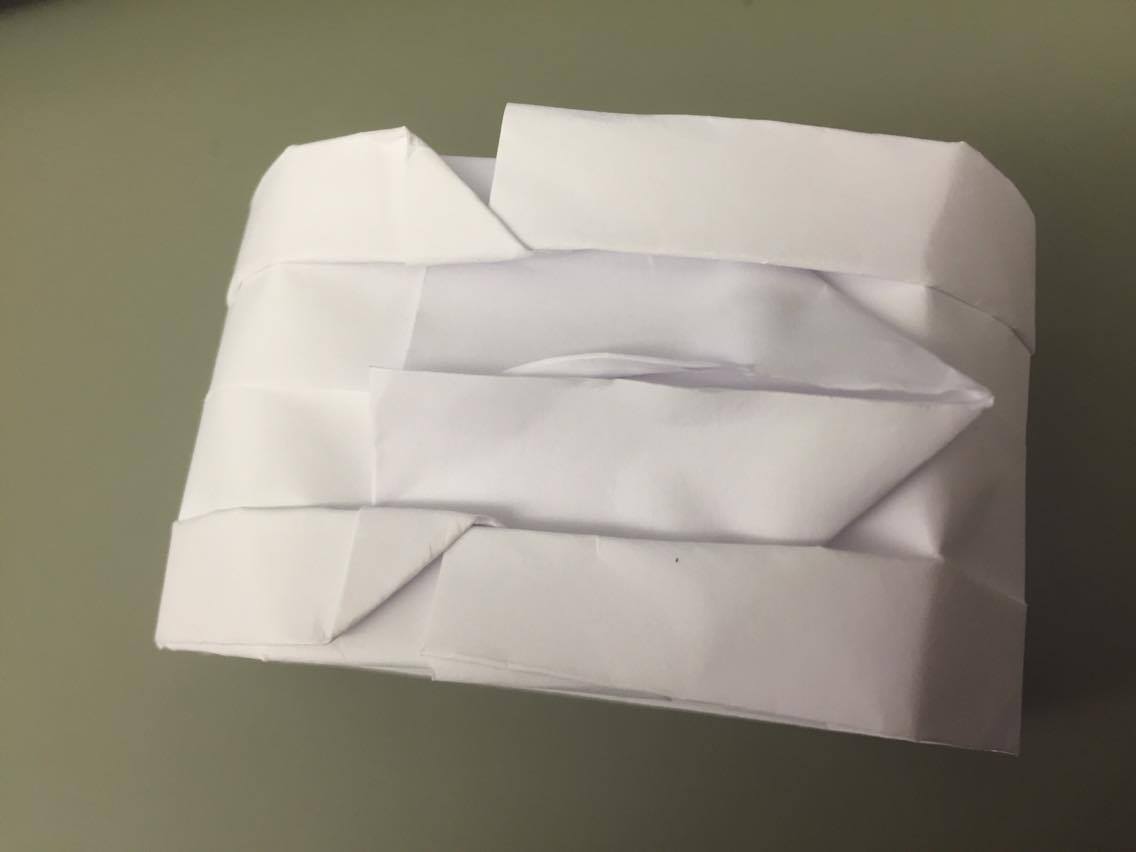
- Now time to make the treads! Look at the bottom of the tank. There should be a fold. Gently push out the folded part so that it extends up to the top part of the tank. Again, this takes time!
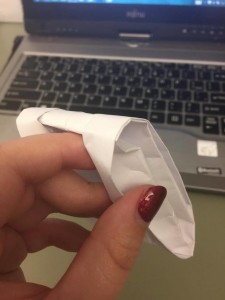
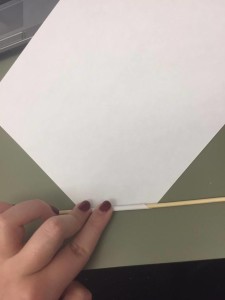
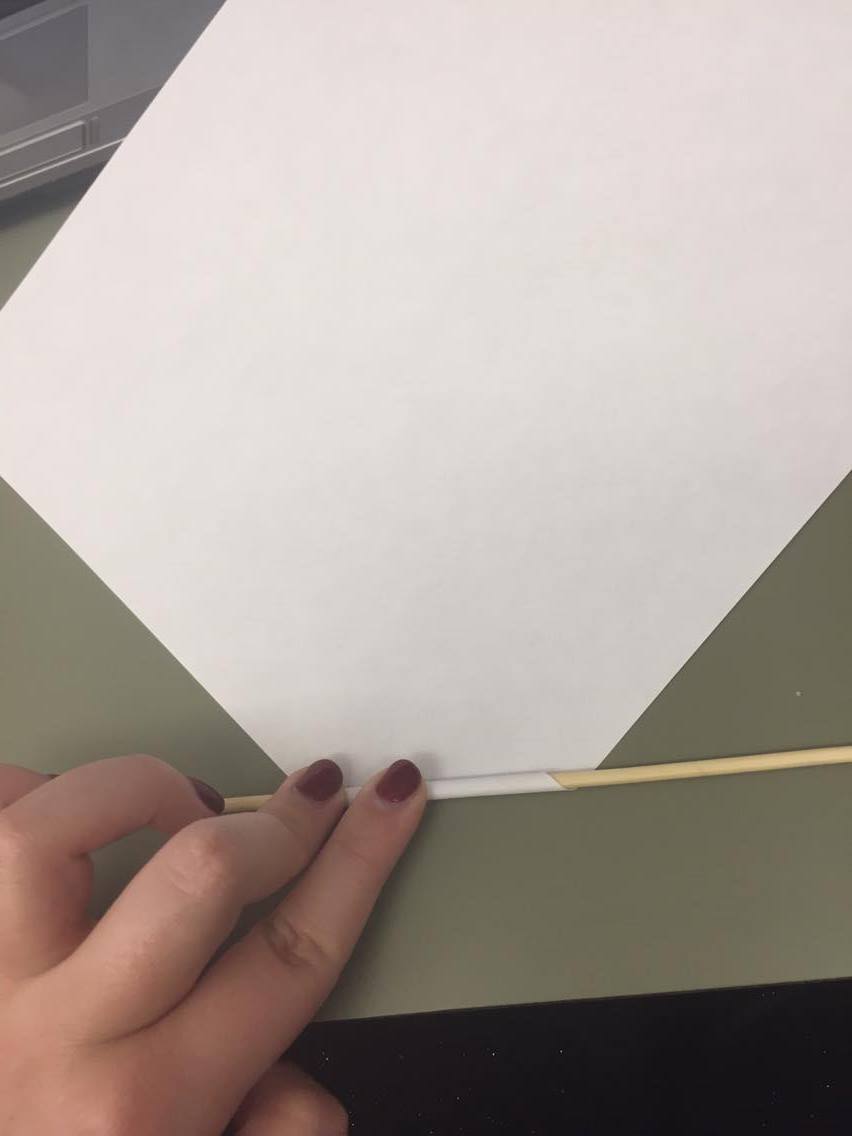
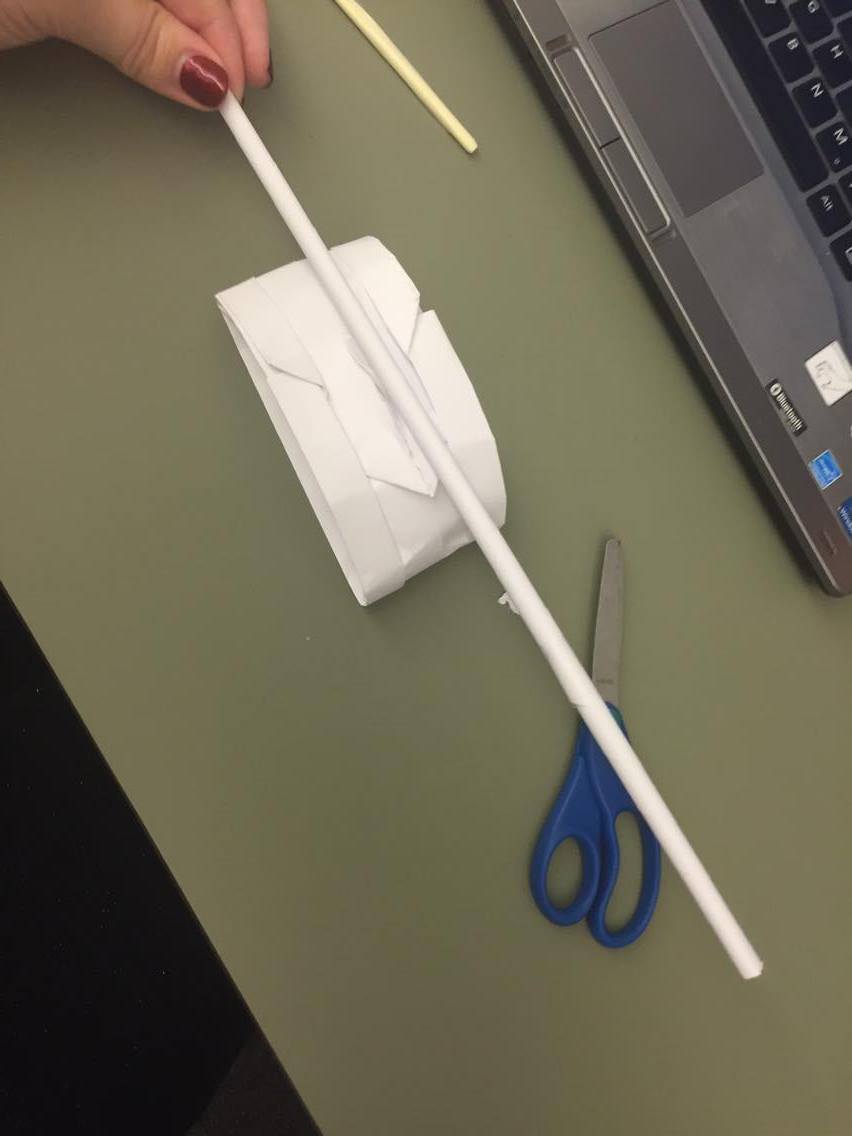
- Now time for the gun. Take another piece of paper. We are going to be rolling it as tightly as we can, diagonally, from corner to corner. If you want to, you can take a dowel or other thin object to help you roll it tightly.
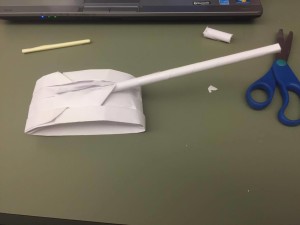
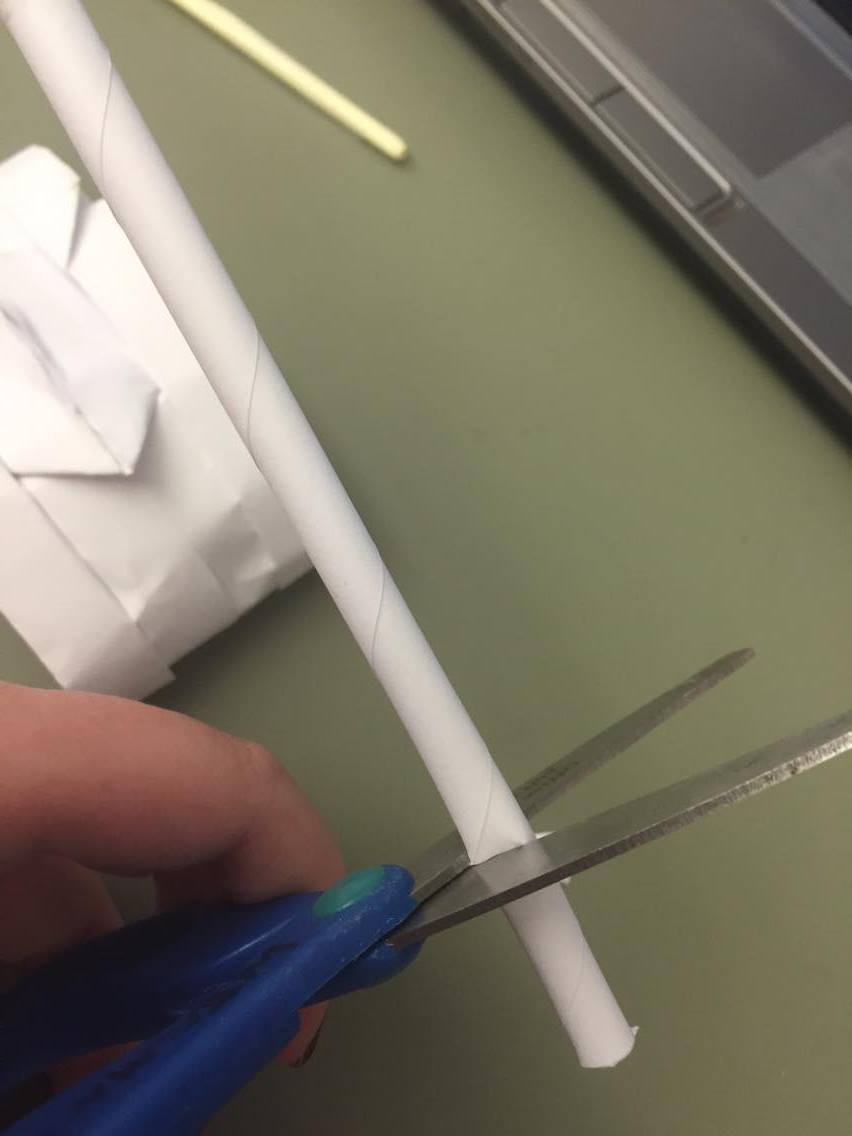
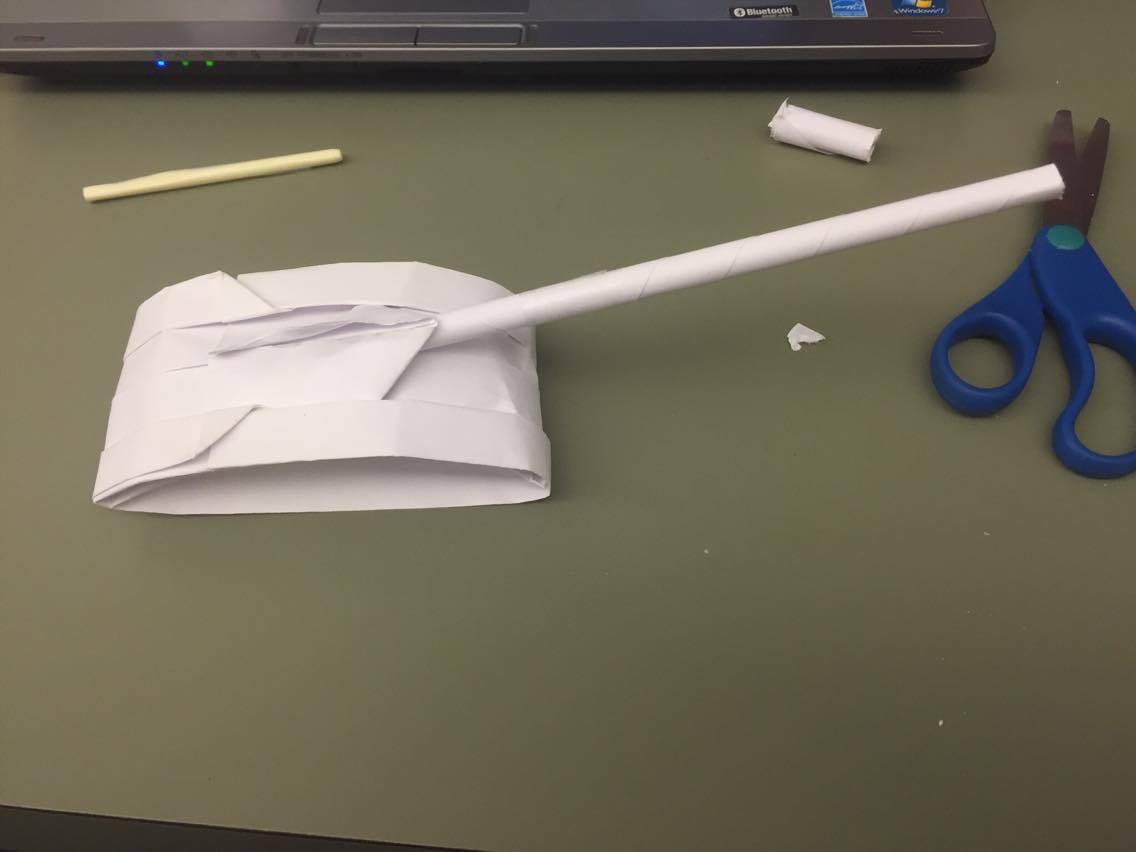
- Once you have rolled the paper, it will likely be too long for your tank. Simply trim away the excess and slide it under the triangular flap on the top.


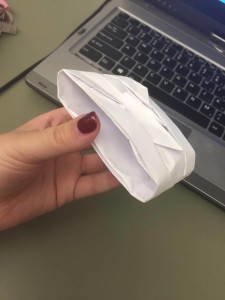
- All done!


This definitely takes practice, so don’t be discouraged if you need to try a few times to get it looking right! Here is a video showing the whole procedure to help you along. Good luck!
Posted by Katie Atkins, Education Intern and Lauren Handley, Assistant Director of Education for Public Programs at The National WWII Museum.
- Posted :
- Post Category :
- Tags :
- Follow responses to this entry through the RSS 2.0 feed. You can skip to the end and leave a response. Pinging is currently not allowed.

Leave a Reply