Home Front Friday: Waxing the Way to Victory
Home Front Friday is a regular series that highlights the can do spirit on the Home Front during World War II and illustrates how that spirit is still alive today!
Never underestimate the honey bee! The influence of these creatures on our world is enormous, and the aid of bees and beekeepers during World War II was necessary to winning the war. In fact, the Department of Agriculture in Washington DC deemed the honey industry ‘essential’ during wartime, even requesting a 20% increase in production in 1942 just to keep up with demand for both honey and beeswax. How is this possible?
Well, the USA loves its sugar, but during World War II, the Japanese occupied many countries we formerly purchased sugar from, meaning a shortage and rationing. Honey became the obvious and easily accessible substitute. In addition to honey, beeswax was used to coat air planes, shells, drills, bits, cables and pulleys, adhesive tape, varnishes, canvases, awnings, anything and everything! Beeswax prevented rust, strengthened, and waterproofed and we had access to it at home. In fact, on certain occasions, beekeepers were deferred from military service just to keep up production of honey and wax!
INFO FROM : http://www.apinews.com/en/news/item/25964-usa-beekeeping-and-its-impact-on-world-war-ii (which also has some cool propaganda posters for beekeeping during WWII)
There is simply no denying the value of bees during World War II, and the benefits do not end there – even today, we can experience the gifts of beeswax in our home by burning beeswax candles! Believe it or not, in addition to waterproofing the family plane, beeswax can be used to purify the air. Beeswax releases negative ions when burning, which neutralizes the positive charge of air contaminants (like pollen, dust, and dirt), allowing them to be sucked into the burning candle or drop to the floor.
We know this information is incredibly mind blowing, but there’s more! Here are five simple steps to creating your own beeswax candles:
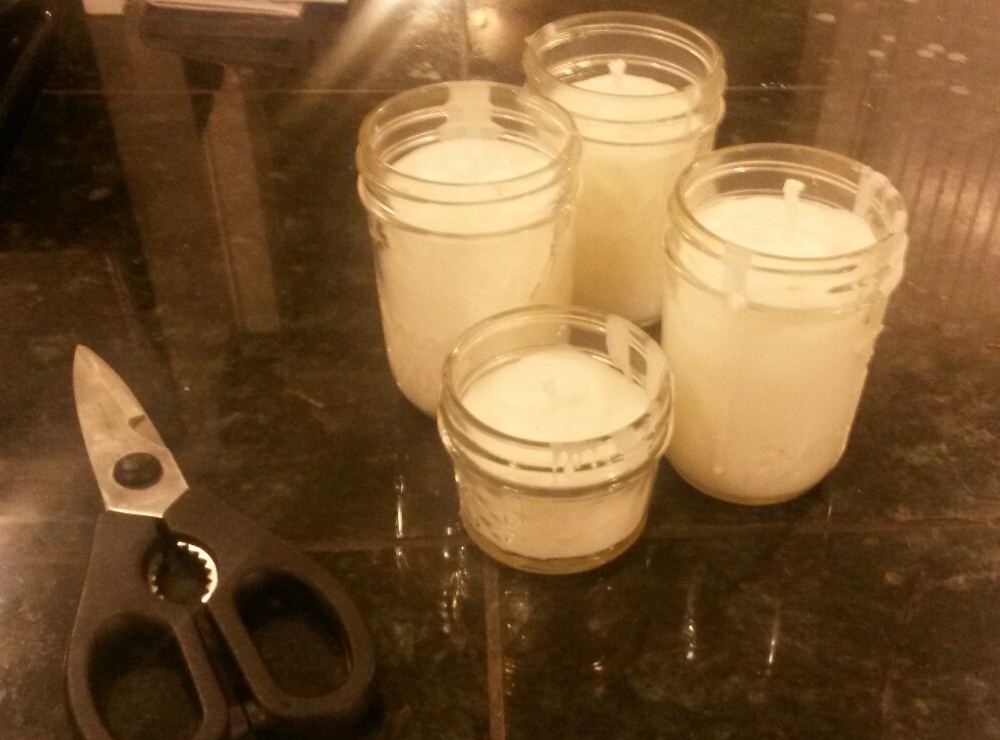
1. Prepare jars – we used mason jars found around the house. Use cotton square wicks – these are not the same as for paraffin candles as beeswax burns slower so requires a larger wick – and wrap them around a pen or pencil.
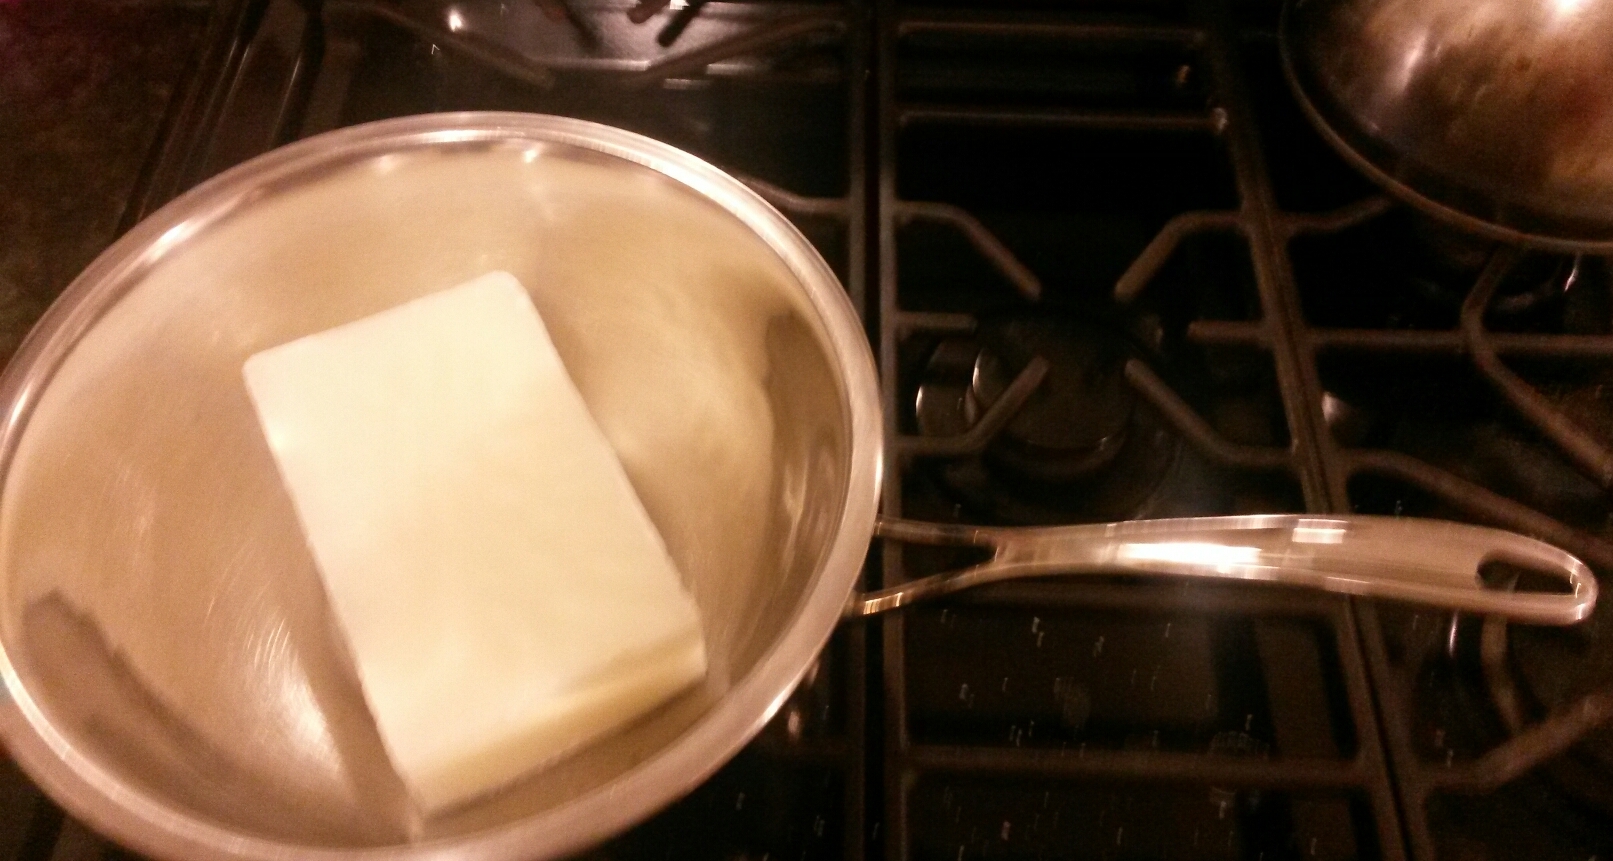
2. Melt wax – we used 1 lb of beeswax. Use a double boiler – or we used a small metal mixing bowl inside of a saucepan. After the wax is melted, add about ¾ cup of coconut oil. It smells lovely, but any oil will do.

3. Set wick – pour just a bit at first to get the wick to stick.
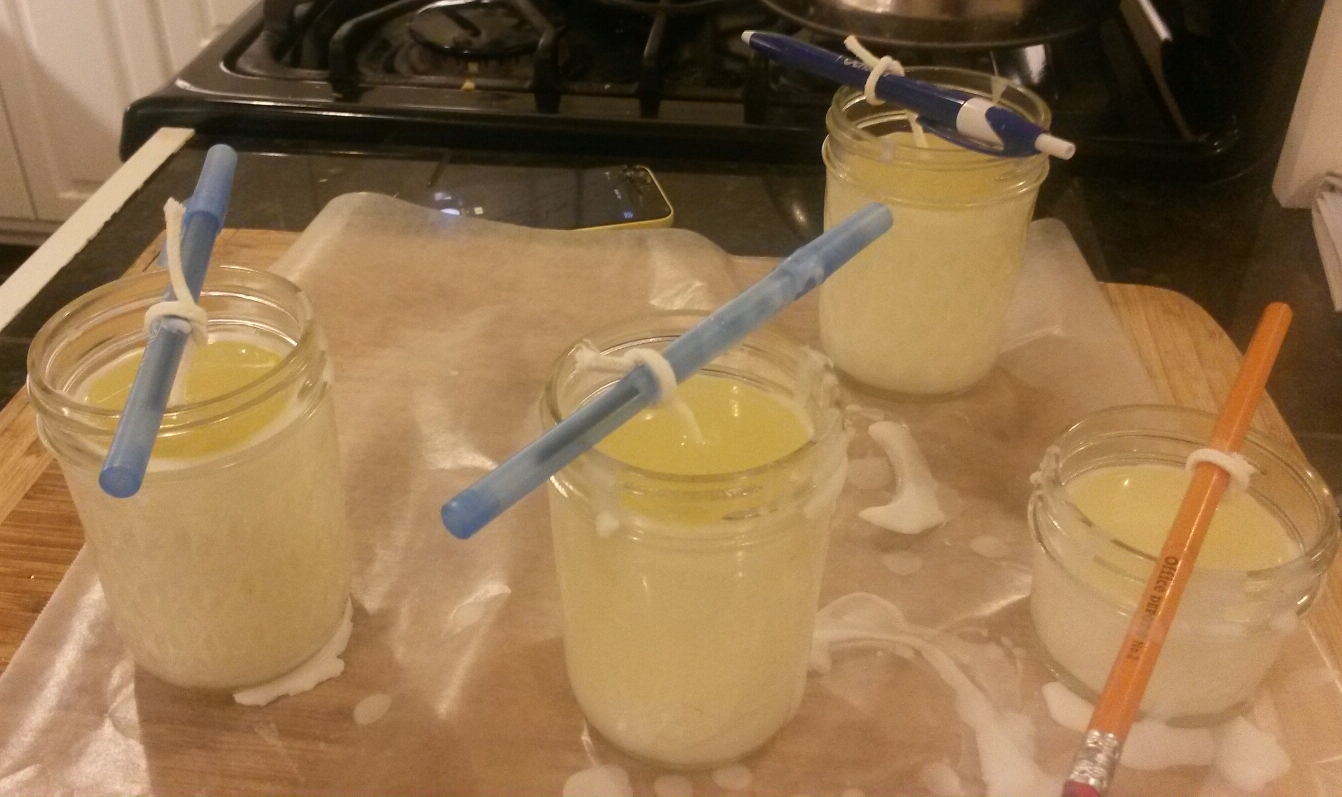
4. Pour candle – After about a minute, the jar can be filled the rest of the way with the melted wax.
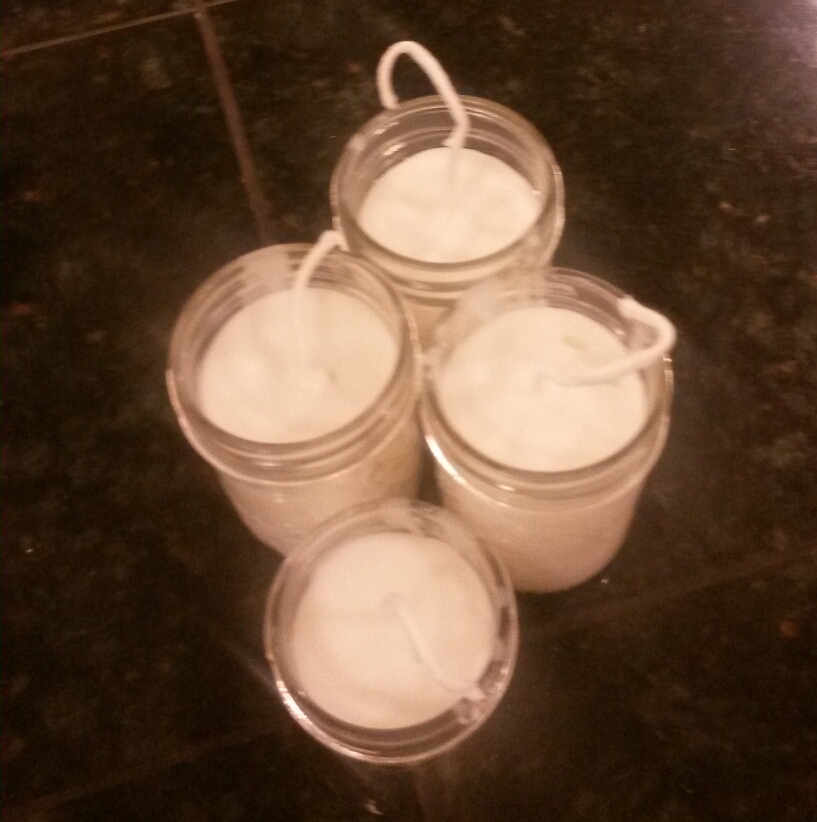
5. Trim wick – after you are sure the wax is set, go ahead and trim your wick. But wait to burn the candles for 24 hours, just to make sure the mixture is set.
Voila! The instructions were what we found worked after consulting many DIY candle-making websites. Should you like more comprehensive information, such as using alternate sized jars or wicks, or how to filter beeswax, we found this blog very enlightening.
Posted by Laurel Taylor, Education Intern and Lauren Handley, Assistant Director of Education for Public Programs at the World War II Museum
- Posted :
- Post Category :
- Tags :
- Follow responses to this entry through the RSS 2.0 feed. You can skip to the end and leave a response. Pinging is currently not allowed.

Leave a Reply